


channel 7
for Japan.
3.
WEP Security
: Select the data privacy algorithm you want. Enabling the security can protect your
data while it is transferred from one station to another. The standardized IEEE 802.11 WEP (128 or
64-bit) is used here.
4.
WEP Key 1, 2, 3 & 4
: When you enable the 128 or 64 bit WEP key security, please select one WEP
key to be used and input 26 or 10 hexadecimal (0, 1, 2…8, 9, A, B…F) digits.
5. Pass-phrase Generator: Since hexadecimal characters are not easily
remembered, this device offers a conversion utility to convert a simple
word or phrase into hex.
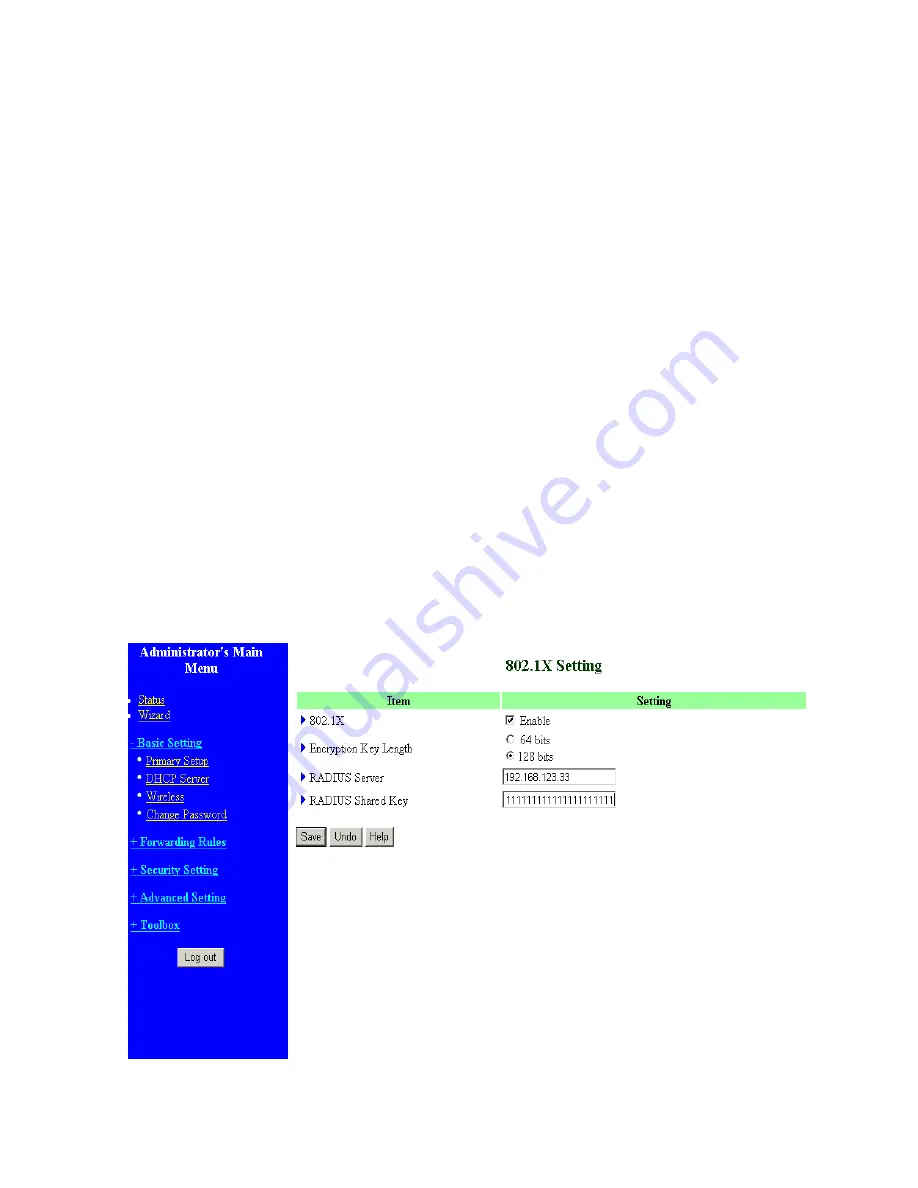
6.
802.1X Setting
802.1X
Check Box was used to switch the function of the 802.1X. When the 802.1X function is enabled, the
Wireless user must
authenticate
to this router first to use the Network service.
RADIUS Server
IP address or the 802.1X server’s domain-name.
RADIUS Shared Key
Key value shared by the RADIUS server and this router. This key value is consistent with the key value
in the RADIUS server.
20
Summary of Contents for Tornado 140
Page 14: ...4 4 Basic Setting 4 4 1 Primary Setup WAN Type Virtual Computers 14...
Page 21: ...WPA PSK 1 Select Preshare Key Mode 2 Fill in the key Ex 12345678 21...
Page 24: ...4 5 Forwarding Rules 4 5 1 Virtual Server 24...
Page 28: ...4 6 Security Settings 28...
Page 41: ...4 7 Advanced Settings 41...
Page 53: ...4 8 Toolbox 53...
Page 54: ...4 8 1 System Log You can View system log by clicking the View Log button 54...
Page 55: ...4 8 2 Firmware Upgrade You can upgrade firmware by clicking Firmware Upgrade button 55...
Page 67: ...Figure 4 Certificate information on PC1 Figure 5 Authenticating 67...
Page 71: ...3 Add and edit some settings 71...
Page 73: ...Choose View available Wireless Networks like below Advanced choose 123kk 73...
Page 76: ...5 Then Choose certificate like above 76...
Page 77: ...6 Then go to Authentication and first Remove EAP TLS and Add EAP TLS again 77...
Page 78: ...7 Go Network and Select 1 and ok 78...
Page 80: ...2 Then Install this certificate and finish 3 Setting on the router and client Router 80...


