


requesting computer. You must specify the starting and ending address of the IP address pool.
4.
Domain Name
: Optional, this information will be passed to the client.
5.
Primary DNS/Secondary DNS
: This feature allows you to assign DNS Servers
6.
Primary WINS/Secondary WINS
: This feature allows you to assign WINS Servers
7.
Gateway
: The Gateway Address would be the IP address of an alternate Gateway.
This function enables you to assign another gateway to your PC, when DHCP
server offers an IP to your PC.
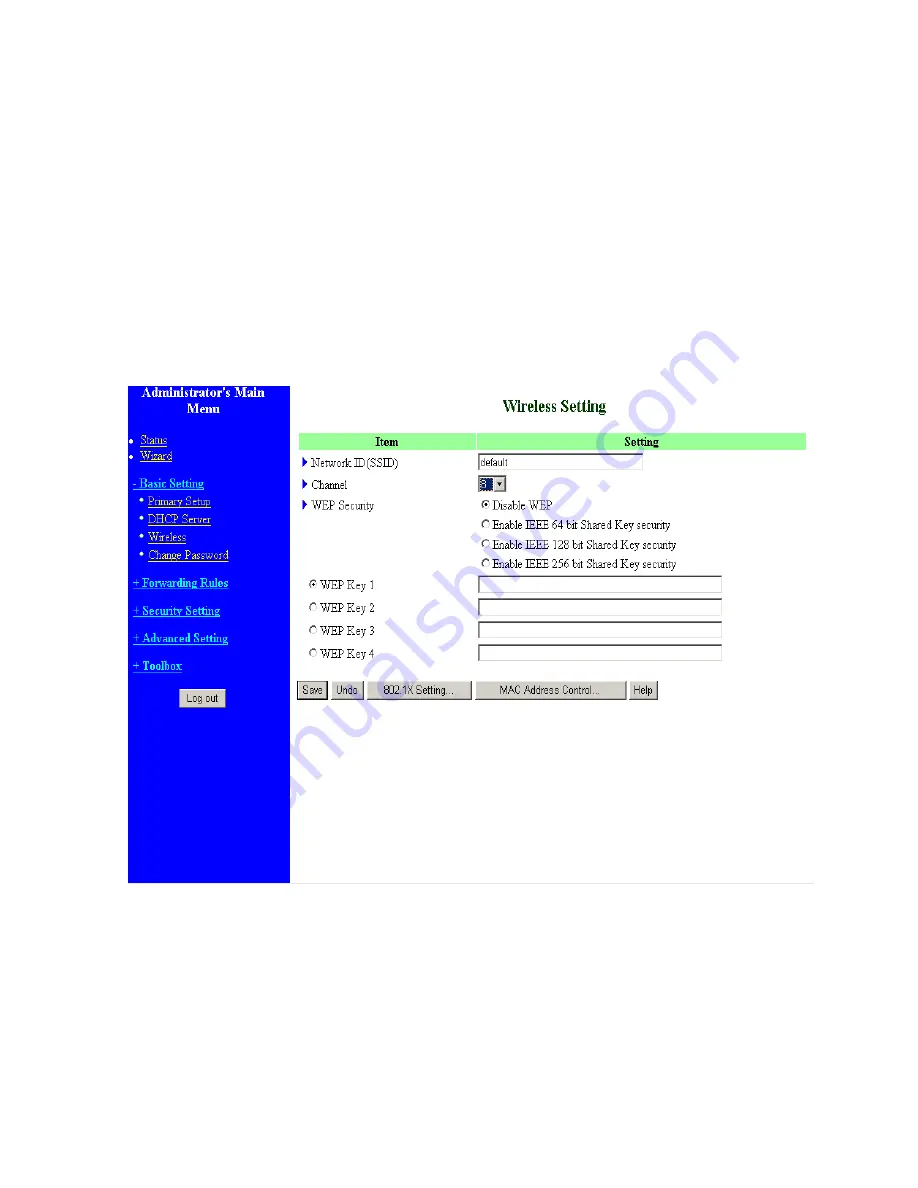
4.4.3 Wireless Setting, and 802.1X setting
Wireless settings allow you to set the wireless configuration items.
1.
Network ID (SSID)
: Network ID is used for identifying the Wireless LAN (WLAN). Client
stations can roam freely over this product and other Access Points that have the same Network ID.
(The factory setting is “
default
”)
2.
Channel
: The radio channel number. The permissible channels depend on the Regulatory Domain.
The factory setting is as follow:
channel 6
for North America;
channel 7
for European (ETSI);
19
Summary of Contents for Tornado 140
Page 14: ...4 4 Basic Setting 4 4 1 Primary Setup WAN Type Virtual Computers 14...
Page 21: ...WPA PSK 1 Select Preshare Key Mode 2 Fill in the key Ex 12345678 21...
Page 24: ...4 5 Forwarding Rules 4 5 1 Virtual Server 24...
Page 28: ...4 6 Security Settings 28...
Page 41: ...4 7 Advanced Settings 41...
Page 53: ...4 8 Toolbox 53...
Page 54: ...4 8 1 System Log You can View system log by clicking the View Log button 54...
Page 55: ...4 8 2 Firmware Upgrade You can upgrade firmware by clicking Firmware Upgrade button 55...
Page 67: ...Figure 4 Certificate information on PC1 Figure 5 Authenticating 67...
Page 71: ...3 Add and edit some settings 71...
Page 73: ...Choose View available Wireless Networks like below Advanced choose 123kk 73...
Page 76: ...5 Then Choose certificate like above 76...
Page 77: ...6 Then go to Authentication and first Remove EAP TLS and Add EAP TLS again 77...
Page 78: ...7 Go Network and Select 1 and ok 78...
Page 80: ...2 Then Install this certificate and finish 3 Setting on the router and client Router 80...


