Virtual Computer enables you to use the original NAT feature, and allows you to setup the one-to-one
mapping of multiple global IP address and local IP address.
•
Global IP: Enter the global IP address assigned by your ISP.
•
Local IP: Enter the local IP address of your LAN PC corresponding to the global IP address.
•
Enable: Check this item to enable the Virtual Computer feature.
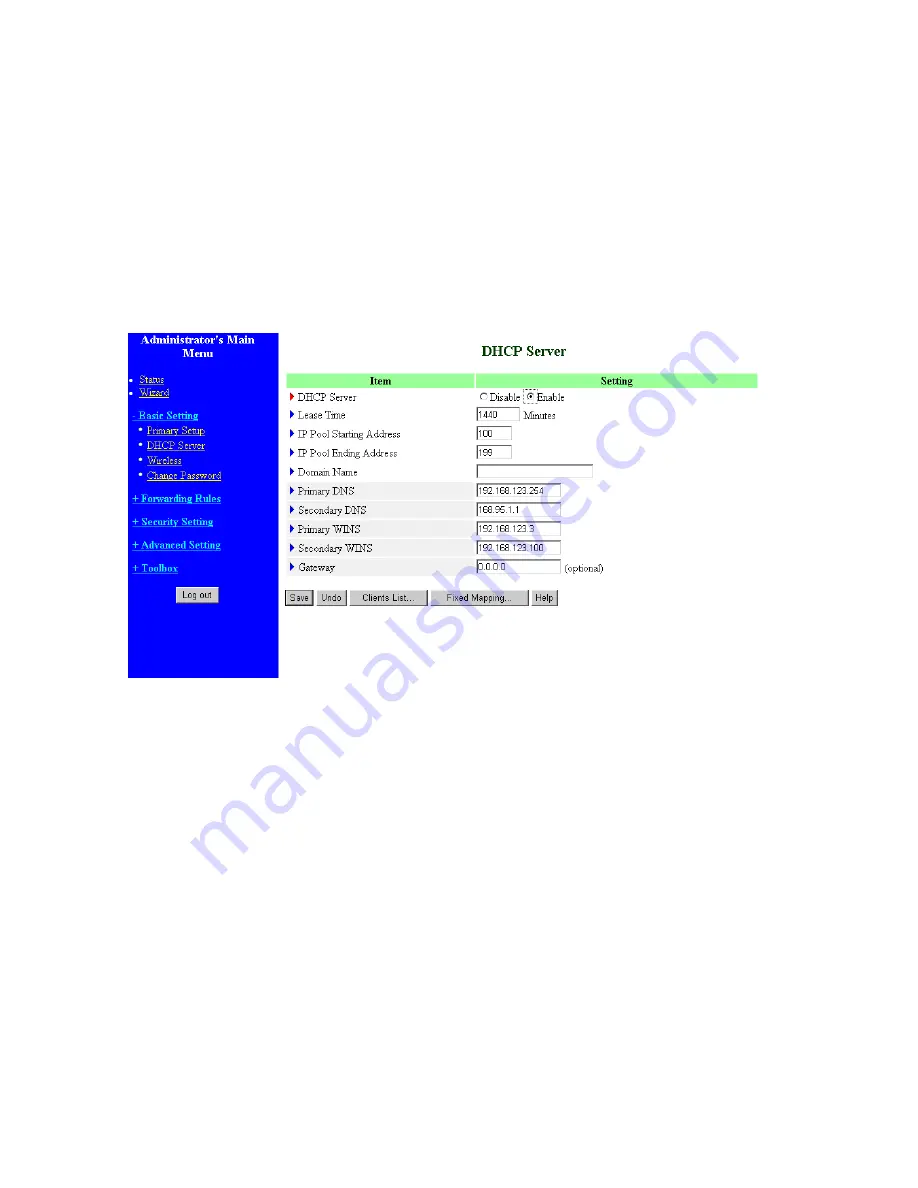
4.4.2 DHCP Server
Press
“More>>”
The settings of a TCP/IP environment include host IP, Subnet Mask, Gateway, and DNS configurations.
It is not easy to manually configure all the computers and devices in your network. Fortunately, DHCP
Server provides a rather simple approach to handle all these settings. This product supports the function
of DHCP server. If you enable this product’s DHCP server and configure your computers as “automatic
IP allocation” mode, then when your computer is powered on, it will automatically load the proper
TCP/IP settings from this product. The settings of DHCP server include the following items:
1.
DHCP Server
: Choose “Disable” or “Enable.”
2.
Lease Time:
this feature allows you to configure IP’s lease time (DHCP client).
3.
IP pool starting Address/ IP pool starting Address
: Whenever there is a request, the DHCP
server will automatically allocate an unused IP address from the IP address pool to the
18
Summary of Contents for Tornado 140
Page 14: ...4 4 Basic Setting 4 4 1 Primary Setup WAN Type Virtual Computers 14...
Page 21: ...WPA PSK 1 Select Preshare Key Mode 2 Fill in the key Ex 12345678 21...
Page 24: ...4 5 Forwarding Rules 4 5 1 Virtual Server 24...
Page 28: ...4 6 Security Settings 28...
Page 41: ...4 7 Advanced Settings 41...
Page 53: ...4 8 Toolbox 53...
Page 54: ...4 8 1 System Log You can View system log by clicking the View Log button 54...
Page 55: ...4 8 2 Firmware Upgrade You can upgrade firmware by clicking Firmware Upgrade button 55...
Page 67: ...Figure 4 Certificate information on PC1 Figure 5 Authenticating 67...
Page 71: ...3 Add and edit some settings 71...
Page 73: ...Choose View available Wireless Networks like below Advanced choose 123kk 73...
Page 76: ...5 Then Choose certificate like above 76...
Page 77: ...6 Then go to Authentication and first Remove EAP TLS and Add EAP TLS again 77...
Page 78: ...7 Go Network and Select 1 and ok 78...
Page 80: ...2 Then Install this certificate and finish 3 Setting on the router and client Router 80...


