68
PRELIMINARY
SECTION 5: OSD MENU REFERENCE
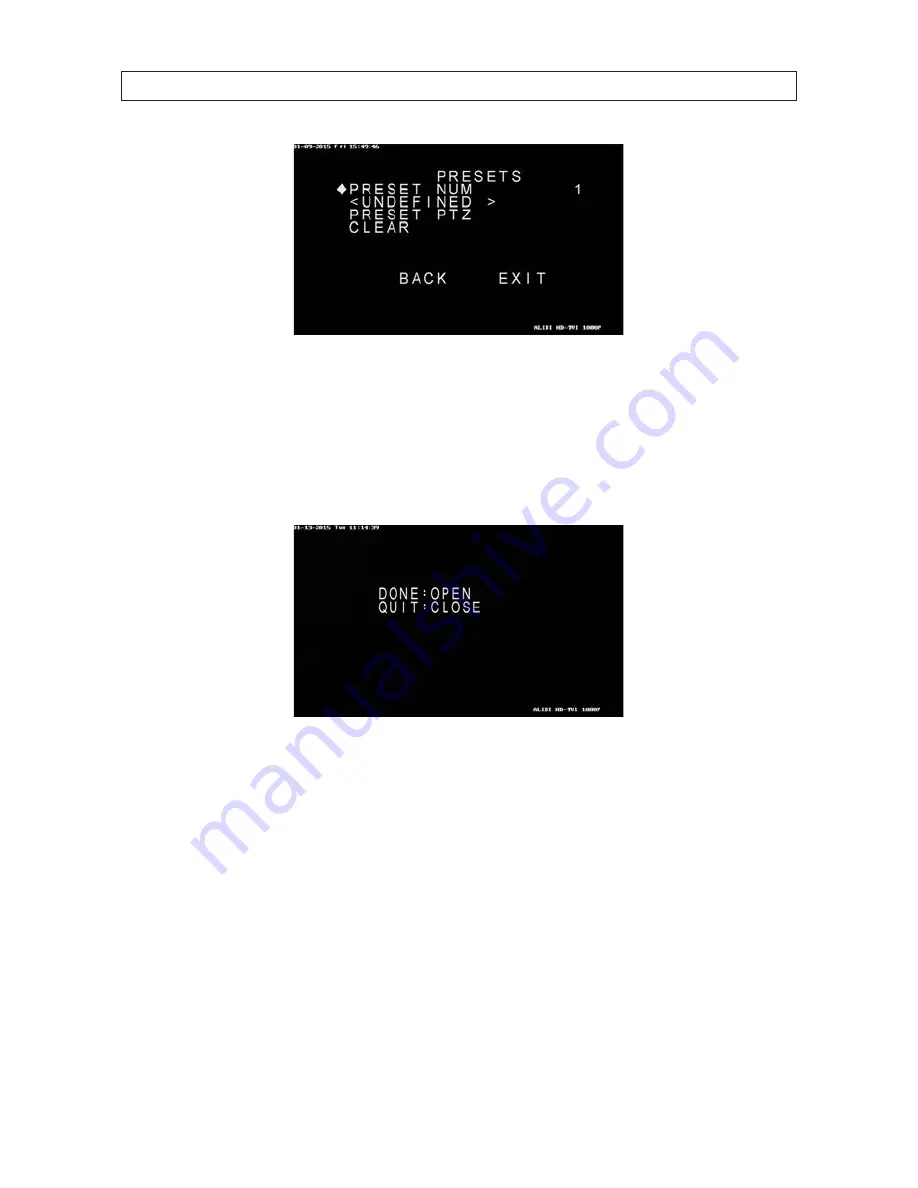
2.
Click
Iris+
to change the PRESET NUM field.
3.
Use the
p
and
q
buttons to change the number shown for the preset number. Presets can be numbered from 1 .. 256.
4.
Click
IRIS+
to create the preset.
5.
Move the position icon to the PRESET PTZ option, and then click
Iris+
.
6.
Use the focus, zoom and iris controls and direction buttons to point the camera at your preset target, then click
Iris+
to save
the preset and return to the PRESETS menu.
7.
Repeat steps
2
through
6
above to create additional presets.
8.
To clear a preset:
a.
Open the
PRESETS
menu, and then select the
PRESET NUM
ber to clear.
b.
Move the position icon to the
CLEAR
option, click
Iris+
, and then click
Iris+
again to confirm the action.
5.3.10 PRIVACYS submenu
The PRIVACYS submenu is used to create privacy blanks (masks). These blanks are used to cover sensitive areas on the live video to
prevent that content from appearing in live view and recorded video. The blanks cover the same areas even when the camera pans


