


Photofinish OPTIc2.NET
Page 47
Menu to setup the lanes (see also 6.3 Track and Field (Athletics)).
If you activate this icon the latest recording is always shown immedi-
ately. This function is used if the photo finish system is used as back-
up without a person that will evaluate a picture without any certain
reason (e.g. protest).
In you click on
it the picture is shown in black and white. To
change back to color click again on
.
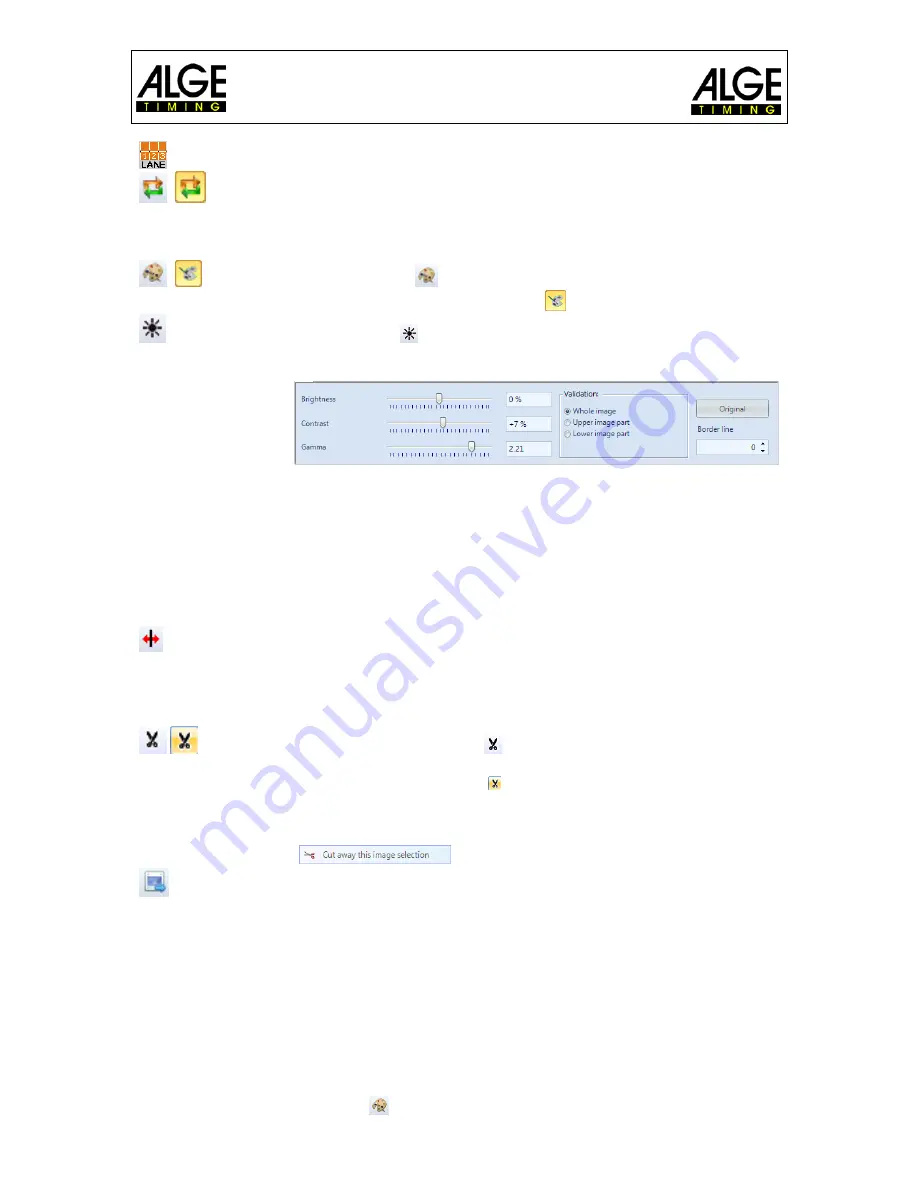
If you click on
you can adjust the brightness, contrast and gamma
of the recorded picture. These adjustments apply to all evaluation
windows.
If you click on <Whole image> the adjustments are carried out for the
complete picture. It is possible to adjust only the upper or lower part
of the picture. This is necessary, if you have e.g. half of the picture in
the shadow, the other half in the sun. In order to adjust this you have
to input the <Border line>. This is the border pixel of your picture. The
lowest pixel is 1, the topmost pixel is 1360. If you adjust e.g. 680 this
is the exact middle of the picture. Now you select <Upper image part>
for adjusting the upper picture part, or <Lower image part> for editing
the lower picture part.
Use this to adjust the “Pixel Lag” if the scan rate is not well adjusted
or if the competitors reach the finish with a speed that is too fast or
too slow. The pixel lag is also adjustable globally (also for future re-
cordings; see chapter 7.1 Possible Camera Settings:). The adjust-
ments you always apply to all evaluation windows.
Cut Picture: If you click on
you can cut parts of the picture (e.g.
recorded objects that does not belong to the race). When you select
cutting the icon changes to and shows that cutting is active. Click
now in the picture and keep the left mouse button pressed and move
the mouse. It will mark now the part of the picture red. This part you
cut by pressing the right mouse button. Now it shows
and you click with the left mouse button on it.
When you click on this icon the picture that is shown right now in
<View 1> is exported.
9.2 View 2
In View 2 the same picture of the recorded image as in View 1 is shown, but you can adjust
another zoom factor (e.g. zoom factor to see a part of the picture with a higher resolution). It
is not possible to evaluate a race in View 2.
9.3 Overview
In Overview you can zoom in up to 5% of the original picture. It is used as overview for races
with long recording time. When adjusting a finish line we recommend to control the adjust-
ment by switching on black/white
.