background image

- 25 -

To Select A Page Of Teletext

• Press the appropriate digit buttons for the

required Teletext page number.

The selected page number is displayed in
the top left corner of the screen. The Teletext
page counter searches until the selected
page number is located, the desired page is
then displayed on the screen.
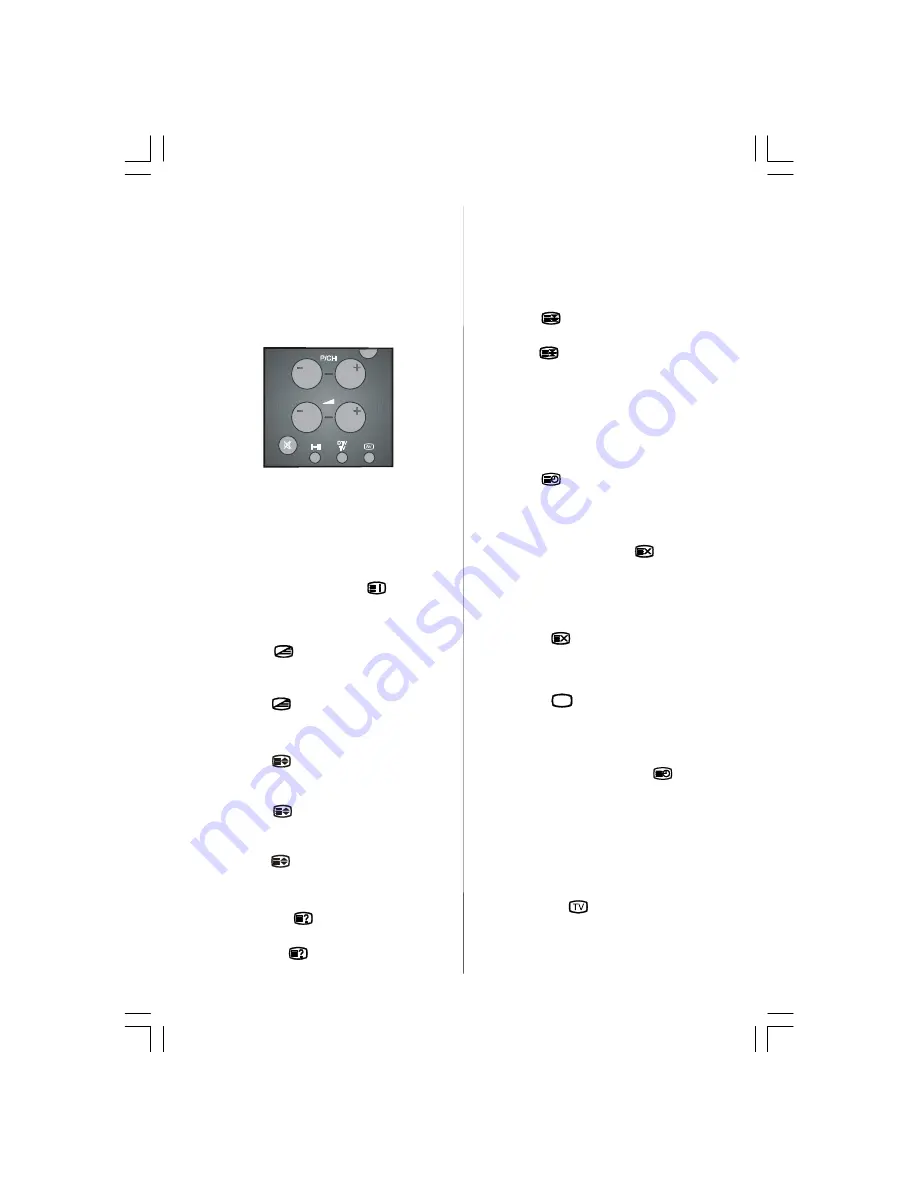
• Press the “

P/CH +

” button to move the Tele-

text screen forward one page at a time.

• Press the “

- P/CH

” button to move the Tele-

text screen backward one page at a time.

To Select Index Page

• To select the page number of the index (gen-

erally page 100), press the “

” button.

To Select Teletext With A TV
Programme

• Press the “

” button. The text is now su-

perimposed over the programme on the
screen.

• Press the “

” button again to return to the

Teletext page.

To Select Double Height Text

• Press the “

” button for the top half of the

information page to be displayed in double
height text.

• Press the “

” button again for the bottom

half of the information page to be displayed
in double height text.

• Press the “

” button once more for the full

page of normal height text.

To Reveal “Concealed” Information

• Pressing the “

” button once will reveal

answers on a quiz or games page.

• Pressing the “

” button again will conceal

the revealed answers.

To Stop Automatic Page Change

The teletext page you have selected may
contain more information than what is on the
screen; the rest of the information will be
displayed after a period of time.

• Press the “

” button to stop the automatic

page change.

• Press the “

” button again to allow the next

page to be displayed.

To Select A Subcode Page

Subcode pages are subsections of long
Teletext pages that can only be displayed on
the screen one section at a time.

• Select the required Teletext page.

• Press the “

” button.

• Select the required subcode page number

by pressing four digit buttons (e.g. 0001).

• If the selected subcode page is not displayed

in a short time, press the “

” button. TV

programme will be displayed on the screen.

• Teletext page number will be displayed on

the upper left corner of the screen when the
selected page is found.

• Press the “

” button to display the se-

lected Teletext page.

To Exit Teletext

• Press the “

TV

” button. The screen will

switch to TV mode.

To Display The Time

• While watching a TV programme with Tele-

text transmission press the “

” button.

The current time information, captured from
Teletext will be displayed on the screen.

• If the programme being watched does not

have Teletext transmission, no information
will be displayed.

• Time information is displayed on the screen

for 10 seconds. If you want to cancel the dis-

play, press the "

" button.

ENG-20700-20 INCH TFT-BACK AV-1549UK-MB18 IDTV-(WO PIP-WO PC)-50093041.p65

06.09.2006, 17:37

25

Summary of Contents for MB18 IDTV

Page 1: ...t Instruction 33 Safety Precautions 2 Remote Control Batteries 2 Features 3 Control Panel Buttons 4 Remote Control Buttons 5 Before Switching On Your TV 6 Power Connection 6 Connections To The RF Inpu...

Page 2: ...ment parts are required be sure the service technician has used replacement parts which are specified by the manufacturer or have the same specifications as the origi nal one Unauthorised substitution...

Page 3: ...for envi ronmentally safe re cycling Business users should contact their supplier and check the terms and conditions of the purchase contract This product must not be mixed with other commercial wast...

Page 4: ...ControlPanelButtons TV AV MENU P CH VOLUME P CH MENU LED TV AV VOLUME POWER ON OFF INFRARED RECEIVER SPEAKER ENG 20700 20 INCH TFT BACK AV 1549UK MB18 IDTV WO PIP WO PC 50093041 p65 06 09 2006 17 37...

Page 5: ...unction GUIDE Index Page Reveal PC No function Expand WIDE Aspect ratio No Function Teletext Time Red Green Mute I II Mono Stereo Dual I II Volume P CH Programme Down PP Colour Temperature M Menu 31 C...

Page 6: ...r of the TV Then the TV switches itself to stand by mode and the LED becomes RED lo cated on the front of the TV 2 To switch on the TV from stand by mode either Press a digit button on the remote cont...

Page 7: ...lect No To select an option Yes or No highlight the item by using or buttons and press the OK button The IDTV will automatically tune to the UHF transmision channels 21 to 68 looking for digital terre...

Page 8: ...lect programmes between 0 and 9 TV will switch to the selected programme To select programmes between 10 999 for IDTV or 10 99 for analogue press the digit buttons consecutively which programme you wa...

Page 9: ...yed on the screen When the current programme is high lighted the box is switched to the highlighted channel by pressing the SELECT button If you press the SELECT button when a next event is highlighte...

Page 10: ...tal terrestrial broadcasting DVB T in addition to pictures and sound you can also watch digital teletext Digital teletext is sometimes broadcast at the same time as normal broadcasting 1 Press the but...

Page 11: ...BC FOUR 8 Sky Travel 9 UKHistory 10 RTL Select Delete Edit Name Lock Favourites Function Select Channel Watch More Navigating the whole channel list Press or button for selecting the previ ous or next...

Page 12: ...word pro tected access to channels selected by parents In order to lock a channel you should know the Parental Lock password default value is set to 0000 in the factory and can only be changed from th...

Page 13: ...ir channel numbers Some services may not appear with the cor rect channel number At the time of printing not all broadcasters are sending their chan nel number information Manual Search In manual sear...

Page 14: ...in Menu Channel List Installation Configuration Timers Language TV Setup Common Interface The various configuration functions are dis played in a list along with a quarter screen image of the currentl...

Page 15: ...e the IDTV goes to standby The second one is waking up at 03 00 a m every night pro vided that the IDTV is left in standby mode Both automatic upgrade methods result in standby mode either upgraded or...

Page 16: ...0 00 00 01 01 2005 Inactive 3 BBC ONE 00 00 00 00 01 01 2005 Inactive 4 BBC ONE 00 00 00 00 01 01 2005 Inactive 5 BBC ONE 00 00 00 00 01 01 2005 Inactive 6 BBC ONE 00 00 00 00 01 01 2005 Inactive Togg...

Page 17: ...main menu Press the M button to display the main menu and use or button to highlight TV Setup press the SELECT button to display TV Setup menu screen Main Menu Channel List Installation Configuration...

Page 18: ...menu select Picture using button then enter the Picture menu by pressing or button down for picture settings brightness contrast sharpness color picture 61 filter sharp 36 50 43 Brightness As you ent...

Page 19: ...ressing button select the first icon Feature menu appears on the screen down for feature settings sound style feature effect user normal effect This feature turns on or off the surround ef fect By pre...

Page 20: ...you can select one of these options Normal Warm and Cool dynamic skin tone Dynamic skin tone effect corrects the hue of colours that matches to skin tones Press or button to select dynamic skin tone B...

Page 21: ...programming options program number program name standard store programming manual search on off frequency Mhz prg skip fine tuning 01 AUTO 471 25 program number By pressing or button select program n...

Page 22: ...9 30 31 32 33 34 35 36 16 28 ZDF ITV C 5 BBC1 C 6 C 8 C 21 13 14 15 25 26 27 Program table shows the programme num bers and the names assigned to the programmes Here you can adjust the channel order b...

Page 23: ...Number Programme Name or AV displayed on the upper right of the screen and Sleep Timer time remaining is displayed on the upper right hand side of the screen if enabled The sound indicator and pictur...

Page 24: ...d starts 3 seconds later again to count down It is not valid in AV mode Volume Bar The volume bar is displayed in the lower middle of the screen When a volume com mand is received pressing or on the r...

Page 25: ...atic Page Change The teletext page you have selected may contain more information than what is on the screen the rest of the information will be displayed after a period of time Press the button to st...

Page 26: ...io and video equipment that can be connected to your TV The following connection diagrams show you where the different Optional equipment should be connected at the rear side of the TV Via The Eurocon...

Page 27: ...cable in the aerial socket ANT of your video recorder once you have stored the test signal Camera And Camcorder To Connect To AV 2 Input Connect your camera or camcorder to AV 2 input at the rear sid...

Page 28: ...maged Are suitable plugs used to connect the aerial If you are in doubt consult your dealer No Picture means that your TV is not receiv ing any transmission Have you pressed the correct buttons on the...

Page 29: ...NA AV 2 S VIDEO INPUT VIDEO INPUT AUDIO INPUT R AUDIO INPUT L A B C D E F G H I J DC 12 V LINE OUT L LINE OUT R SCART SOCKET AV 1 V V V V HEADPHONE ENG 20700 20 INCH TFT BACK AV 1549UK MB18 IDTV WO PI...

Page 30: ...30 ENG 20700 20 INCH TFT BACK AV 1549UK MB18 IDTV WO PIP WO PC 50093041 p65 06 09 2006 17 37 30...

Page 31: ...Digital Tv requires a better signal than analog You m ay need an aerial upgrade No Text or corrupt text Poor signal See above No sound Sound source m ay be in correctyl set Mute m ode m ay be selecte...

Page 32: ...n Display RFAERIALINPUT 75 Ohm unbalanced OPERATINGVOLTAGE 230 240V AC 50 Hz AUDIO German Nicam Stereo AUDIO OUTPUT POWER WRMS 10 THD 2 x 3 W POWER CONSUMPTION W 54 W 3 W Stand by PANEL 4 3 display 20...

Page 33: ...s follows Connect the Green Yellow wire to the Centre Pin EARTH Connect the Blue wire to the N terminal this may be coloured blue Connect the Brown wire to the L terminal adjacent to the fuse this may...

Page 34: ......

Reviews: