AS W i p LL 900 MHz
Quick In stallation & Co nfigu ration Gu id e
13070311-02
Airspan Networks Inc.
21
4. Apply factory defaults to the BSR, by performing the following:
a. On the toolbar, click the
Set Factory Default
button; A Warning message box appears.
b. Click
Yes
to confirm applying factory defaults to the BSR; A Warning message box appears.
c. Click
Yes
to confirm BSR reset; WipConfig applies the default settings to the SPR/IDR.
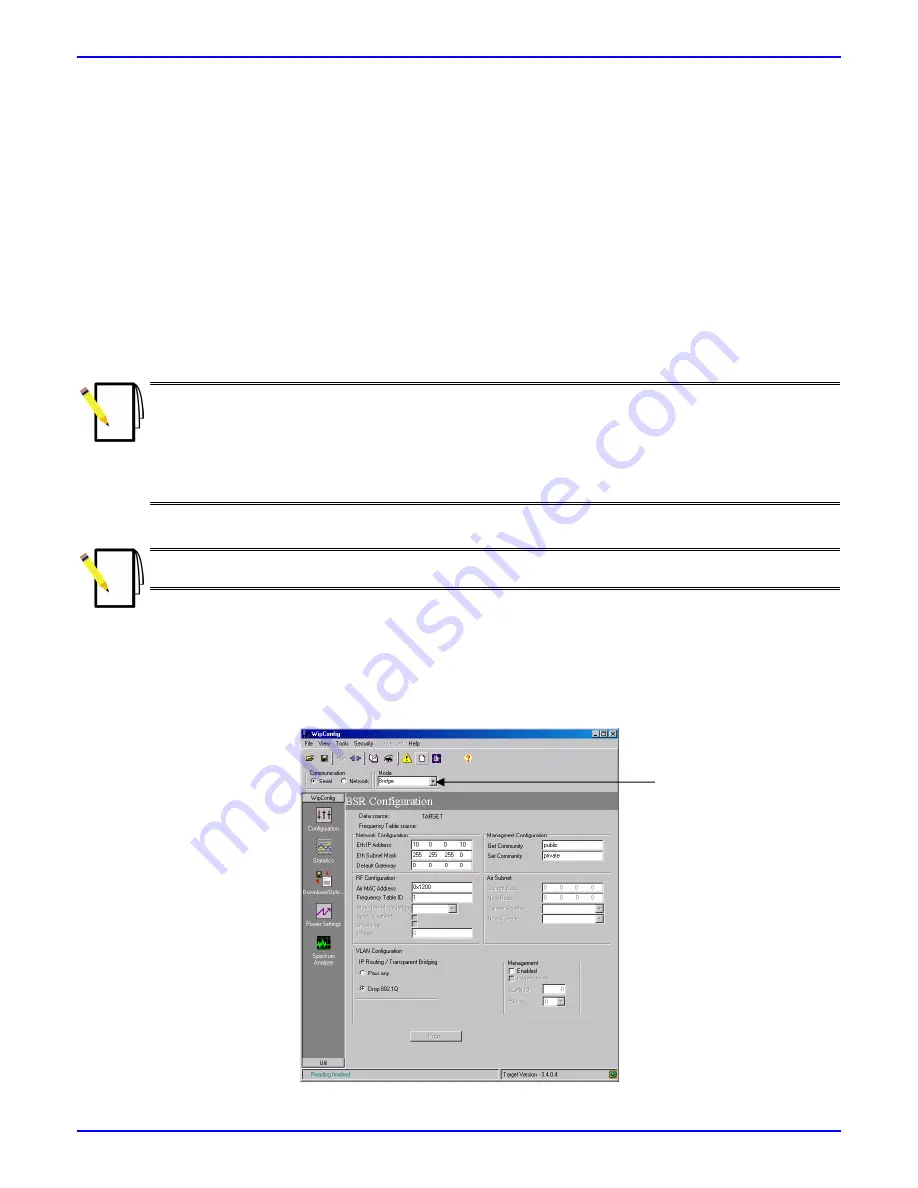
5. From the
Mode
drop-down list, select
Bridge
(i.e. for transparent bridge mode).
6. In the
Network Configuration
group, enter the following fields:
Eth IP Address
: enter the BSR’s IP address (e.g.
10.0.0.10
)
Eth Subnet Mask
: enter the BSR’s subnet address (e.g.
255.255.255.0
)
Default Gateway
: enter the BSR’s default gateway’s IP address if relevant
7. In the
RF Configuration
group, enter the following fields:
Air MAC Address
: enter the BSR’s Air MAC address (0x0000 through 0xFFFF), e.g.
0x1200
Notes:
1) For the Air MAC address, Airspan recommends using only the most significant bytes (MSB), e.g. the
two
left-most bytes
, and not the least significant bytes (LSB), e.g. the right-most bytes. For example, a typical Air
MAC address would be “AB00”, where the zeros represent the LSB.
2) To ensure each BSR has a unique Air MAC address, ensure the two left-most significant bytes are different
between BSRs, for example,
10
00 and
20
00. In this way, the ASWipLL system can support 256 different
BSRs in the same sector (or area).
Frequency Table ID
: enter
frequency table number used by BSR (0 through 63), e.g.
1
Note:
Frequency tables 0 through 31 are read-only (i.e. in ROM); frequency tables 32 through 63 are stored
in the NVRAM.
8.
On
the toolbar, click the
Write
button.
9.
On
the toolbar, click the
Reset
button
to reset the BSR; A Warning message box appears.
10. Click
Yes
to confirm BSR reset.
The figure below displays the BSR configured in the bridge mode.
“Bridge” mode
selected


