AS W i p LL 900 MHz
Quick In stallation & Co nfigu ration Gu id e
13070311-02
Airspan Networks Inc.
19
7.2. Installing WipManage
The WipManage program is supplied on a CD-ROM.
To install WipManage:
1. Insert the
WipManage
CD into your CD-ROM drive.
2. On the Window’s taskbar, click
Start
, and then choose
Run
.
3. Browse the WipManage CD, and then double-click
wipmng.exe
. The installation wizard starts.
4. Click
Next
to begin the installation.
5. Click
Next
to agree to the terms of the license agreement and continue with the setup.
6. Click
Next
to install WipManage in the default directory C:\WipMng.
7. Click
Next
to add WipManage to the “Airspan” Program Manager Group.
8. If Microsoft Access is not installed on your PC, select the
Add MS-Access ODBC Drivers
check box.
9. Select the
Add Data Source
check box if you are performing a first-time installation of WipManage, and
then click
Next
.
10. Enter the Customer Key to continue the installation, alternatively, leave the
Customer Key
field empty,
and then click
Next
to continue.
11. Click
Next
to begin installing WipManage. If you selected the
Add Data Source
check box in Step
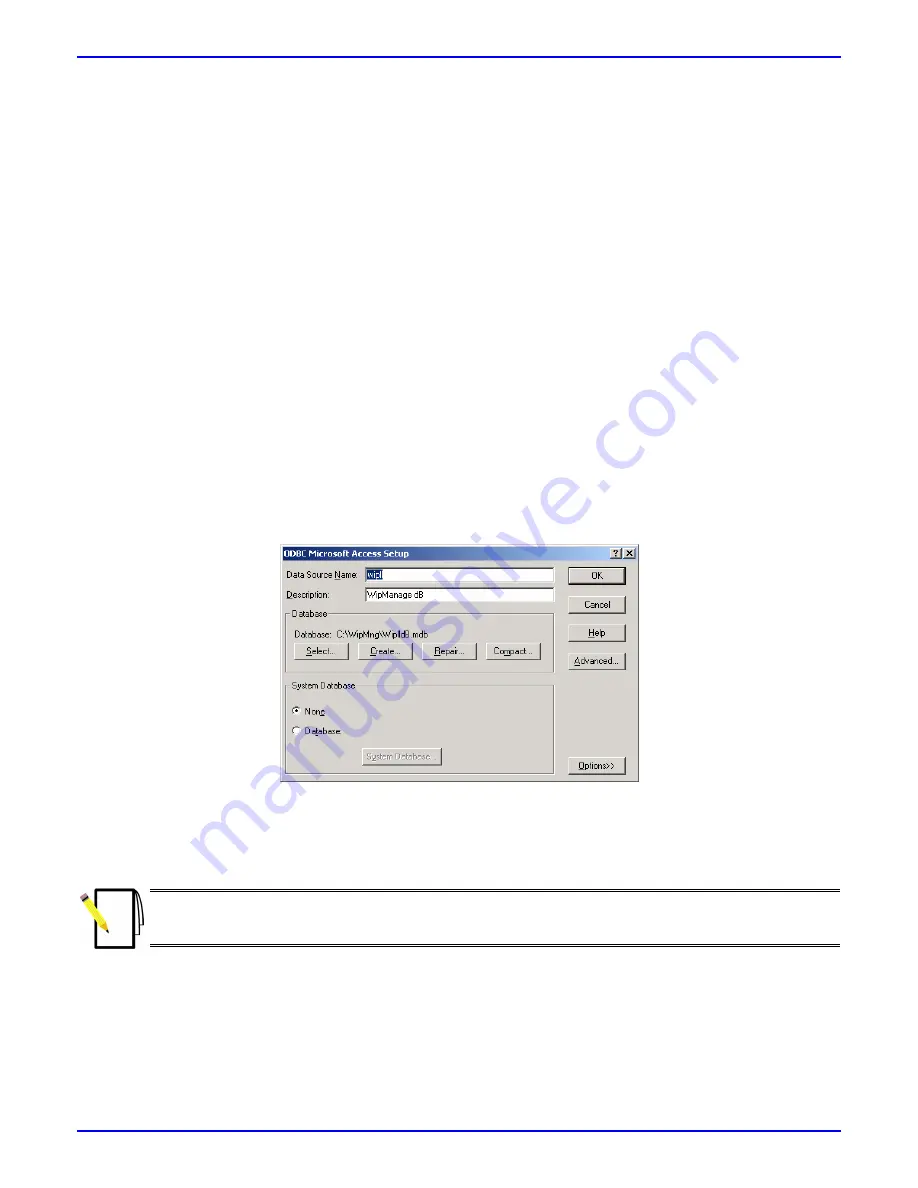
9, the
ODBC Microsoft Access Setup dialog box appears.
In the ODBC Microsoft Access Setup dialog box, accept the settings, and then click
OK
to continue
installation. The WipManage wiplldb.mdb file will be created in the directory C:\WipMng\wiplldb.mdb.
12. When the installation has completed, click
Finish
to close the wizard.
Note:
WipManage does not receive traps if you have a firewall. In such a setup, the outbound UDP port 161
(SNMP) must remain open.


