AirLive PoE-FSH2442 User’s Manual
12
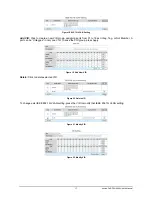
Delete Item:
To delete the device in the Monitor List.
6.4 Device
Setting
You can set the device by using the function key in the Device Setting Dialog box.
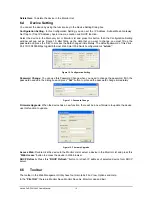
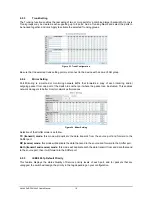
Configuration Setting:
In this Configuration Setting, you can set the IP Address, Subnet Mask, Gateway,
Set Trap to (Trap IP Address), System name, Location and DHCP function.
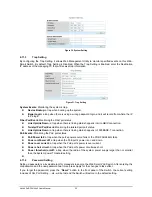
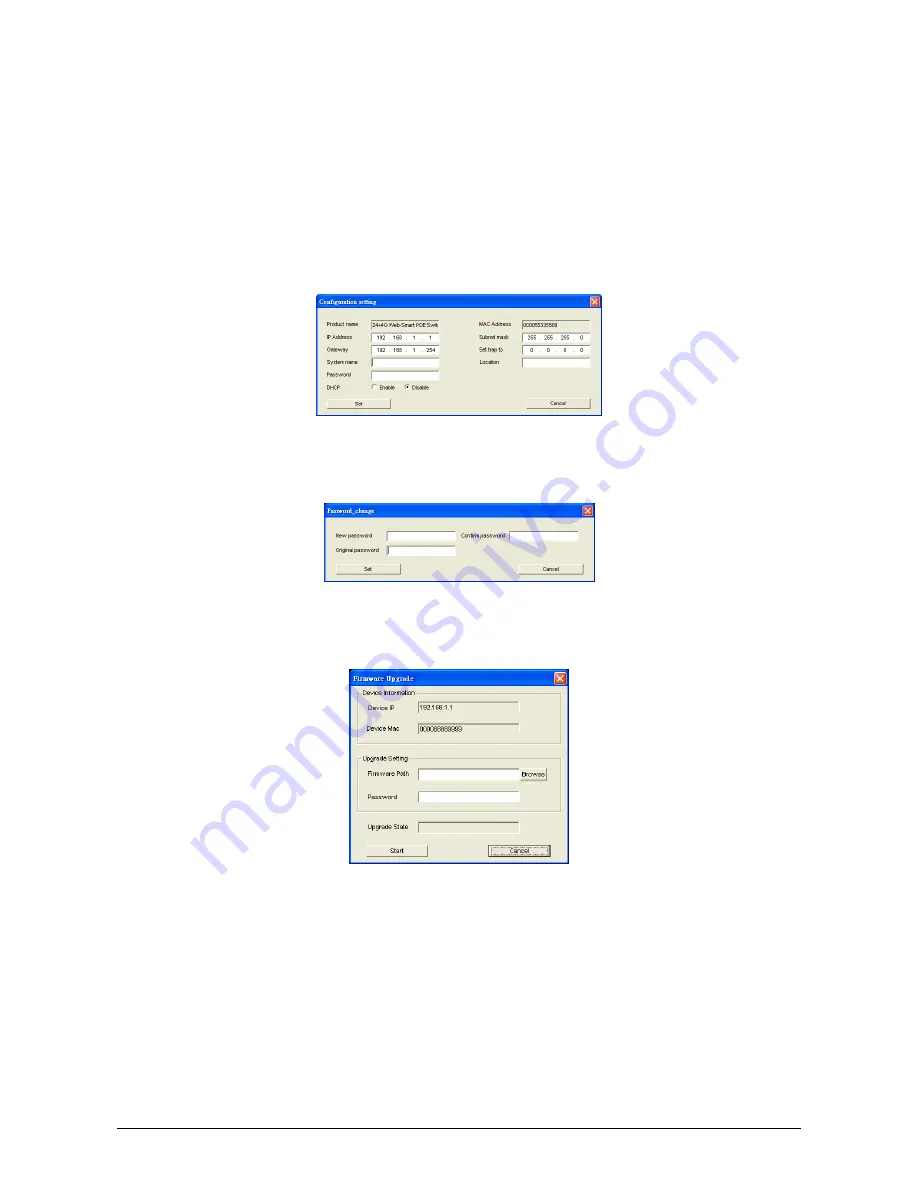
Select the device in the Discovery list or Monitor List and press this button, then the Configuration Setting
window will pop out as Figure 10, after filling up the data that you want to change, you must fill up the
password and press the “Set” to process the data changed immediately. The default password of this 24+4-
Port 10/100/1000Mbps Gigabit Ethernet Web Smart PoE Switch configuration is
“admin”
.
Figure 10. Configuration Setting
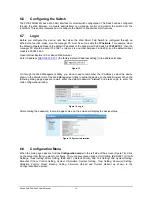
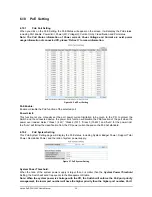
Password Change:
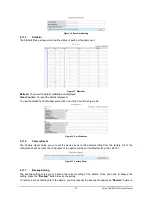
You can use this Password Change when you need to change the password, fill in the
password needed in the dialog box and press
“Set”
button to proceed the password change immediately.
Figure 11. Password Change
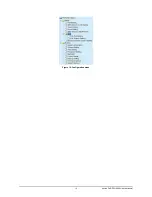
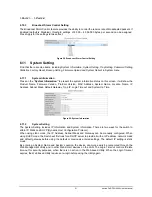
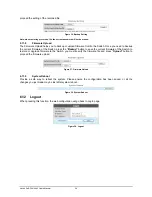
Firmware Upgrade:
When the device has a new function, there will be a new firmware to update the device,
use this function to update.
Figure 12. Firmware Upgrade
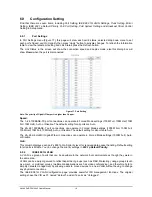
Access Web:
Double click the device in the Monitor List or select a device in the Monitor List and press this
“Web Access”
button to access the device in Web browser.
DHCP Refresh:
Press this
“DHCP Refresh”
button to refresh IP address of selected device form DHCP
server.
6.5 Toolbar
The toolbar in the Web Management Utility have four main tabs, File, View, Options and Help.
In the
“File TAB”
, there are Monitor Save, Monitor Save As, Monitor Load and Exit.


