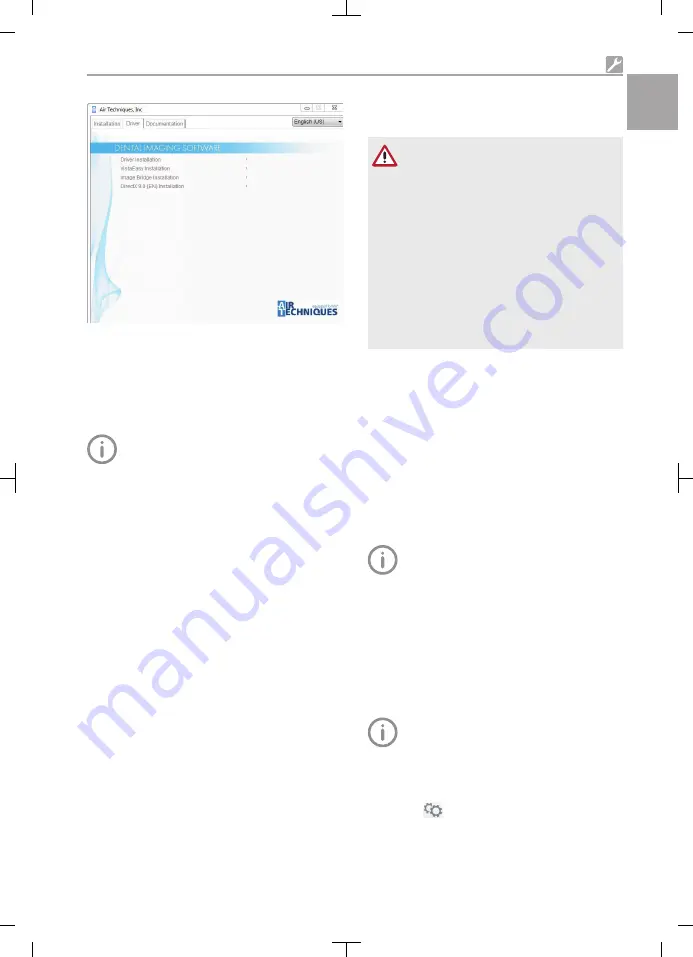
❯
Select the
Drivers
tab.
❯
Click
Driver Installation
.
❯
Click
OK
to confirm.
The
Driver Setup
installation wizard opens.
❯
Follow the instructions of the installation wiz-
ard.
Installing the calibration data
Every sensor requires the individual cali-
bration data stored on the enclosed data
carrier.
❯
Insert or plug the enclosed data carrier in the
drive.
The data carrier starts automatically and the
calibration data are installed.
❯
If the data carrier fails to start automatically, run
the
setup.exe
file.
8
Commissioning and first
start-up
NOTICE
Short circuit due to the build up of
condensation
Strong temperature fluctuations can
damage the unit.
❯
Start-up the unit only once it has equi-
librated to room temperature.
❯
Do not expose the unit to strong tem-
perature fluctuations (heating max.
3 °C/min). Exception: Standard heating
from room temperature approximately
20° C to body temperature approxi-
mately 37 °C during application.
❯
Before starting every time, check the entire
system for damage.
❯
Perform and document safety checks in
accordance with national regulations
(VDE 0751
‑
1, IEC 60601
‑
1).
❯
Carry out and document an acceptance test in
accordance with national regulations.
The unit supports the following imaging pro-
grams:
– VisionX manufactured for Air Techniques
– DBSWIN manufactured for Air Techniques
– Please inquire about third-party software
Always use the current version of the
imaging program in the commissioning of
the device. Check the version of the
enclosed imaging program versus the ver-
sions available at www.airtechni-
ques.com.
8.1
Configuring the unit in
VisionX
The configuration is done in the settings of the
imaging software.
For further information, see the Help func-
tion of VisionX (E7303).
Requirements:
ü
SensorX is connected to computer.
❯
Start-up SensorX.
❯
Click on
once.
❯
Click
Devices
.
❯
Click on the
SensorX
unit in the list.
Installation
2121100020L29 2101V007
19
EN-
US


