5
Using PC Camera
Installing the software
The PC camera software is included in the camera driver, and therefore you
should install the driver before using the PC camera function.
Starting the application
1. Turn on the camcorder and connect the camcorder to your computer.
Turn on the camcorder, and then connect the camcorder to your computer using
the accessory USB cable.
2.
Switch to the Camera mode
Press the
button to bring up the options menu. Use the
Zoom
buttons
( )
to select the
Camera
item and press the
button to confirm.
If you want to use the Video Conferencing function, please install programs such as
Netmeeting
to serve the purpose.
Notice for Windows 2000 users:
When using the PC camera function for the first time, the warning message regarding
digital signature may appear twice or more. Please click
Yes
to continue the installation.
The camcorder is fully compatible with Windows 2000 operation system.
3.
Launch DV TS program.
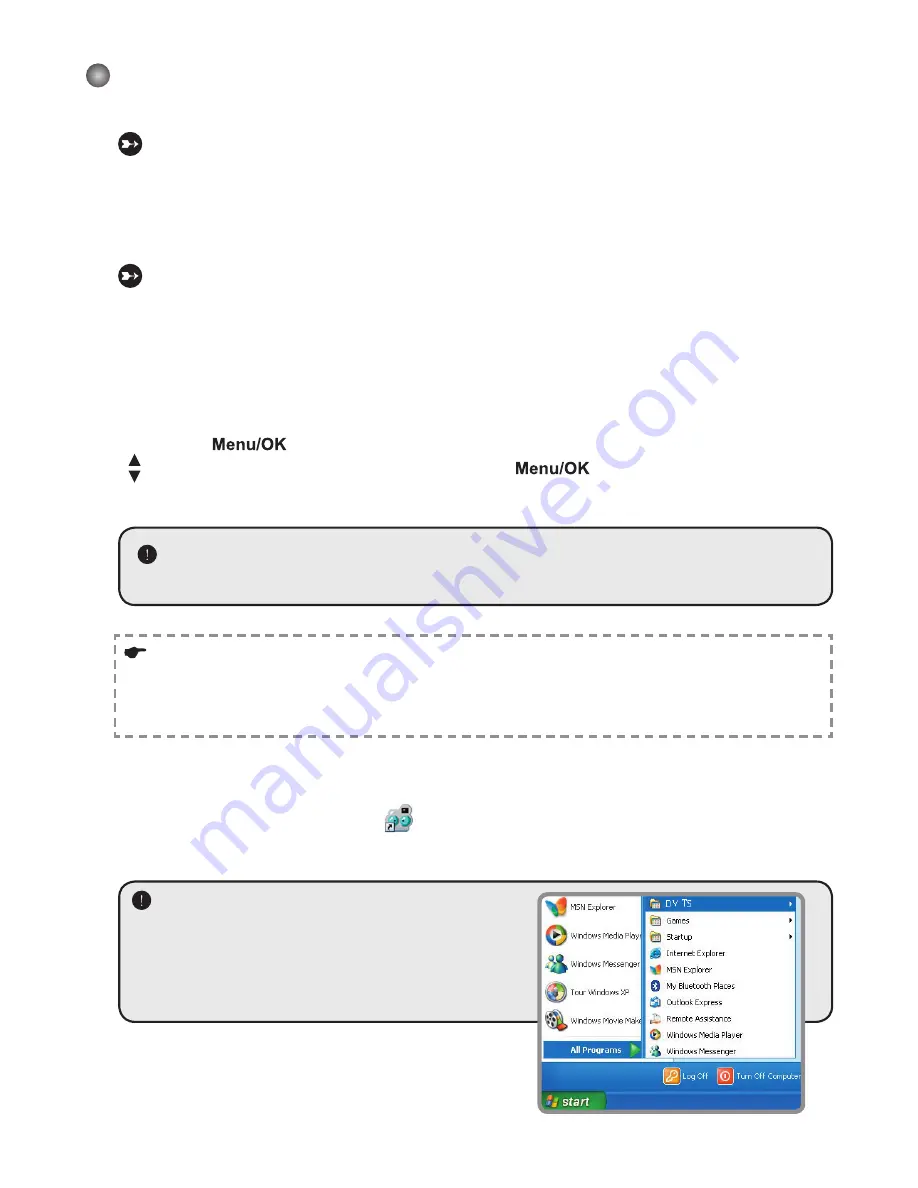
Double-click the
DV TS
icon (
) on the Desktop to start the program. After the
program starts, you can begin to use the PC camera function.
If you cannot find the program shortcut on the
desktop, you can start the program from the
Programs
menu.
Summary of Contents for Pocket DVT100
Page 1: ...English...
Page 14: ...Advanced Instructions English...
Page 29: ...15 Appendix B Converted les...
Page 35: ...Deutsch Digital Camcorder...
Page 47: ...Erweiterte Anweisungen Deutsch Digital Camcorder...
Page 62: ...15 Anhang B Konvertierte Dateien...
Page 68: ...Fran ais Cam scope num rique...
Page 80: ...Instructions avanc es Fran ais Cam scope num rique...
Page 95: ...15 Annexe B Fichiers convertis...
Page 101: ...Italiano Videocamera digitale...
Page 113: ...Istruzioni avanzate Italiano Videocamera digitale...
Page 128: ...15 Appendice B File convertiti...
Page 134: ...Espa ol Videoc mara Digital...
Page 146: ...Instrucciones avanzadas Espa ol Videoc mara Digital...
Page 161: ...15 Ap ndice B Convertir archivos...
Page 167: ...Portugu s Camcorder Digital...
Page 179: ...Instru es avan adas Portugu s Camcorder Digital...
Page 194: ...15 Ap ndice B Ficheiros convertidos...
Page 200: ...Nederlands Digitale camcorder...
Page 212: ...Geavanceerde richtlijnen Nederlands Digitale camcorder...
Page 227: ...15 Bijlage B Geconverteerde bestanden...
Page 233: ......
Page 235: ...2 SD MMC 1 SD 2 3 SD 4 SD PICTxxxx SD 3 3 Mode ABC...
Page 236: ...3 1 1x 1 1x SD SD...
Page 237: ...4 1 2 3 4 1 2 3 1 2 3 4 5 1 2 3 4 5 70cm 50cm 70cm...
Page 238: ...5 1 8 NTSC NTSC PAL PAL 2 3 4 1 2 USB USB 9...
Page 240: ...7 2 1 10 10 0 VGA VGA 640 x 480 QVGA QVGA 320x240 2 2 10...
Page 241: ...8 Mode 1 Mode 50Hz 60Hz 50 60 NTSC NTSC PAL PAL 0 4 0 10 0 1 10 PICTxxxx 1 3 5...
Page 242: ...9 2 USB 50Hz 50Hz 50Hz 50Hz 50Hz 50Hz 50Hz 60Hz 60Hz 50Hz 50 60Hz 60Hz...
Page 245: ......
Page 246: ...1 1 CD ROM CD ROM Setup exe 2 Windows 2000 Windows 2000 3 InstallShield...
Page 247: ...2 4 Windows Media 5 Direct X 9 0 Direct X 9 0c Windows Media Direct X 9 0 6...
Page 248: ...3 1 2 USB USB USB 3 USB USB USB USB USB Windows 2000 XP 1 2 USB 3 OK 4...
Page 249: ...4 MP3...
Page 250: ...5 1 USB 2 Netmeeting Windows 2000 Windows 2000 3 DV TS DV TS...
Page 251: ...6 DV TS DV TS Work Temp C Program Files DV TS Work Temp...
Page 252: ...7 DV TS AVI 1 2 AVI 3 4 5 RGB 24 MJPG AVI 320x240...
Page 253: ...8 DV TS...
Page 254: ...9 A SD MMC SD SD...
Page 255: ...10 A PICTxxx PICTxxxx xxxx PICT0001 ASF PICT0001 JPG...
Page 256: ...11 A Direct X 9 0c Windows Media 9 0 http www microsoft com USB USB...
Page 257: ...12 A 50Hz 50Hz 50Hz 50Hz 50Hz 50Hz 50Hz 60Hz 60Hz 50Hz 50 60Hz 60Hz SD SD SD MMC...
Page 260: ...15 B...
Page 261: ...16 B 1 1 2 a b 3 1 2...
Page 262: ...17 B 2 C Documents and Settings...
Page 265: ...20 C Windows 2000 XP Pentium III 128 64 true color 24 CD ROM 4 Direct X 9 0c Windows Media USB...
Page 266: ...Svenska Digital videokamera...
Page 278: ...Avancerade anvisningar Svenska Digital videokamera...
Page 293: ...15 Bilagor B Konverterade ler...
Page 299: ......


