background image

Basic Guide to the C100 

[email protected]


Basic guide to Canon EOS C100 2017 


This guide is designed to take you through the basic and essential functions of 
the Canon C100 camcorder. 
 

Battery insertion 
 

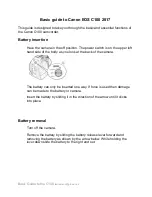
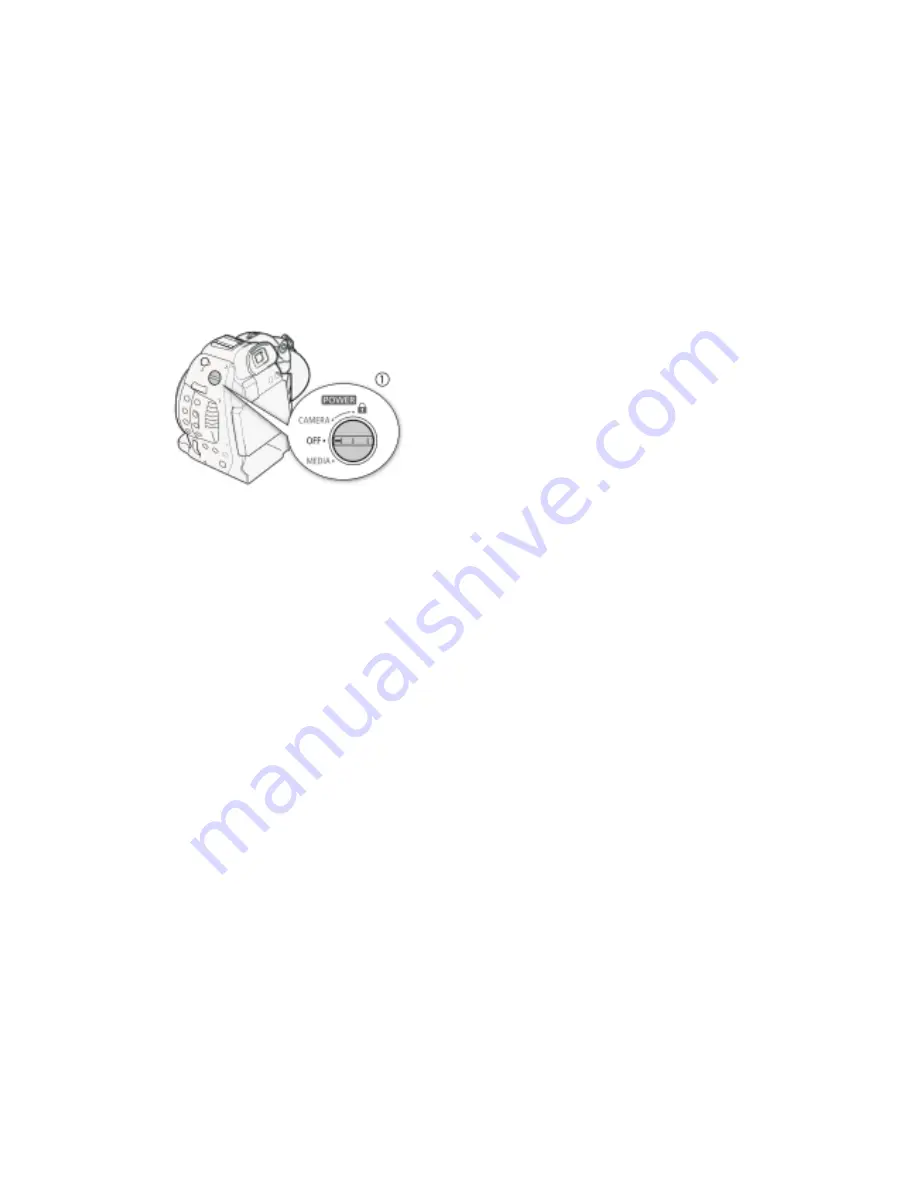
Have the camera in the off position. The power switch is on the upper left 
hand side of the body as you look at the back of the camera. 


The battery can only be inserted one way. If force is used then damage 
can be made to the battery or camera. 

Insert the battery by sliding it in the direction of the arrow until it clicks 
into place. 


Battery removal 


Turn off the camera. 

Remove the battery by sliding the battery release lever forward and 
removing the battery as shown by the arrow below. While holding the 
lever down slide the battery to the right and out. 

Summary of Contents for EOS C100

Page 1: ...hand side of the body as you look at the back of the camera The battery can only be inserted one way If force is used then damage can be made to the battery or camera Insert the battery by sliding it...

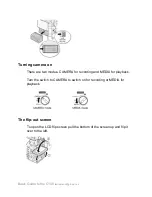
Page 2: ...mera on There are two modes CAMERA for recording and MEDIA for playback Turn the switch to CAMERA to switch on for recording or MEDIA for playback The flip out screen To open the LCD flip screen pull...

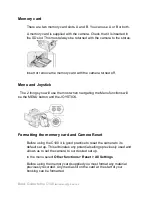
Page 3: ...ngs you will use the most when navigating the Menu functions will be the MENU button and the JOYSTICK Formatting the memory card and Camera Reset Before using the C100 it is good practice to reset the...

Page 4: ...e correct settings The settings can be found in the menu Select Other Functions System Frequency Choose 50Hz Select Other Functions Frame Rate Choose either 50i interlaced or PF25 Progressive Setting...

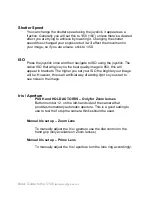
Page 5: ...ve you the best quality image is 850 this will appear in brackets The higher you set your ISO the brighter your image will be However this is an artificial way of adding light so you start to see nois...

Page 6: ...uous AF With compatible lenses that camera can be put into AF auto focus mode One shot AF With the lens switch set to AF using the ONE SHOT AF button 15 will focus the camera automatically Manual When...

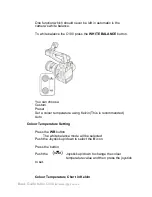
Page 7: ...ton You can choose Custom Preset Set a colour temperature using Kelvin This is recommended Auto Colour Temperature Setting Press the WB button The white balance mode will be selected Push the Joystick...

Page 8: ...Basic Guide to the C100 tsanderson glos ac uk Audio Levels...

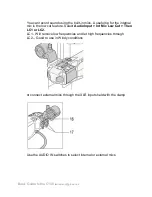
Page 9: ...ernal mic is the low cut feature Select Audio Input Int Mic Low Cut Then LC1 or LC2 LC1 Will remove low frequencies and let high frequencies through LC2 Good to use in Windy conditions or connect exte...

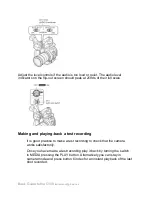
Page 10: ...s of their full scale Making and playing back a test recording It is good practice to make a test recording to check that the camera works satisfactorily Once you have made a test recording play it ba...

Page 11: ...d to be displayed on the flip out display which is helpful for framing shots Select LCD VF Setup Markers Then select the markers you wish to display To see the markers LCD VF Setup Markers Enable ON Z...

Page 12: ...r to red Magnification Press the MAGN button If necessary use the joystick to move around the orange frame and check other parts of the image Set the focus mode switch on the lens to MF in advance You...

Page 13: ...in a separate folder each with a sensible name Card 1 Date Card 2 Date etc example Card 1 180914 2 Store your back up drive in a safe location ideally not in the same room or even the same building as...

Page 14: ...reformat the camera card When it is safe to do so it would be helpful to reformat the camera s media card before returning to the Media School store Please tell Elly or Graham that you have reformatt...

Reviews: