Chapter 1 — Preparing the scanner
6
Unlocking the scanner
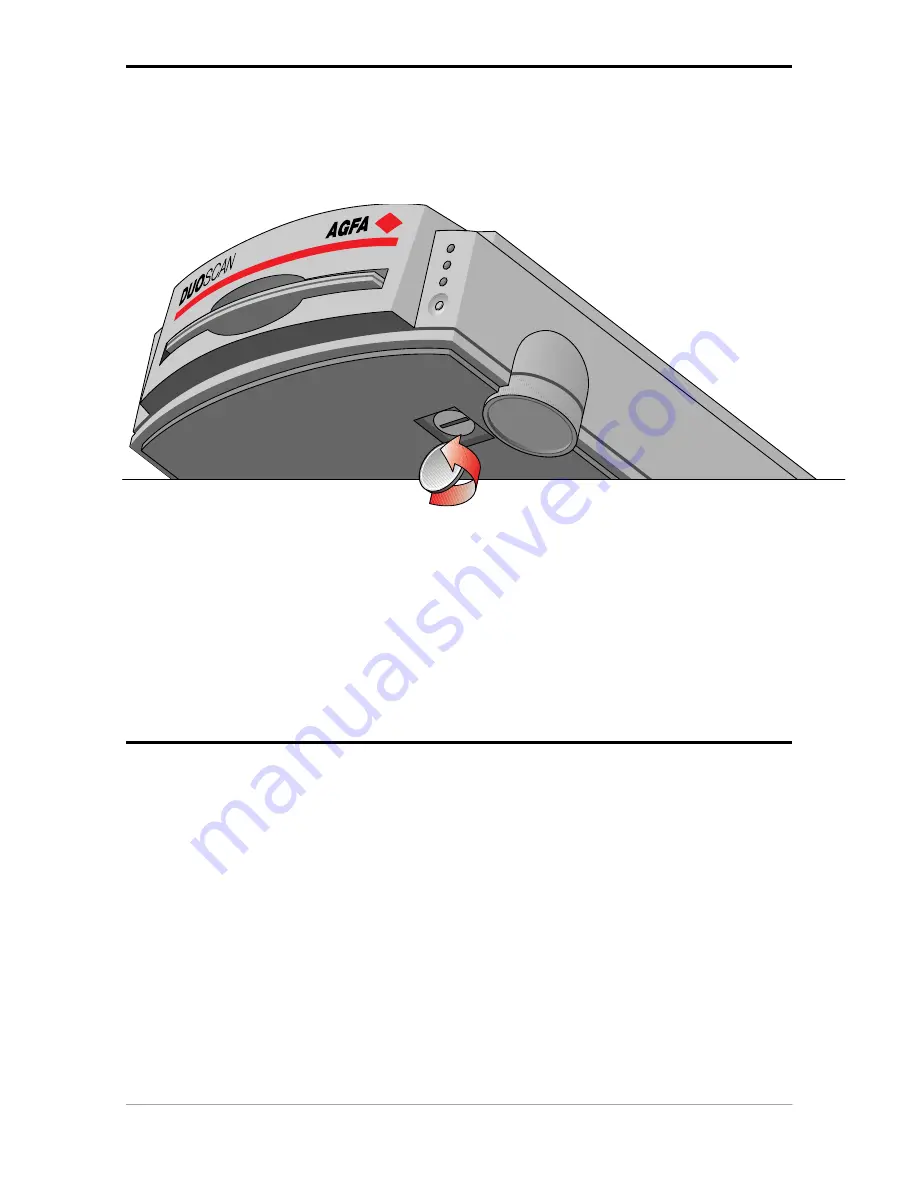
The scanner’s optical carriage contains all optical components and rides back and forth during the
scan. An unlocking screw holds it in place at the right side of the scanner during shipment. You must
remove this screw before powering up the scanner.
2.
Take a coin and turn the screw a quarter counterclockwise.
The screw comes loose: your scanner is unlocked.
3.
Move the scanner back on your desktop. Allow a minimum of 10 cm (4 inches) around each
side of the scanner and a minimum of 15 cm (6 inches) at the rear side of the scanner.
Relocking the scanner
If you need to transport the scanner, you should relock your it. This will protect the scanner's optical
assembly from possible damage.
1.
Switch your scanner on.
2.
Pull the scanner forwards on the edge of the table until you can see the unlocking screw on
the bottom of the scanner.
3.
Take a coin and turn the screw a quarter clockwise.
The screw is fastened: your scanner is locked.
4.
Move the scanner back on your desktop.
5.
Turn your scanner off.
1.
Pull the scanner forwards on the edge of the table until you can see the unlocking screw on
the bottom of the scanner.


