


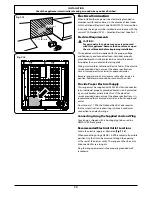


INSTALLATION
Check the appliance is electrically safe and gas sound when you have finished.
27
ArtNo.063-0019 - 90 - SC - Aga Professional - Removing the door
ArtNo.325-0002 - B oven re oving the oor
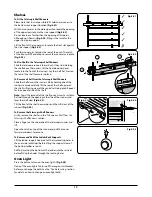
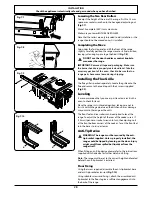
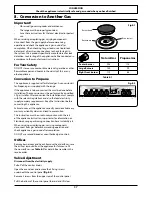
Fitting the Oven Handle
The handle is supplied as a handle assembly, 2 grub screws
(supplied fitted to handle assembly) and an Allen key.
Fit the assembled handle to the projecting mounting studs
on the upper oven door and fix it in place by tightening the
grub screws
(Fig.7-3)
.
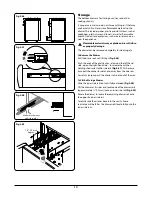
Moving the Range
n
n
The range is very heavy. Take great care.
We recommend two people maneuver the range. Ensure that
the floor covering is firmly attached or removed to prevent it
being disturbed when moving the range around.
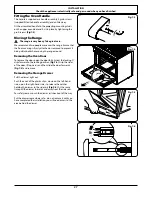
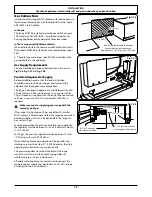
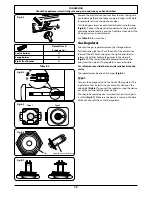
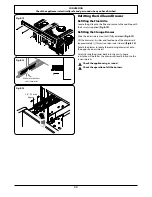
Removing the Oven Door
To remove the door, open the door fully. Swivel the locking ‘U’
clips forward to the locking position
(Fig.7-4)
. Grip the sides
of the door, lift upwards and then slide the door forwards
(Fig.7-5)
and remove.
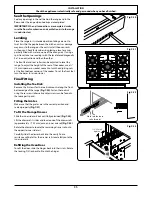
Removing the Storage Drawer
Pull the drawer right out.
Push the ends of the plastic clips – down on the left-hand
side, up on the right-hand side – to release the catches
holding the drawer to the side rails
(Fig.7-6)
. At the same
time pull the drawer forwards and away from the side rails.
For safety reasons push the drawer rails back out of the way.
Put the drawer somewhere safe – do not replace it until you
have completed the installation, you will need access to the
area behind the drawer.
Fig.7-5
Fig.7-3
Fig.7-4
Fig.7-6
Summary of Contents for Professional 90 Dual Fuel
Page 1: ...90 Dual Fuel User Guide Installation Service Instructions U110246 01 Professional ...
Page 45: ...43 ...
Page 46: ...44 ...


