67
ENGLISH
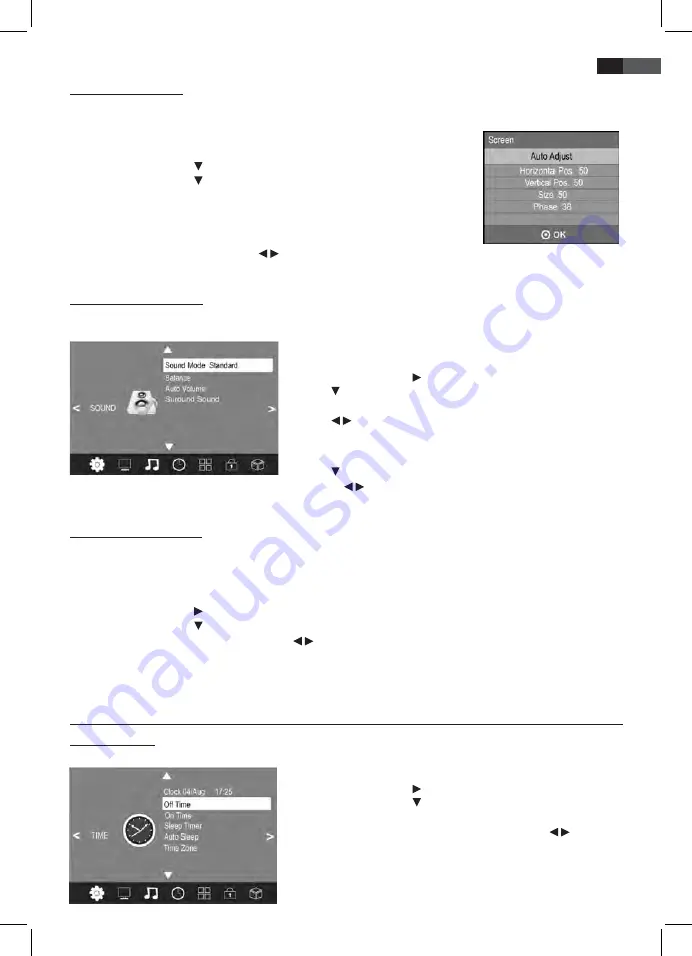
11.4 PC Picture Settings
If a PC is connected to your TV set and
PC
is selected as signal source in the
PICTURE
menu, the item
Screen
can be
selected. Set position and synchronisation for desktop here.
1. Press the
TV MENU
button to display the OSD main menu.
2. Select the
PICTURE
menu.
3. Press the arrow button to highlight
Screen
and press
OK
.
4. Press the arrow button to select the picture setting to be changed:
- Horizontal Pos.
(horizontal desktop position)
- Vertical Pos.
(vertical desktop position)
- Size
- Phase
(synchronisation)
5. Set the value with the arrow buttons / .
6. Press
EXIT
to exit the menu and save the changes.
11.5 Change Sound Settings
Your TV set comes with 4 preset and one manually adjustable sound settings (
Standard, Music, Movie, Sports and User
).
Press the
SOUND
button to cycle through the options. Select
User
to access your user-defined sound settings.
Set Audio Mode
1. Press the
TV MENU
button to display the OSD main menu.
2. Press the arrow button until the menu
SOUND
is activated.
3. Press to highlight the item
Sound Mode
. Press
OK
to display the
menu.
4. Press / to select
User
. The following items are activated and can
be changed:
Treble / Bass
5. Press to access the desired item and set the value with the arrow
buttons / .
6. Press
EXIT
to exit the menu and save the changes.
11.6 Further Sound Settings
• Use
Balance
to set the sound balance between left and right speaker.
• Select
Auto Volume
to adjust different volume, e.g. when changing the channel.
•
Surround Sound
means that the sound is played back with a type of spatial sound.
1. Press the
TV MENU
button to display the OSD main menu.
2. Press the arrow button until the menu
SOUND
is activated.
3. Press the arrow button to highlight
Balance
or
Auto Volume.
4.
Balance:
Press
OK
to display the menu. Press / to set the desired value.
Auto Volume:
Press
OK
to activate/deactivate the function.
Surround Sound:
Press
OK
to activate/deactivate the function.
5. Press
EXIT
to exit the menu and save the changes.
12. Current Time and Timer
12.1 Current Time
In DVB-T mode the TV set automatically detects the current time. In ATV mode the current time can be set manually.
1. Press the
TV MENU
button to display the OSD main menu.
2. Press the arrow button until the menu
TIME
is activated.
3. Press the arrow button to highlight
Clock.
4. Press
OK
to access the function.
5. Enter the values such as date with the arrow buttons / .
6. Press
EXIT
to exit the menu and save the settings.


