33
Chapter 4
4.2 Networking
4.2.1 Network via Ethernet
This section states how to configure the Ethernet port of TPC series prop-
erly. The procedure is listed step by step below.
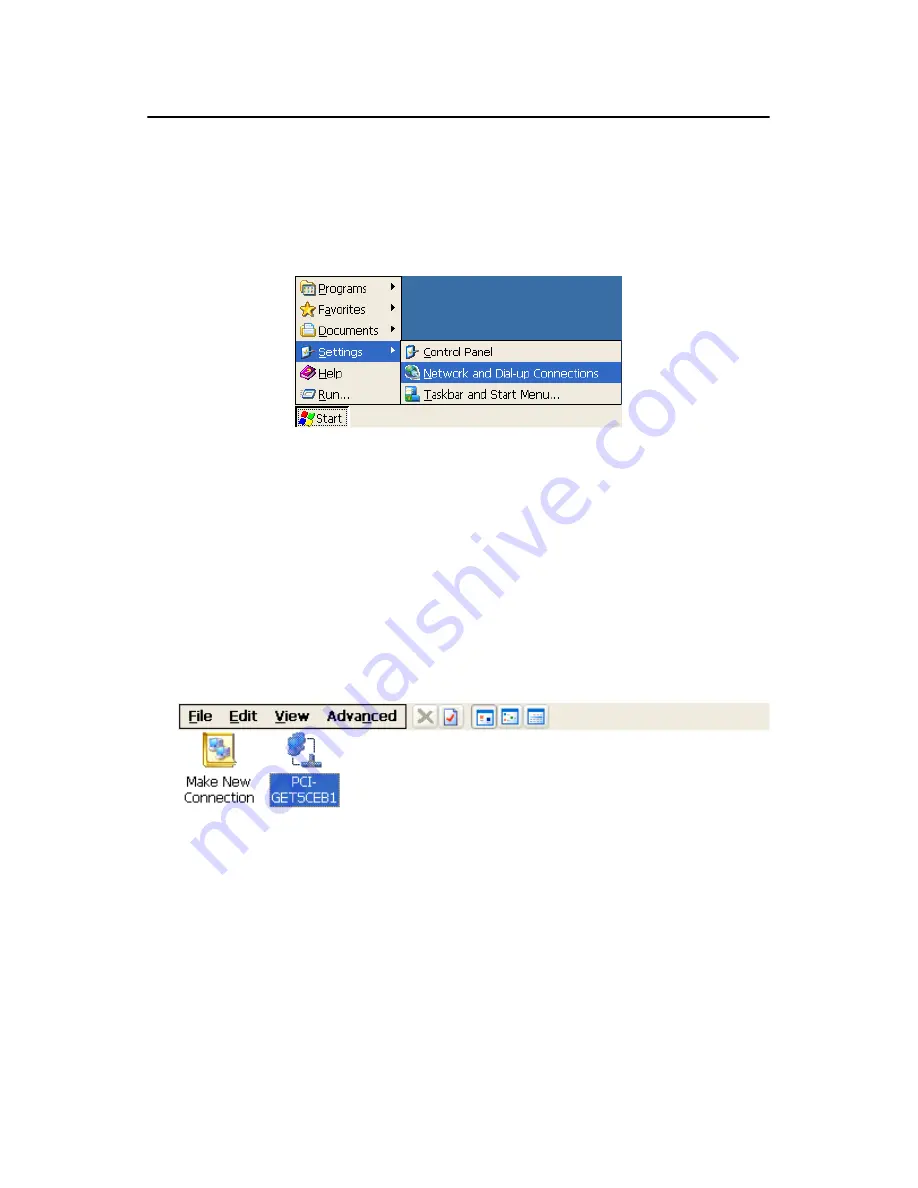
1. Press ‘Start’ in the task bar of Windows and select “Setting” -> “Net-
working and Dial-up connections”.
Figure 4.26: Network and Dial-up Connections
2. A window that shows all available connections will pop up. Double
click the icon that you want to configure the settings for. For example,
double click the PCI-GET5CEB1 icon to configure.
Figure 4.27: Selected Connection
Note
PCI-GET5CEB1 is the device name of the net-
work device on the TPC-1260H
Summary of Contents for TPC-1260H
Page 20: ...TPC 1260H User Manual 8...
Page 21: ...2 CHAPTER 2 System Setup This chapter provides a brief explana tion for operating TPC 1260H...
Page 25: ...13 Chapter2 Figure 2 5 Touch Screen Calibration 1 Figure 2 6 Touch Screen Calibration 2...
Page 26: ...TPC 1260H User Manual 14...
Page 27: ...2 CHAPTER 3 System Engine...
Page 55: ...2 APPENDIX A Serial Port Settings...
Page 57: ...45 AppendixA Figure A 1 Device Manager Figure A 2 COM5 Properties...
Page 58: ...TPC 1260H User Manual 46...
Page 59: ...2 APPENDIX B Fuse Specifications...
Page 61: ...2 APPENDIX C Watchdog Timer Programming...
Page 68: ...TPC 1260H User Manual 56...
Page 73: ...2 APPENDIX E HDD Kit Assembly...
Page 81: ...69 AppendixF Figure F 3 Install License Agreement Figure F 4 Install Completed...
Page 84: ...TPC 1260H User Manual 72 Figure F 8 Standard Calibration 1 Figure F 9 Standard Calibration 2...
Page 86: ...TPC 1260H User Manual 74 Figure F 11 Advanced Calibration 1 Figure F 12 Advanced Calibration 2...
Page 90: ...TPC 1260H User Manual 78...


