TPC-1260H User Manual
22
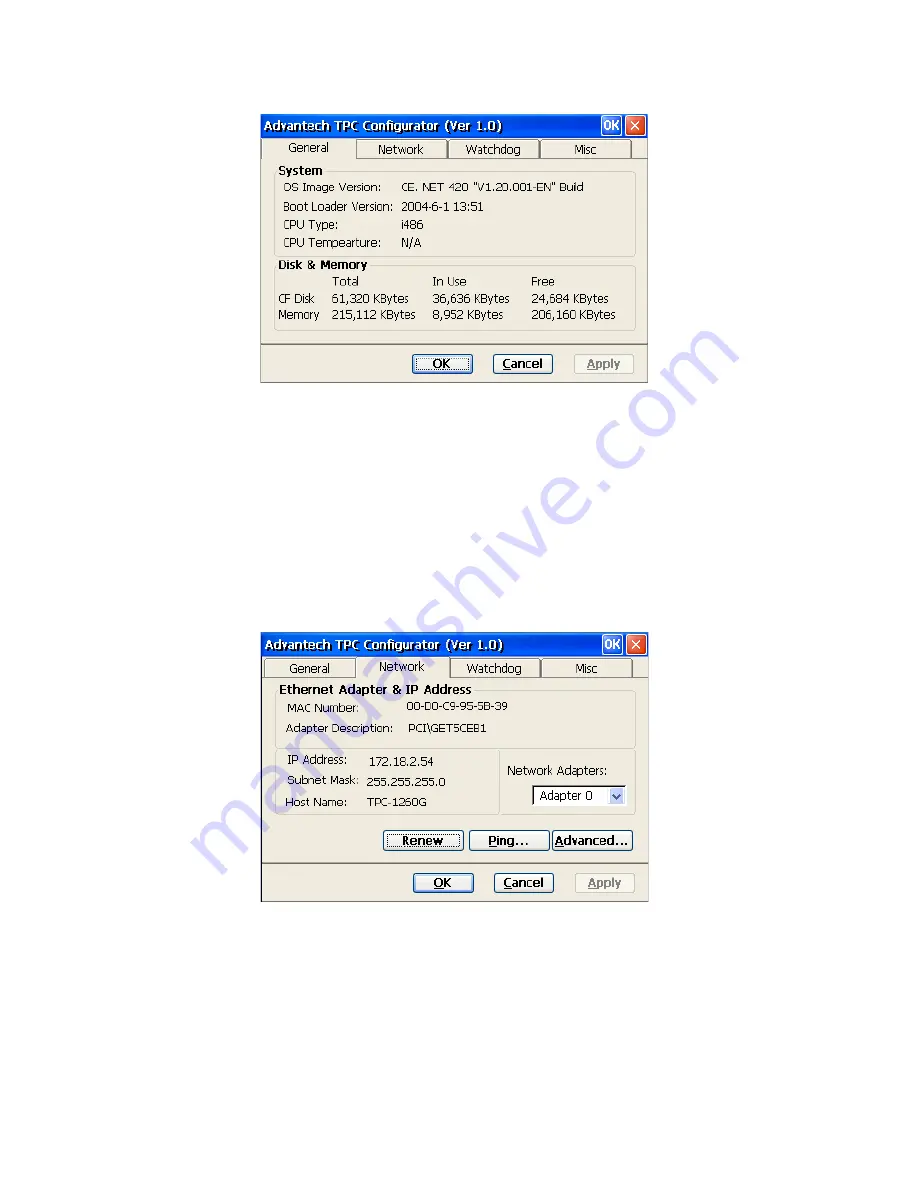
Figure 4.7: General
Network
This page shows information about the active network adapter. You can
select the network adapter from the combo box as shown in Figure 4.7.
Click the “Renew” button to release the current IP and retrieve the new
IP. The “Ping” button is used to test the connection with the specified IP
address.
Figure 4.8: Network Utility
To get more detailed IP information click “Advanced...”. This will dis-
play the default gateway, DHCP server, WINS and DNS server addresses
as shown in Figure 4.8 below.
Summary of Contents for TPC-1260H
Page 20: ...TPC 1260H User Manual 8...
Page 21: ...2 CHAPTER 2 System Setup This chapter provides a brief explana tion for operating TPC 1260H...
Page 25: ...13 Chapter2 Figure 2 5 Touch Screen Calibration 1 Figure 2 6 Touch Screen Calibration 2...
Page 26: ...TPC 1260H User Manual 14...
Page 27: ...2 CHAPTER 3 System Engine...
Page 55: ...2 APPENDIX A Serial Port Settings...
Page 57: ...45 AppendixA Figure A 1 Device Manager Figure A 2 COM5 Properties...
Page 58: ...TPC 1260H User Manual 46...
Page 59: ...2 APPENDIX B Fuse Specifications...
Page 61: ...2 APPENDIX C Watchdog Timer Programming...
Page 68: ...TPC 1260H User Manual 56...
Page 73: ...2 APPENDIX E HDD Kit Assembly...
Page 81: ...69 AppendixF Figure F 3 Install License Agreement Figure F 4 Install Completed...
Page 84: ...TPC 1260H User Manual 72 Figure F 8 Standard Calibration 1 Figure F 9 Standard Calibration 2...
Page 86: ...TPC 1260H User Manual 74 Figure F 11 Advanced Calibration 1 Figure F 12 Advanced Calibration 2...
Page 90: ...TPC 1260H User Manual 78...


