17
MIO-5393 User Manual
Chapter 3
A
MI BIOS
Setup
3.1
Entering Setup
Turn on the computer and check for the patch code. If there is a number assigned to
the patch code, it means that the BIOS supports your CPU. If there is no number
assigned to the patch code, please contact an Advantech application engineer to
obtain an up-to-date patch code file. This will ensure that your CPU‘s system status is
valid. After ensuring that you have a number assigned to the patch code, press
<DEL> and you will immediately be allowed to enter Setup.
3.1.1
Main Setup
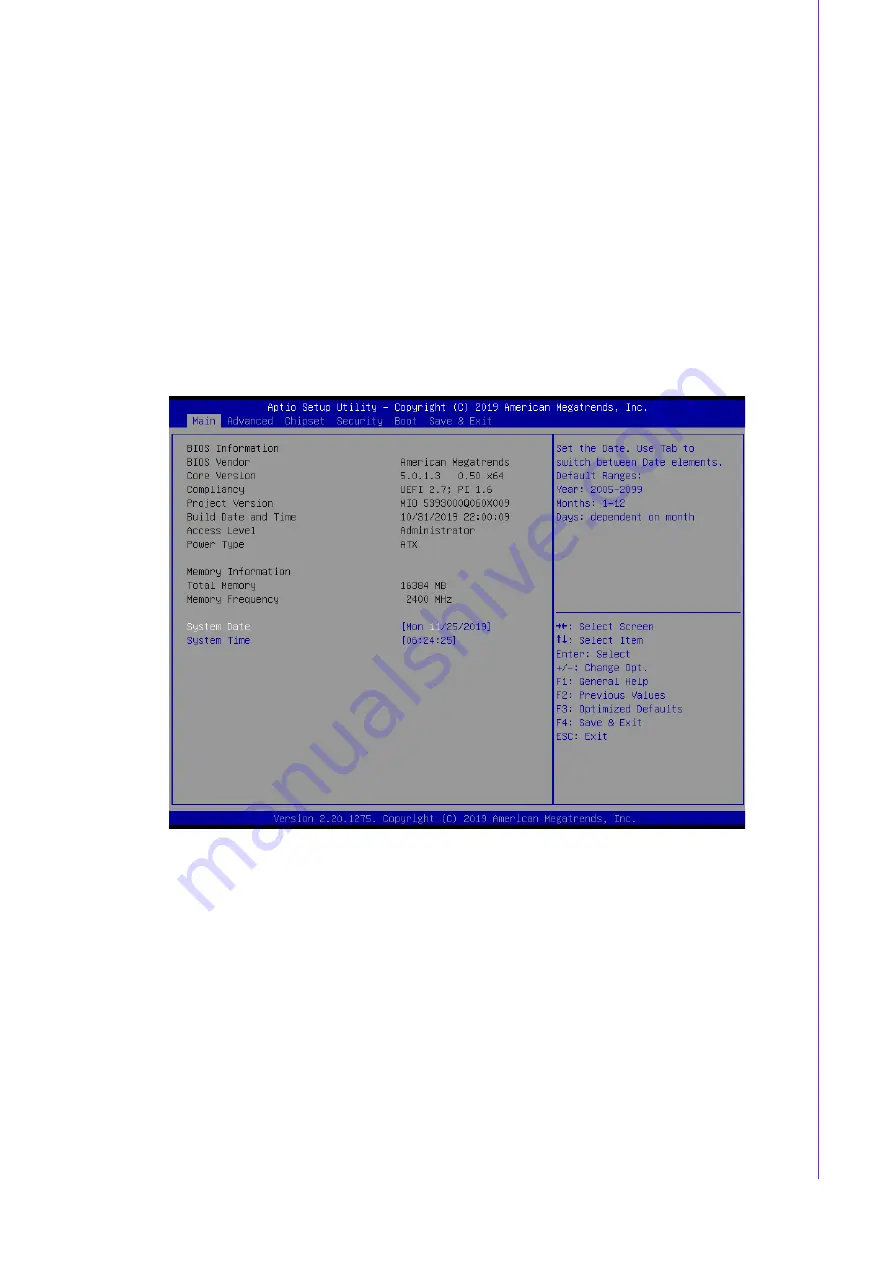
When you first enter the BIOS Setup Utility, you will encounter the Main setup screen.
You can always return to the Main setup screen by selecting the Main tab. There are
two Main Setup options. They are described in this section. The Main BIOS Setup
screen is shown below.
The Main BIOS setup screen has two main frames. The left frame displays all the
options that can be configured. Grayed-out options cannot be configured; options in
blue can. The right frame displays the key legend.
Above the key legend is an area reserved for a text message. When an option is
selected in the left frame, it is highlighted in white. Often a text message will accom-
pany it.
System Time / System Date
Use this option to change the system time and date. Highlight System Time or Sys-
tem Date using the <Arrow> keys. Enter new values through the keyboard. Press the
<Tab> key or the <Arrow> keys to move between fields. The date must be entered in
MM/DD/YY format. The time must be entered in HH:MM:SS format.
Summary of Contents for MIO-5393
Page 6: ...MIO 5393 User Manual vi...
Page 22: ...MIO 5393 User Manual 14...
Page 23: ...Chapter 3 3 AMI BIOS Setup...
Page 64: ...MIO 5393 User Manual 56...
Page 65: ...Chapter 4 4 MIOe Installation...
Page 67: ...59 MIO 5393 User Manual Chapter 4 MIOe Installation 4 1 2 Heatsink 4 1 3 Heatspreader...
Page 68: ...MIO 5393 User Manual 60...
Page 82: ...MIO 5393 User Manual 74...
Page 92: ...MIO 5393 User Manual 84...


