M
ANAGING
S
WITCH
27
4.1. Log In
To access the login window, connect the device to the network, see “Connecting the Switch
to Ethernet Ports” on page 13. Once the switch is installed and connected, power on the
switch see the following procedures to log into your switch.
When the switch is first installed, the default network configuration is set to DHCP enabled.
You will need to make sure your network environment supports the switch setup before
connecting it to the network.
1.
Launch your web browser on a computer.
2.
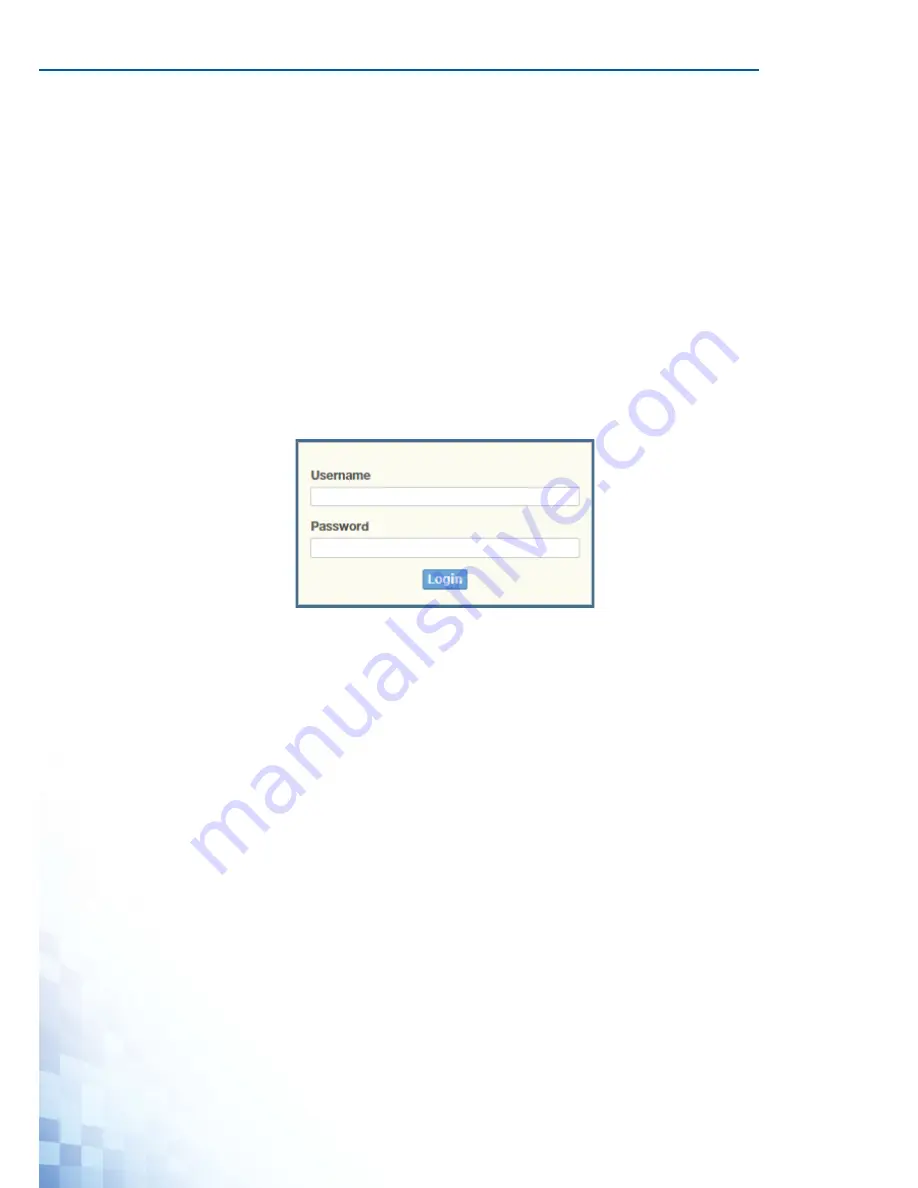
In the browser’s address bar type in the switch’s default IP address (192.168.1.1). The
login screen displays.
3.
Enter the default user name and password (admin/admin) to log into the management
interface. You can change the default password after you have successfully logged in.
4.
Click
Login
to enter the management interface.
Figure 4-1.
Login Screen
Summary of Contents for EKI-7428G Series
Page 10: ...ix...
Page 11: ...Chapter 1 Product Overview...
Page 17: ...PRODUCT OVERVIEW 6 1 3 Dimensions Figure 1 4 EKI 7428G 4CPI Dimensions 438 22 41 35 426...
Page 19: ...Chapter 2 Switch Installation...
Page 32: ...SWITCH INSTALLATION 21...
Page 33: ...Chapter 3 Configuration Utility...
Page 39: ...Chapter 4 Managing Switch...
Page 159: ...Chapter 5 Troubleshooting...


