Adobe
Photoshop Elements 2.0
ST. PATRICK’S DAY PROJECT
Photoshop Elements 2.0: St. Patrick’s Day Project
9
24.
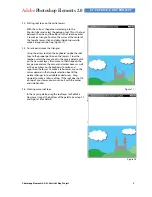
Putting roof tops on the castle towers.
With the custom shape tool selected, go to the
Shortcuts Bar and select the polygon tool. This is the tool
between the Line and the ellipse. In the Sides box enter
3 to make a triangle. Position the cursor at the center of
the top of a tower, click and drag straight upward to
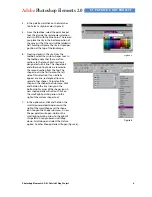
make a triangular roof top (Figure 17).
25.
To resize and move the triangles.
Using the arrow tools on the keyboard, nudge the roof
tops to the proper position on the towers. From the
toolbox, select the move tool. In the Layers palette click
on the new roof layer, then move to that shape on the
image area and use the corner and center boxes as well
as the arrow keys on the keyboard to resize and
reposition the tower. To make a taller tower, move the
cursor upward in the triangle selection box till the
pointer changes into a double-ended arrow. Drag
upward to make a taller roof top. If the roof does not fit
on top of your tower, you can resize it with the corner
and side handles.
26.
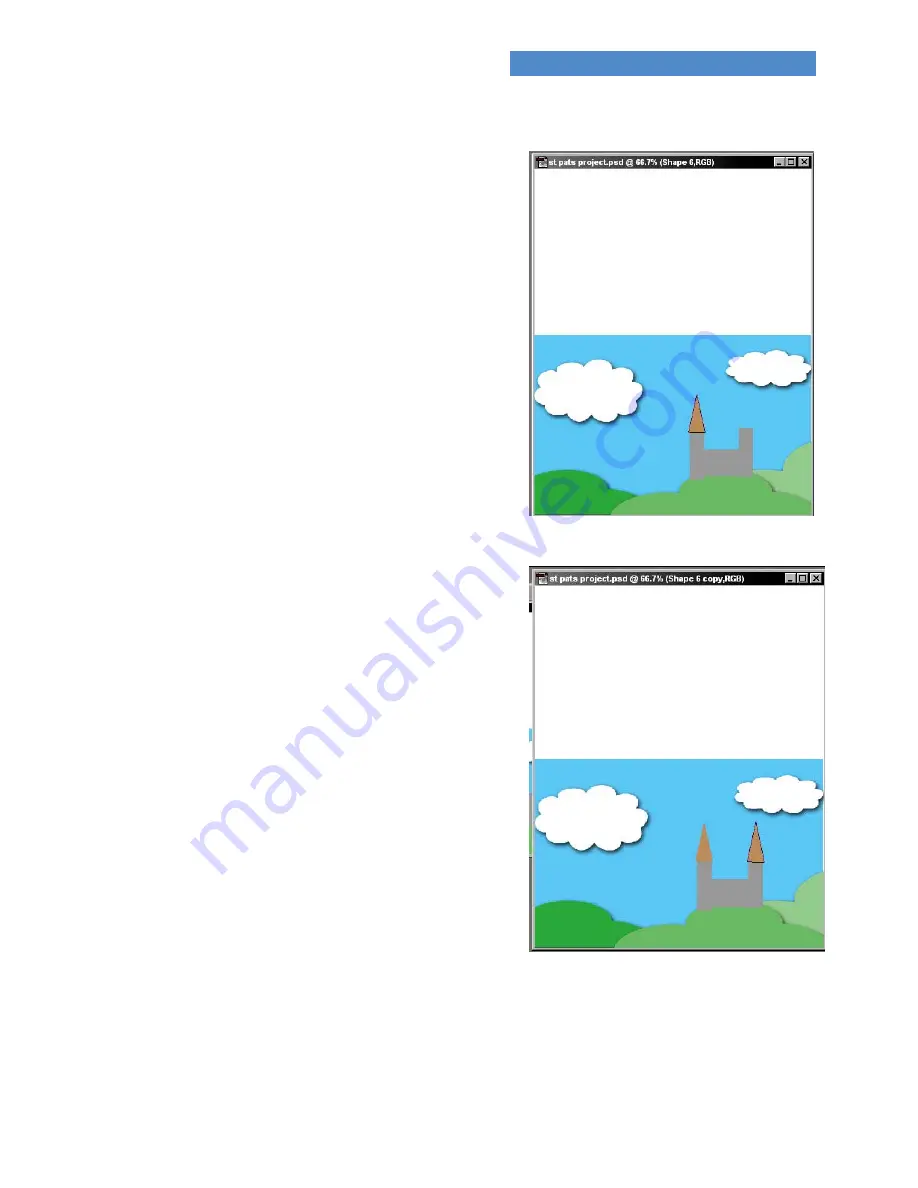
Creating more roof tops.
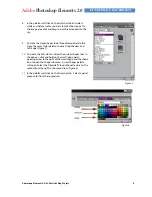
In the Layers palette, drag the roof layer to the Make
New Layer icon at the bottom of the palette (see step 20
and Figure 18 for details).
Figure 15
Figure 17
Figure 18


