LESSON 10
258
Creating a Slideshow from Still Images
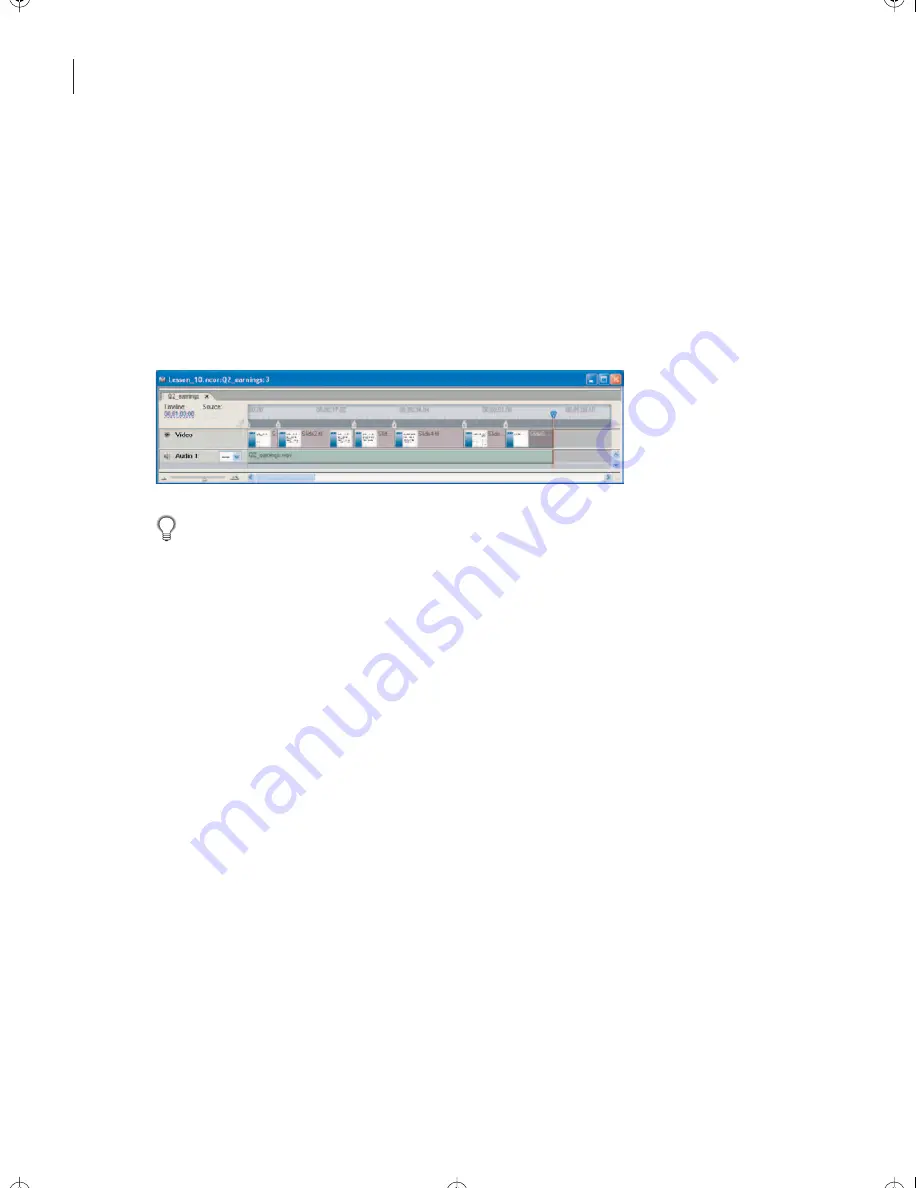
Notice that a chapter point has been placed in the timeline where the slides change. You
can use these chapter points for simple navigation when playing the DVD by clicking the
Next or Previous buttons on the remote control.
10
Repeat steps 7-9 for Slide3.tif, Slide4.tif, Slide5.tif, and Slide6.tif. The slide transitions
will be at approximately 30 seconds, 44 seconds, and 53 seconds. (For this project, you
don’t need to be precise.)
11
Trim the last clip (Slide6.tif) to the end of the audio track.
If you want all slides to have the same exact duration, set the duration in Preferences,
create a new timeline, and then drag all the slides to the video track at once. The slides will
appear in alphanumeric order in a single timeline. It is important to create the timeline first.
If, instead, you select all of the slides and then create a new timeline, each slide will be placed
into its own timeline.
12
In the Project window, right-click the Q2_earnings timeline (not Q2_earnings.wav),
and choose Preview From Here.
13
Watch to make sure that the slide changes are appropriate for the audio track. In the
Project Preview window, the audio may skip slightly at the transition points, but the final
disc should not have this problem.
14
Close the Project Preview window, and save the project.
Setting behaviors for a slideshow
The timeline is created. Now you just need to set the behaviors for it.
1
In the Project window, select the Q2_earnings timeline.
Encore_CIB.book Page 258 Saturday, September 20, 2003 1:56 PM
Peachpit Press/Scott Design


