LESSON 6
138
Overriding Default Actions
4
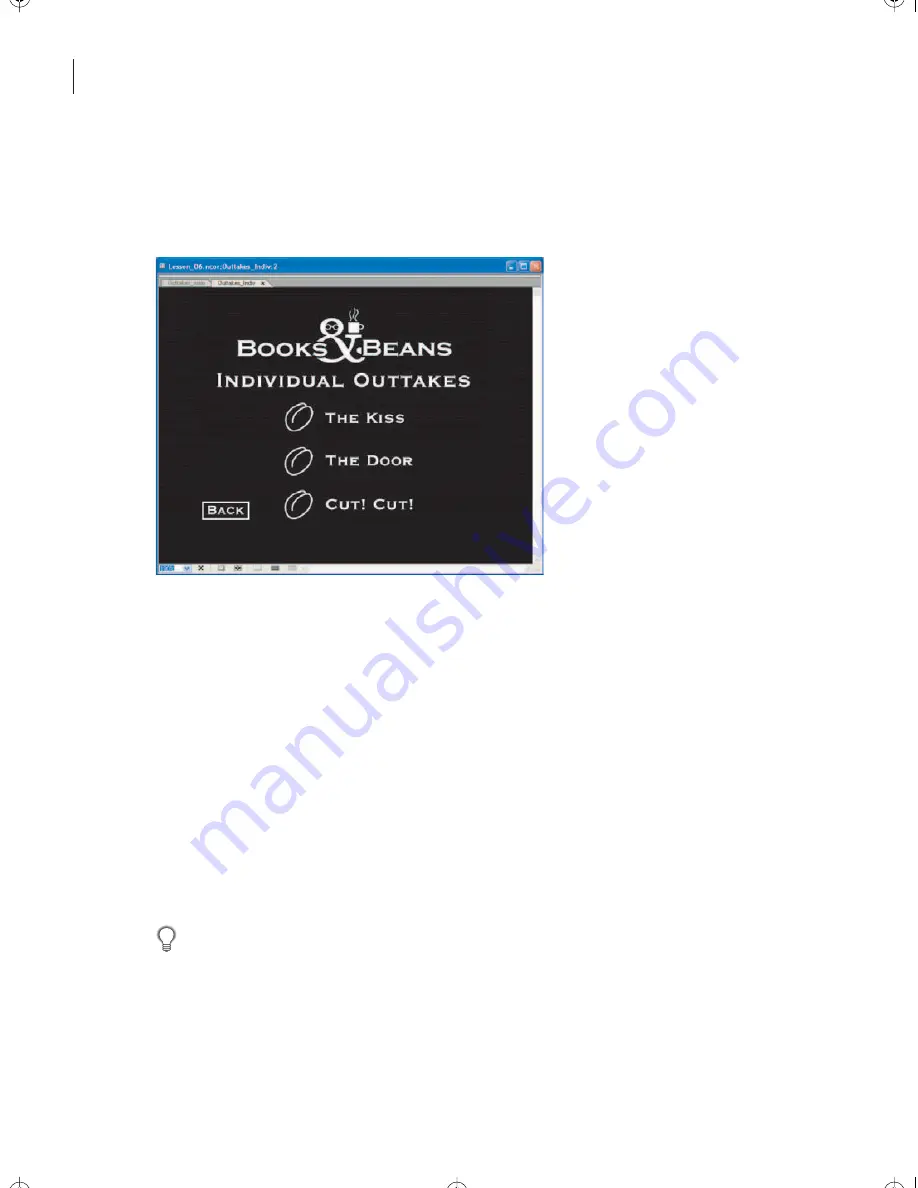
Click the Outtakes_Indiv tab in the Menu Editor window to view the second menu.
This menu has four buttons. Three will link to the individual timelines, and one will link
back to the main menu.
5
In the Project window, make sure that the Outtakes_main menu is set for First Play. A
small black triangle appears next to the name of the item set for first play in the Project
window. If the Outtakes_main menu isn’t designated for First Play, right-click it and
choose Set as First Play.
6
Choose File > Save As, and name the project
Lesson_06.ncor
.
Setting default end actions
You will set a default end action for each timeline. The default end action determines what
happens when the timeline ends if no override is specified.
1
Right-click in the Project window, and choose Import as Asset. Navigate to the Lesson
06 folder. Select
Cut.avi
,
Door.avi
, and
Kiss.avi
, and then click Open.
You can preview a video asset in the Project window. When you select the video file, a
thumbnail of the file appears at the top of the window. Click the Play button next to the
thumbnail to play the video.
2
In the Project window, select all three of the AVI files you just imported. Click the
Create a New Timeline button at the bottom of the Project window.
Encore_CIB.book Page 138 Saturday, September 20, 2003 1:56 PM
Peachpit Press/Scott Design


