Installing the USB-1900 Series Module
31
USB-1900 Series
3
Installing the USB-1900 Series Module
3.1
Connecting the USB-1900 Series Module
1. Turn on your computer.
2. Connect the USB-1900 Series module to one USB 2.0
port on your computer using the included USB cable.
3. The first time the USB-1900 Series module is connected,
a New Hardware message appears. It will take around 6
seconds to load the firmware. When loading is complete,
the LED indicator on the rear of the USB DAQ module
changes from amber to green and the New Hardware
message closes.
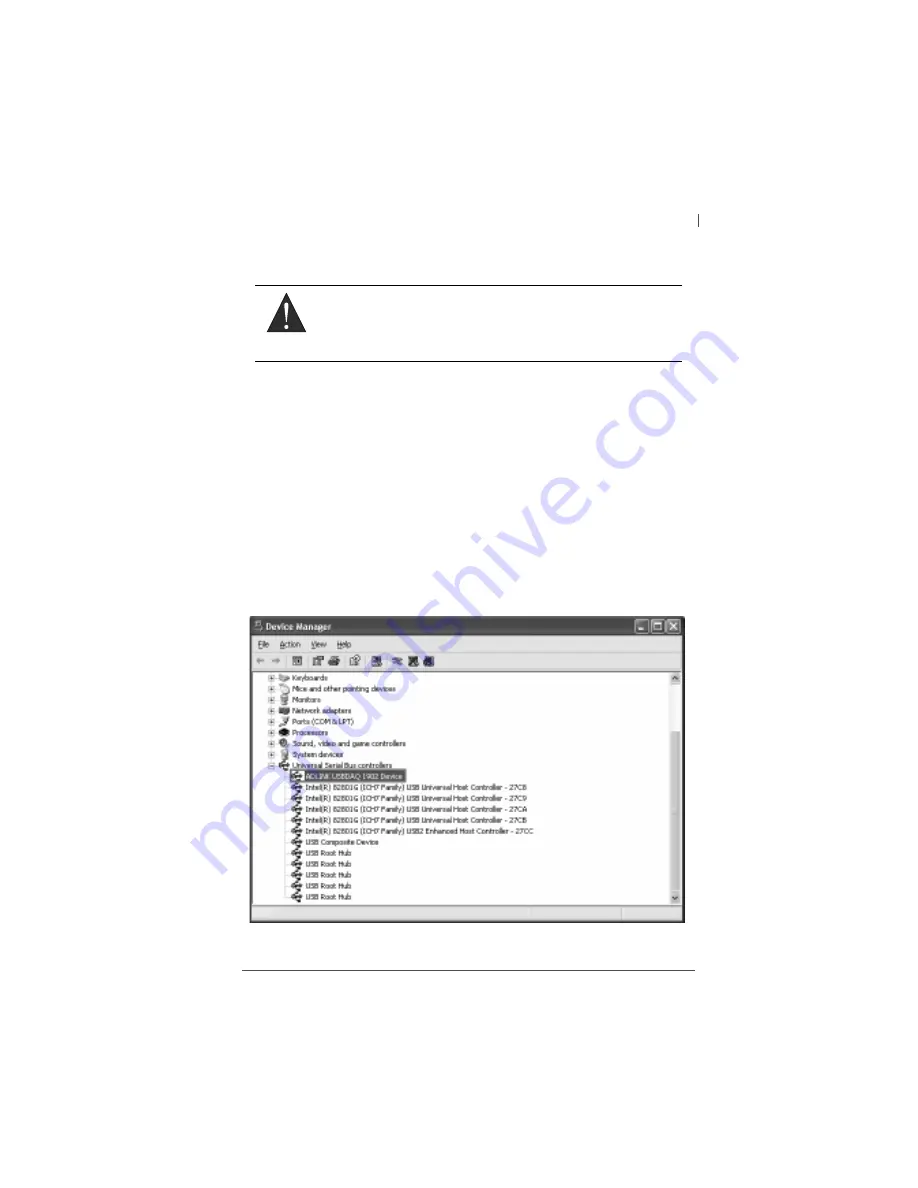
4. The USB-1900 Series module can now be located in the
hardware Device Manager, as shown.
Figure 3-1: USB-1900 module in Windows Device Manager
WARNING:
The appropriate driver must be installed before you can con-
nect the USB DAQ to your computer system. Refer to
Section 1.7: Driver Support for Windows for driver support
information.
Summary of Contents for USB-1901
Page 6: ...vi This page intentionally left blank...
Page 10: ...x This page intentionally left blank...
Page 14: ...xiv This page intentionally left blank...
Page 24: ...10 Introduction This page intentionally left blank...
Page 26: ...12 Hardware Information Figure 2 2 USB 1902 Module Side View...
Page 27: ...Hardware Information 13 USB 1900 Series Figure 2 3 USB 1902 Module Front View 41 3 114...
Page 29: ...Hardware Information 15 USB 1900 Series Figure 2 6 Module in Stand Front View 114 3...
Page 30: ...16 Hardware Information Figure 2 7 Module Stand Top View 20 4 20 4 B 26...
Page 33: ...Hardware Information 19 USB 1900 Series Figure 2 12 Module Rail Mounted...
Page 44: ...30 Hardware Information This page intentionally left blank...
Page 48: ...34 Installing the USB 1900 Series Module This page intentionally left blank...
Page 78: ...64 Operation This page intentionally left blank...


