User Manual
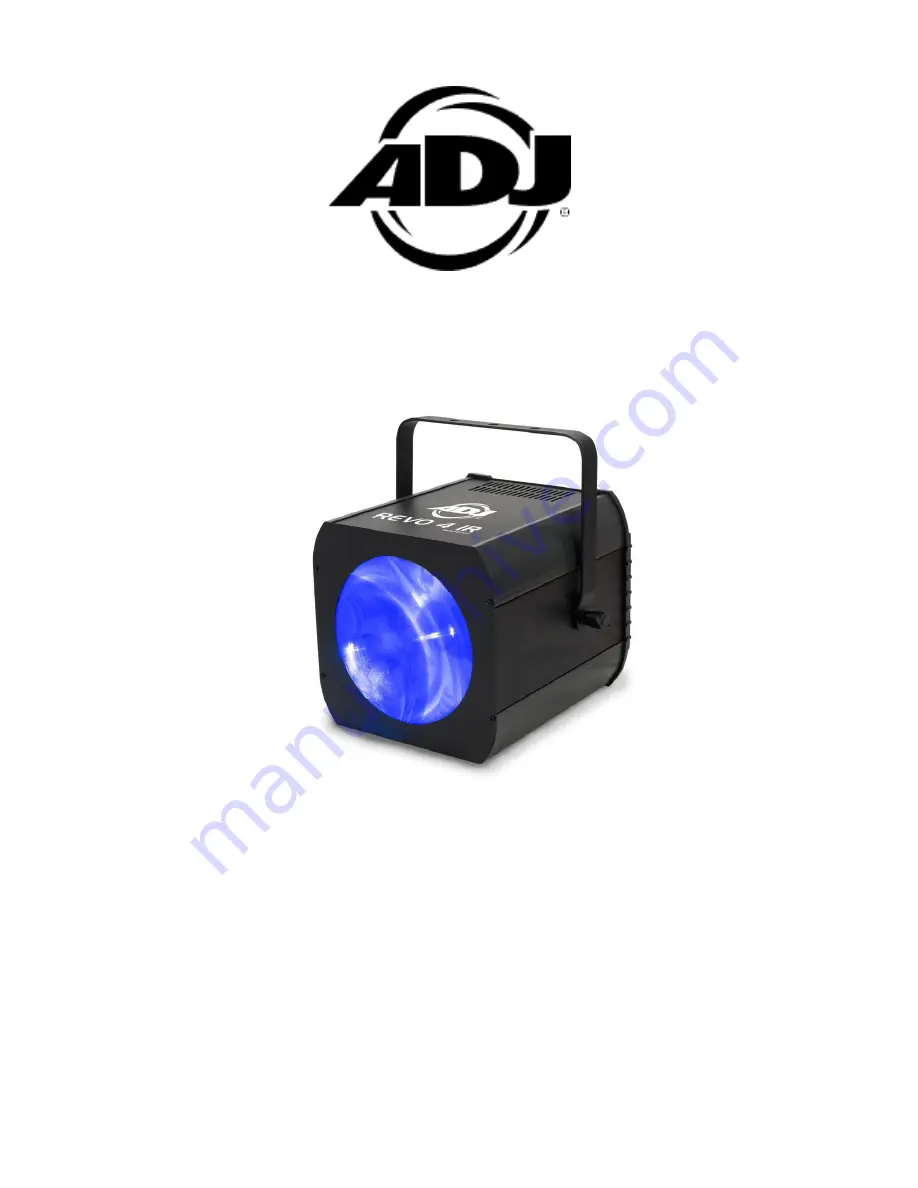
REVO 4 IR
WARNING! Due to the magnifying type lens, please keep the lens
out of contact with direct sunlight. Direct sunlight can cause heat
to build up inside of the unit, which will result in serious damage.
Page 1: ...ual REVO 4 IR WARNING Due to the magnifying type lens please keep the lens out of contact with direct sunlight Direct sunlight can cause heat to build up inside of the unit which will result in seriou...
Page 2: ...ered trademarks of their respective companies ADJ Products LLC and all affiliated companies hereby disclaim any and all liabilities for property equipment building and electrical damages injuries to a...
Page 3: ...has three different operating modes sound active show mode DMX controlled The Revo 4 IR has twelve shows to choose from The unit can be used as a stand alone unit or in a primary secondary configu rat...
Page 4: ...is under warranty you must provide a copy of your proof of purchase invoice Please contact ADJ Products LLC customer support for a R A number ADJ Products LLC www adj com Revo 4 IR User Manual Page 4...
Page 5: ...ill allow proper ventilation Allow about 6 15cm between this device and a wall Do not attempt to operate this unit if it becomes damaged This unit is intended for indoor use only use of this product o...
Page 6: ...se the shortest cable path possible The order in which fixtures are connected in a DMX line does not influence the DMX addressing For example a fixture assigned a DMX address of 1 may be placed anywhe...
Page 7: ...r A terminator is a 110 120 ohm 1 4 watt resistor which is connected between pins 2 and 3 of a male XLR connector DATA and DATA This unit is inserted in the female XLR connector of the last unit in yo...
Page 8: ...ADJ Products LLC www adj com Revo 4 IR User Manual Page 8 Revo 4 IR System Menu...
Page 9: ...2 Press the UP or DOWN buttons until your desired setting is dis played press ENTER to confirm and exit SHND SH 0 SH 12 Show modes 0 12 Show Mode can run with or without sound active mode on With sou...
Page 10: ...utomatically go into the last DMX set up 3 Press ENTER to confirm your desired set up LED With this function the LED display will turn off after 2 minutes 1 Press the MENU button until LED is displaye...
Page 11: ...ection to set the DMX address 6 For longer cable runs more than a 100 feet use a terminator on the last fixture 7 For help operating in DMX mode consult the manual included with your DMX controller So...
Page 12: ...e XLR connector only For longer cable runs we suggest a terminator at the last fixture 2 On the Primary unit press the MENU button until SCND is displayed and press ENTER Use the UP and DOWN buttons t...
Page 13: ...orre sponding app page Works with App page 1 STAND BY Pressing this button will blackout the fixture Press the button again to return to the initial state FULL ON Hold this button down to fully light...
Page 14: ...nel values must be between 10 99 This also applies to changing the pattern color using Channel 3 To run the chases using Channel 2 the Channel 1 values must be between 100 239 This also ap plies to co...
Page 15: ...output 1 Use normal glass cleaner and a soft cloth to wipe down the out side casing 2 Use a brush to wipe down the cooling vents and fan grill 3 Clean the external optics and mirror with glass cleane...
Page 16: ...ibility ofADJ Products LLC under this warranty shall be limited to the repair of the product or replacement thereof including parts at the sole discretion of ADJ Products LLC All products covered by t...
Page 17: ...Active Yes Working Position Any Safe Secure Position Warranty 2 Years 730 days Auto Sensing Voltage This xture contains an automatic voltage switch which will auto sense the voltage when it is plugge...
Page 18: ......