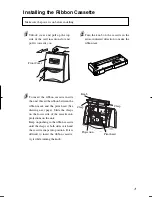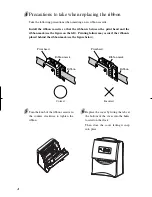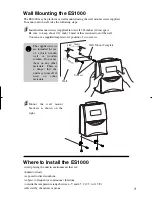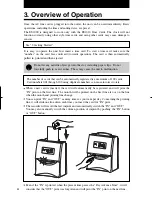
Weekly
1
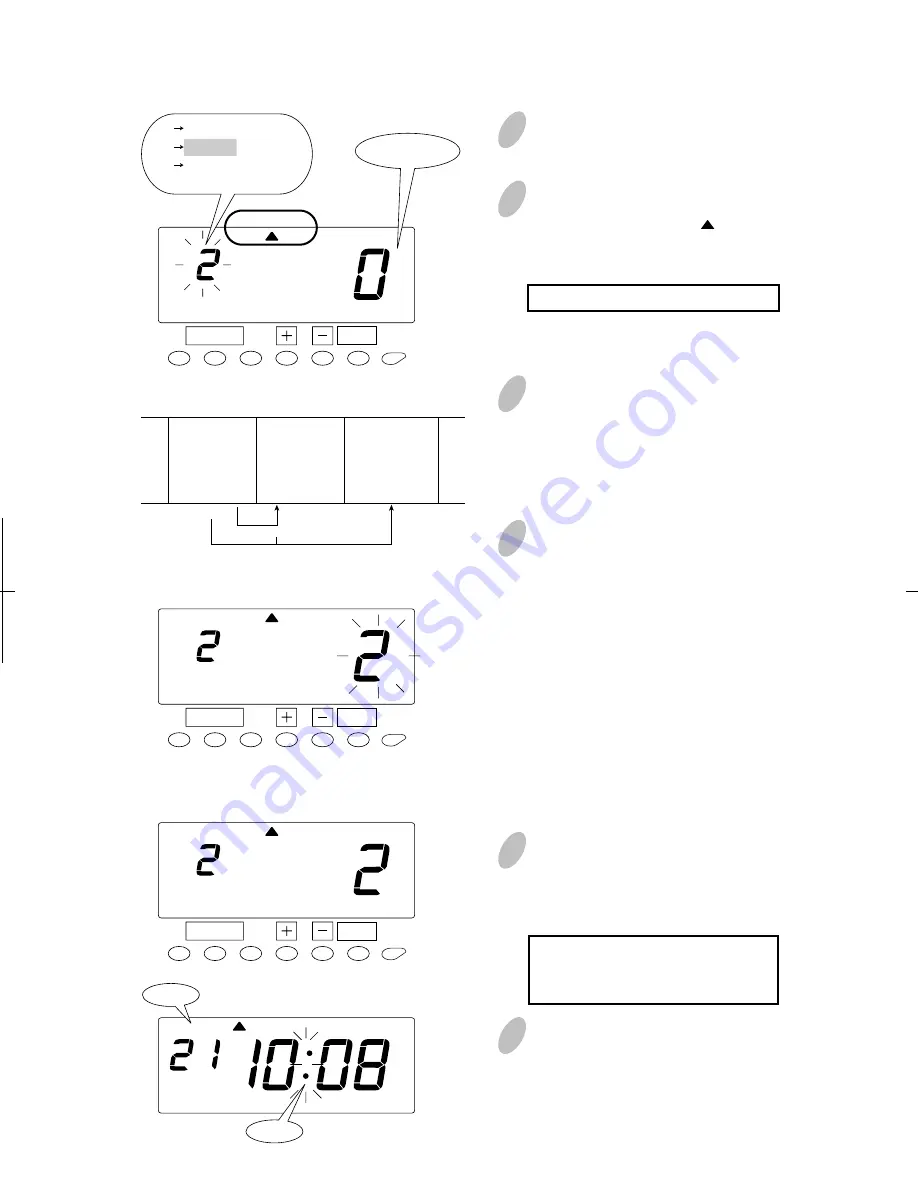
Push the [FUNCTION] button for 2
seconds.
3
In the case of weekly ending, push
the [+] or [-] button to set the left-
side number at "2" and then push
the [SET] button. At that moment,
flashing of the display will change
to the ending day.
4
Next, set the desired ending day,
which comes within a week from
today. The pay period ending date is
the number of days from the date
you are setting the clock.
Example: Assume that today is
Friday, July 23, 2004
and the ending day is
Sunday. As illustrated in
the figure on the left,
ending day (Sunday) is
two days after.
Push the [+] or [-] button to set the
right-side number of the display at
"2".
5
Push the [SET] button to finish the
setting. At that moment, the display
will change from flashing to steady,
and the setting is now completed.
Day of the week and time are
recorded on the card when you
set the weekly ending.
6
Push the [SETTING START/END]
button to get out of setting mode.
Make sure "date" and "time" are
indicated on the display and the
colon is flashing. Then replace the
cover and lock.
2
Once a number on the display starts
flashing, make sure the " " mark is
located under the "PAY PERIOD"
mark.
A flashing number can be changed.
23
SET
FUNCTION
AM
Date
Colon
PAY PERIOD
Ending day
SET
FUNCTION
PAY PERIOD
SET
FUNCTION
PAY PERIOD
Today
July 23
Friday
······ ··
·····
Ending day
July 25·········
Sunday
July 24
Saturday
1
0
2
Example
1 Monthly
2 Weekly
3 Bi-Weekly
4 Semi-Monthly
17
Summary of Contents for ES1000
Page 1: ...USER S MANUAL ...

