Preparation for Setting
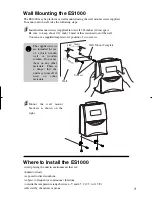
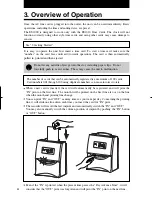
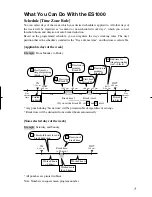
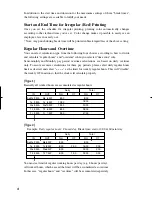
Caution: If time cards were punched prior to original settings or if you wish to change Pay
Periods or when the Day Advances or change the Minute print format you will need to reset
ALL Time Cards. Please refer to the ALL Cards Resetting section under Additional Features.
Removing and replacing front cover.
Make sure the power is on before making setting.
1
Unlock the cover.
Hold the sides of the cover with both
hands and pull it toward you.
2
Once you push the [SETTING
START/END] button, display will be
as shown in the following figure.
Then, push the control button for two
seconds and you can go into the
setting mode.
3
Make settings using the control button
while watching the display.
Please refer to the following pages for
the details of each setting.
4
After setting has been completed, fit
the tabs at the lower sides of the cover
into the holes of the unit. Then, fit
another set of tabs at the top sides of
the cover into the holes of the unit.
4. Settings
Tabs
Holes
Holes
17
11
Function
buttons
button
Display
Front Cover
SETTING START/END
Key
Summary of Contents for ES1000
Page 1: ...USER S MANUAL ...

