


3-8
2.
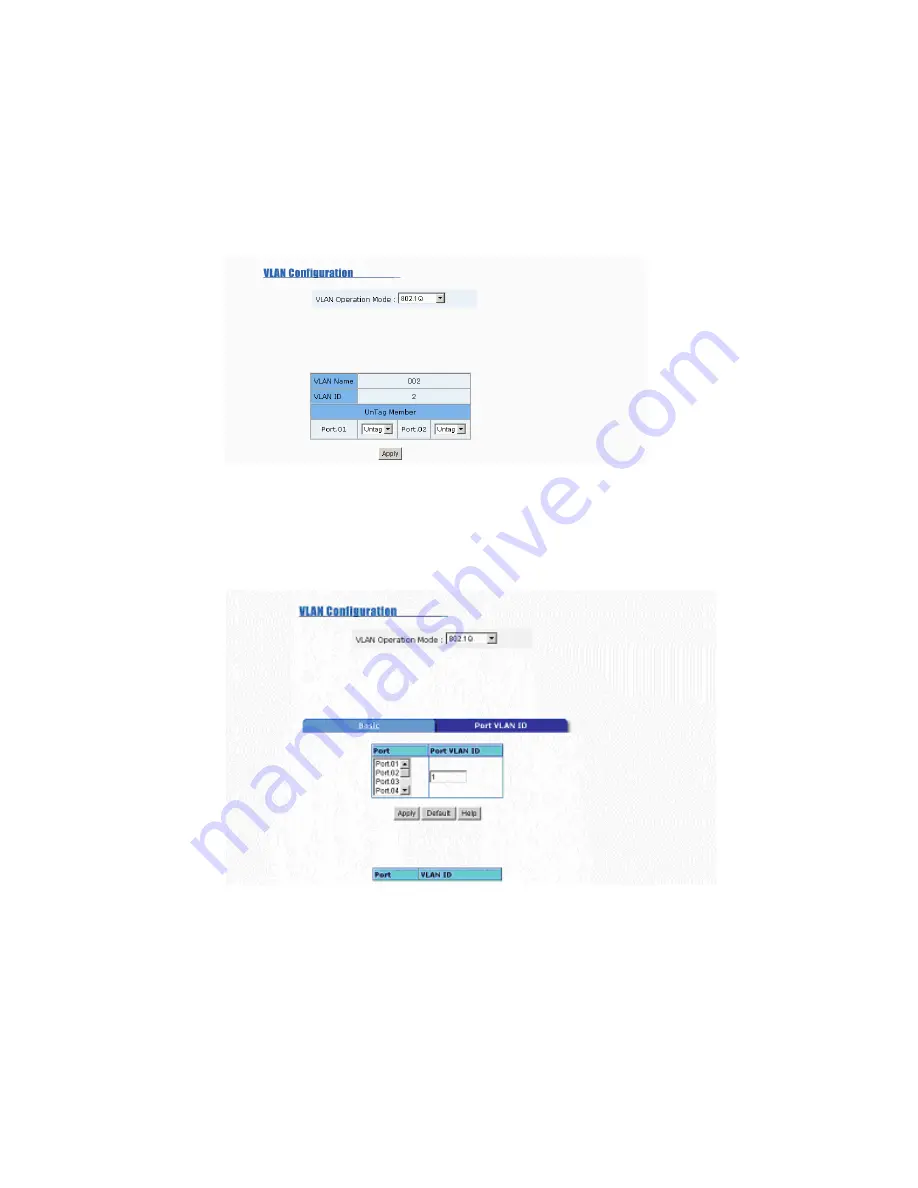
Group Name
: You can name your new VLAN grouping here. The Group Name is simply a
reference for the network administrator to help differentiate VLAN’s.
3.
VLAN ID
: Enter a VLAN ID here (12 bits). Enter any value from 2 to 4094 (default value is 1).
The VLAN ID is used by the switches to identify the different VLAN’s and this is encoded into
the IEEE 802.1q frame.
4. Select specific ports of this switch to be included in the VLAN from the available ports box.
Click
Add
to add ports to the VLAN, or
Remove
to remove ports from the VLAN. Then click
Next
to continue. Please note that each VLAN will require a “tagged port”. Different VLAN’s
use these tagged ports to communicate with one another.
5. Here you can specify the egress (outgoing) VLAN frames to be
Tag
ged frames or
Untag
ged
frames. Click on
Apply
to apply your settings.
Tag
: Indicates that egress/outgoing frames are to be VLAN tagged.
Untag
: Indicates that egress/outgoing frames are not VLAN tagged.
Port VID
Port VLAN ID (PVID)
: Enter the port VLAN ID here. The Port VID (PVID) allows the switches
to identify which port belongs to which VLAN. To keep things simple, it is recommended that
you set the Port VID equivalent to the VLAN ID’s. You can skip tagged ports, as tagged ports
do not need Port VLAN ID’s.
To reset to default values, click
Default
.
Once you finish your configuration, click
Apply
to apply your settings.
Note:
Always remember to select
Save Configuration
to save your settings. Otherwise, the
settings you made will be lost when the switch is powered off.


