


32
Chapter 3
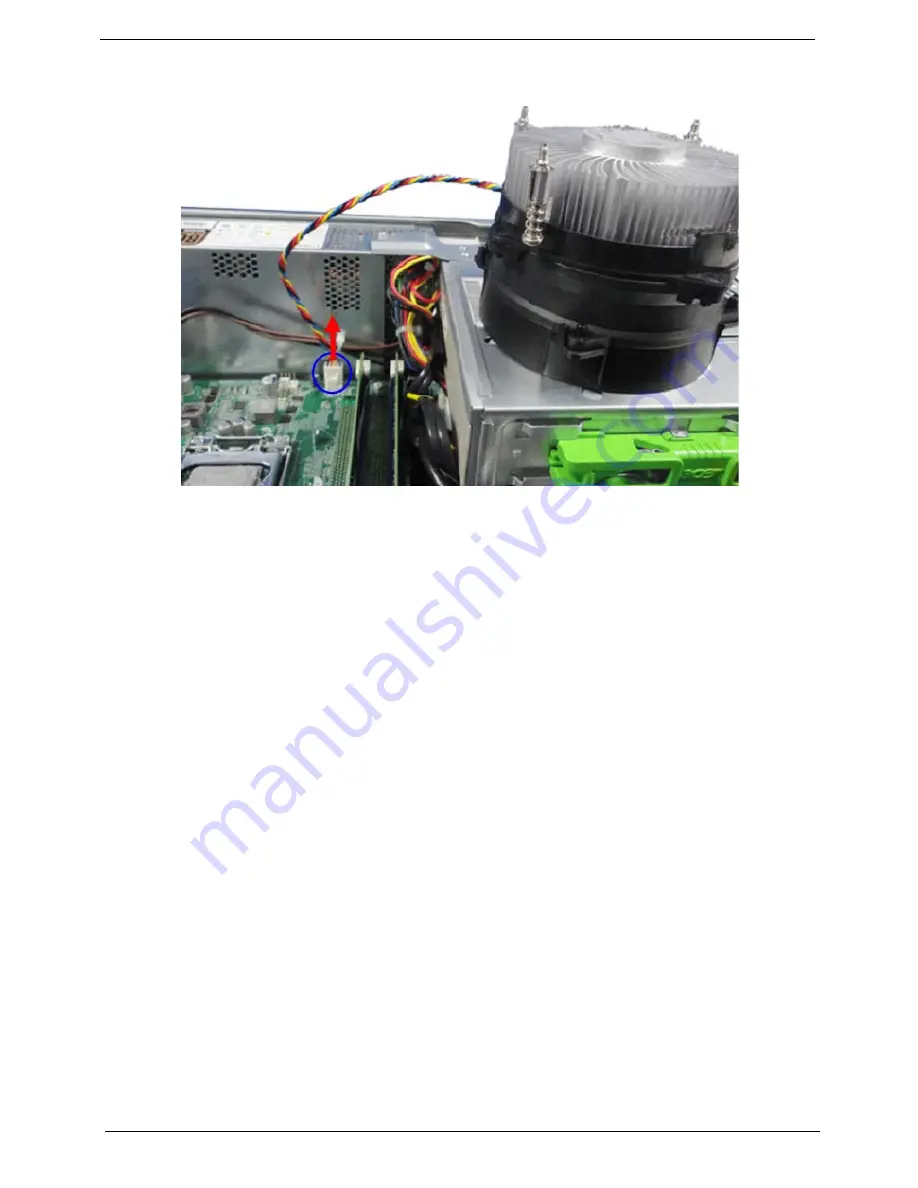
3.
Lay down the heat sink fan assembly, in an upright position, on top of the optical drive, as shown below,
then disconnect the fan cable from the mainboard.
4.
Remove the heat sink fan assembly from the chassis then lay it down in an upright position—with the
thermal patch facing upward. Do not let the thermal patch on the heat sink fan assembly touch the work
surface.
5.
Use an alcohol pad to wipe off the thermal grease from both the heat sink and the processor.
Summary of Contents for Veriton X2610
Page 1: ...Acer Veriton X2610 X2610G X2618G X2619G Service Guide PRINTED IN TAIWAN ...
Page 14: ...6 Chapter 1 Block Diagram ...
Page 53: ...Chapter 3 45 4 Take the speaker out of chassis ...
Page 57: ...Chapter 3 49 Removing the TPM Module Card 1 Removing the TPM module card from the motherboard ...
Page 69: ...Chapter 3 61 Install the TPM Module Card 1 Install the TPM module card to the motherboard ...
Page 73: ...Chapter 3 65 Install the I O Shielding 1 Install I O shielding into chassis ...
Page 80: ...72 Chapter 3 4 Connect the data cable and power cable to the rear of the hard disk drive ...
Page 86: ...78 Chapter 3 Install the Side Panel 1 Install the side Panel then fix two Screws ...
Page 94: ...Chapter 5 86 M B Placement Jumper and Connector Information Chapter 5 ...


