


2 System setup
16
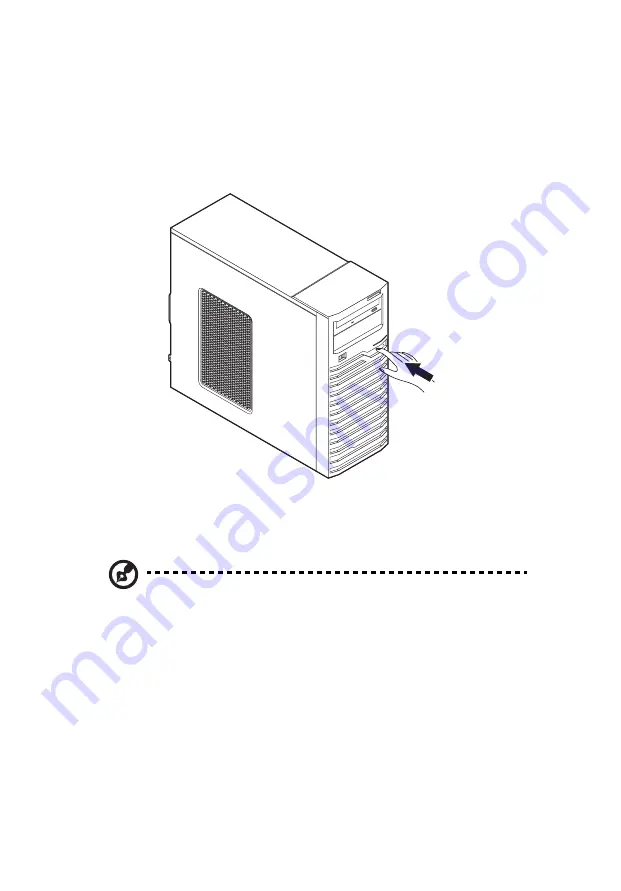
Turning on the system
After making sure that you have properly set up the system, applied
power and connected all the necessary peripherals, you can now
power on the system. Follow the procedure below.
1
Press the power button.
The system starts up and displays a welcome message on the
monitor. After that, a series of power-on self-test (POST) messages
appears. The POST messages indicate if the system is running well
or not.
Note: If the system does not turn on or boot after pressing the
power button, go to the next section for the possible causes of the
boot failure.
Aside from the POST messages, you can determine if the system is in
good condition by checking if the following occurred.
•
The power status indicator on the front panel lights up blue.
•
The Num Lock, Caps Lock and Scroll Lock indicators on the
keyboard light up.
Summary of Contents for AT110 Series
Page 1: ...AT110 Series User Guide ...
Page 14: ...xiv ...
Page 17: ...1 System tour ...
Page 21: ...5 4 HDD carriers 5 Mainboard 6 PCI slot lock 7 System fan No Component ...
Page 29: ...2 System setup ...
Page 36: ...2 System setup 20 ...
Page 37: ...3 System upgrades ...
Page 57: ...4 System BIOS ...
Page 76: ...4 System BIOS 60 window are non configurable ...
Page 81: ...5 System troubleshooting ...
Page 90: ...5 System troubleshooting 74 ...
Page 91: ...Appendix A Server management tools ...
Page 92: ...Appendix A Server management tools 76 ...
Page 96: ...Appendix A Server management tools 80 ...
Page 97: ...Appendix B LSI RAID configuration ...
Page 100: ...Appendix B LSI RAID configuration 84 ...
Page 103: ...87 rear 4 troubleshooting 72 user password 56 ...
Page 104: ...88 ...


