


22
Chapter 2
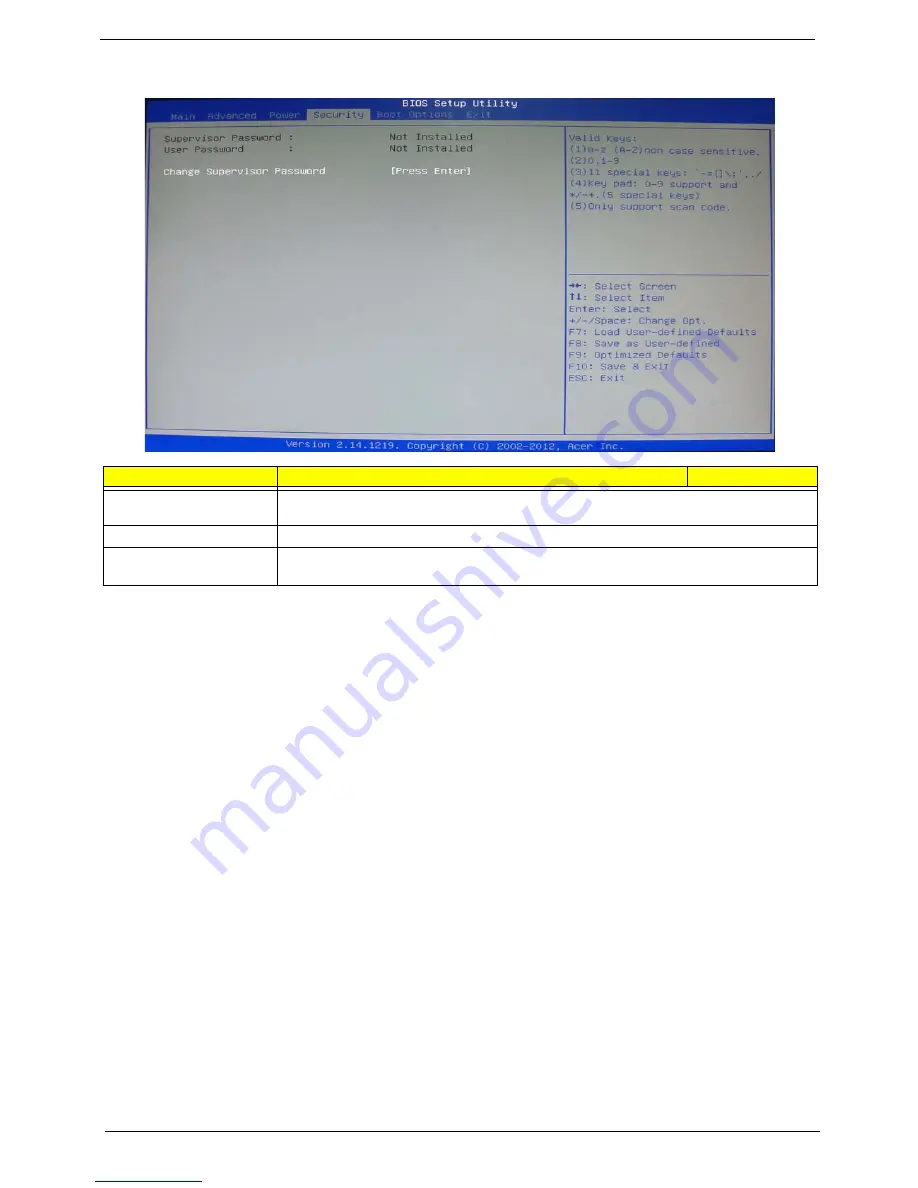
Security
Setting a supervisor password
1.
Use the up/down arrow keys to select Change Supervisor Password menu then press
Enter
.
A password box will appear.
2.
Type a password then press
Enter
.
The password may consist up to six alphanumeric characters (A-Z, a-z, 0-9)
3.
Retype the password to verify the first entry then press
Enter
again.
4.
Press
F10
.
5.
Select
Yes
to save the new password and close the Setup Utility.
Changing the supervisor password
1.
Use the up/down arrow keys to select Change Supervisor Password menu then press
Enter
.
2.
Type the original password then press
Enter
.
3.
Type a new password then press
Enter
.
4.
Retype the password to verify the first entry then press
Enter
again.
5.
Press
F10
.
6.
Select
Yes
to save the new password and close the Setup Utility.
Removing a supervisor password
1.
Use the up/down arrow keys to select Change Supervisor Password menu then press
Enter
.
2.
Enter the current password then press
Enter
.
3.
Press
Enter
twice without entering anything in the password fields.
Parameter
Description
Option
Supervisor Password
This item indicates whether a supervisor password has been set. If the password has been
installed, Installed displays. If not, Not Installed displays.
User Password
This item allows you to change user password.
Change Supervisor
Password
You can select this option and press <Enter> to access the sub menu. You can use the sub
menu to change the supervisor password.
Summary of Contents for Aspire M3985
Page 1: ...Acer Aspire M3985 Service Guide PRINTED IN TAIWAN ...
Page 13: ...Chapter 1 5 Block Diagram ...
Page 46: ...38 Chapter 3 4 Pull the Pull the optical drive out of the chassis ...
Page 50: ...42 Chapter 3 7 Lift the power supply module out of the chassis ...
Page 53: ...Chapter 3 45 3 Lift the board from the chassis 4 Punching in IO Shield then you can remove it ...
Page 69: ...Chapter 3 61 Reinstalling the I O Shielding 1 Install I O shielding into chassis ...
Page 77: ...Chapter 3 69 3 Close the PCI Latch fix the three screws ...
Page 80: ...72 Chapter 3 3 Connect the cooler cable to the main board connector ...
Page 83: ...Chapter 3 75 Reinstalling the Side Panel 1 Install the side Panel then fix two screws ...
Page 91: ...83 Chapter 4 b Select Proceed with flash update and Press Enter ...