


106
Chapter 3
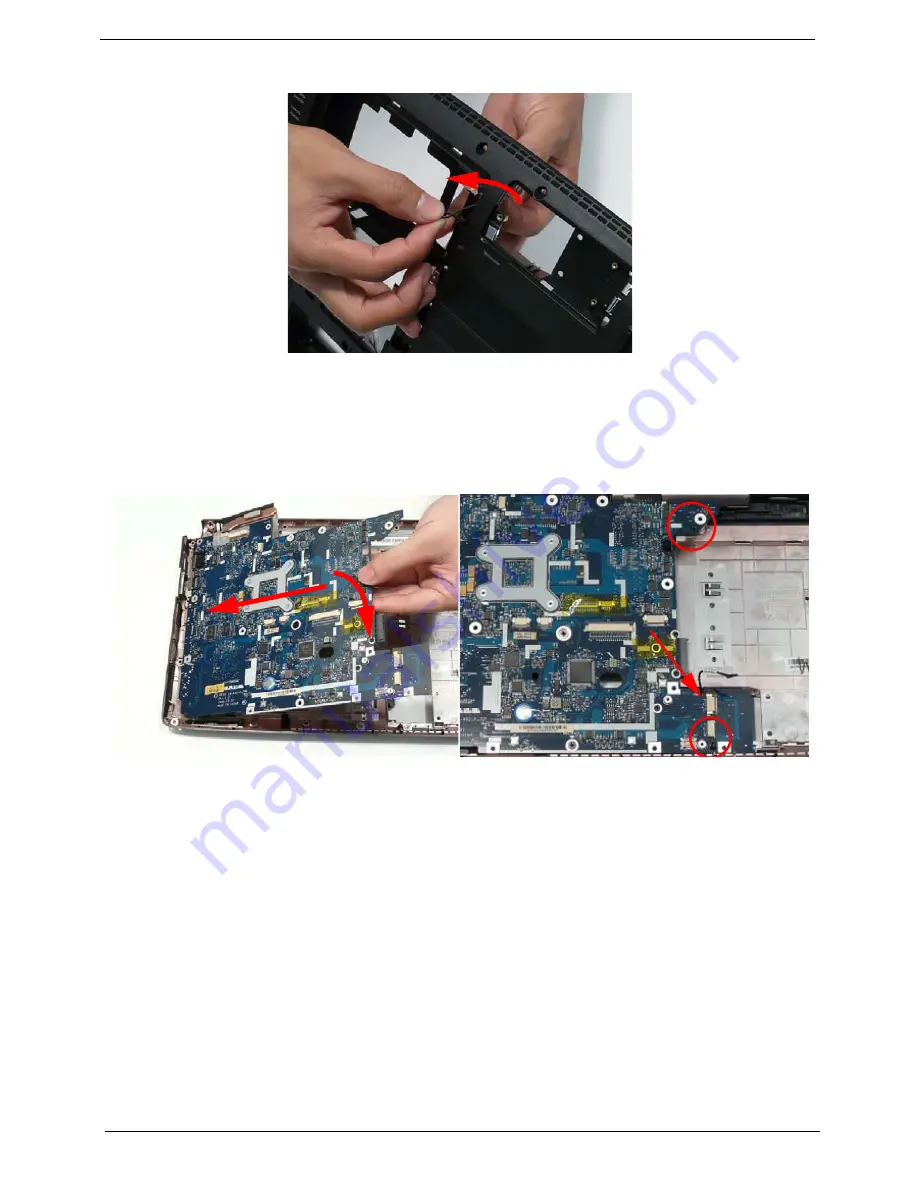
Replacing the Mainboard
1.
Ensure that the Mainboard is face up. Place the Mainboard in the chassis, left hand edge first to allow the
I/O Ports through the casing, then lower it into place. Be sure to align the securing pins and slide the RJ-11
cable through the groove in the main board as shown
7.
Insert the cable through the casing to the top side as shown.
Summary of Contents for Aspire 4240 Series
Page 6: ...VI ...
Page 10: ...X Table of Contents ...
Page 14: ...4 Chapter 1 System Block Diagram ...
Page 45: ...Chapter 2 35 A progress screen displays ...
Page 50: ...40 Chapter 2 2 In DOS mode run the MAC BAT file to write MAC values to eeprom ...
Page 57: ...Chapter 3 47 5 Remove the HDD Cover as shown ...
Page 98: ...88 Chapter 3 4 Lift the bezel away from the panel ...
Page 101: ...Chapter 3 91 4 Lift the LCD Panel out of the casing as shown ...
Page 125: ...Chapter 3 115 4 Replace the single securing screw ...
Page 146: ...136 Chapter 3 ...
Page 176: ...166 Chapter 5 ...
Page 189: ...Chapter 6 179 ...
Page 208: ...Appendix A 198 ...
Page 220: ...210 Appendix B ...
Page 222: ...212 Appendix C ...


