Setup wizard
114
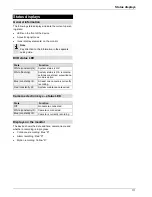
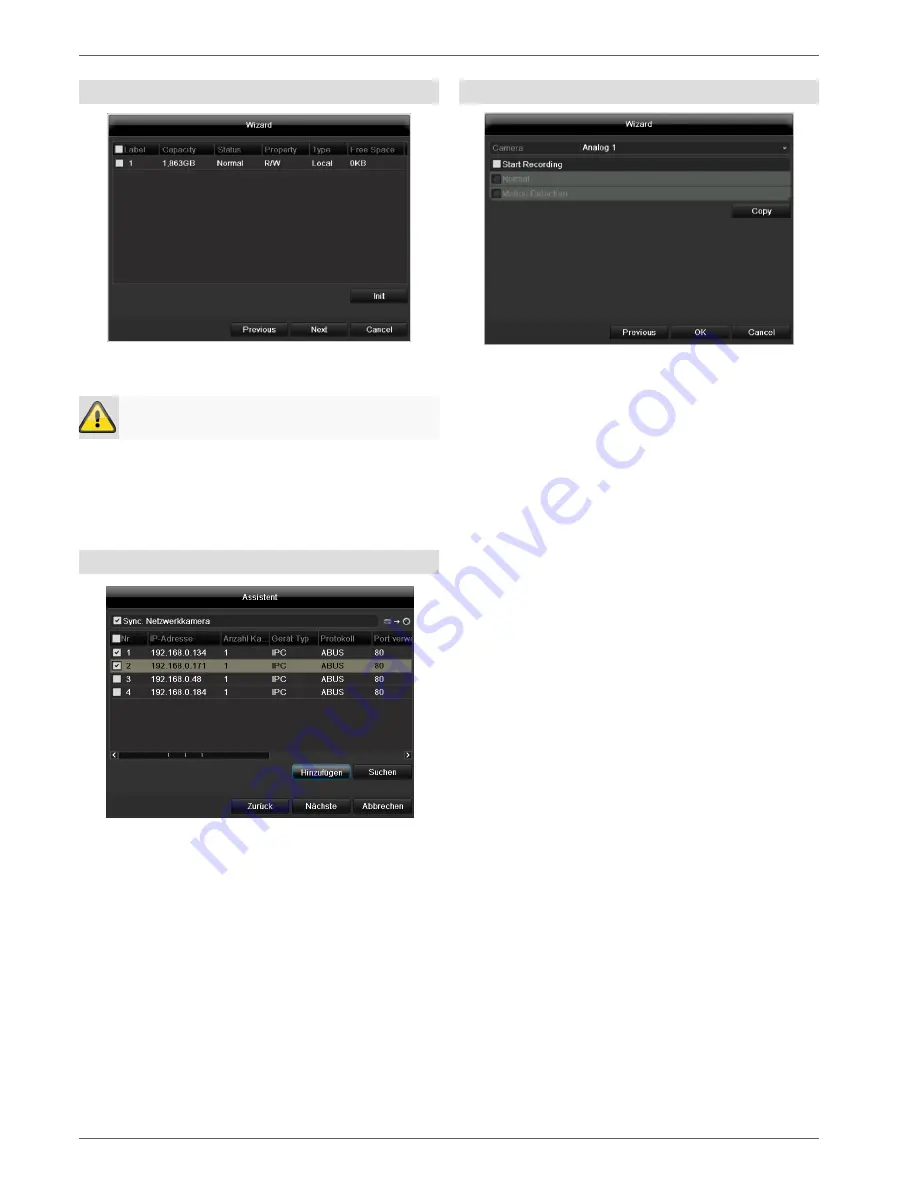
HDD Management
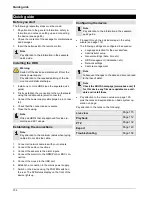
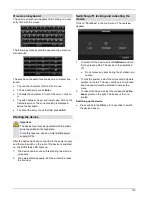
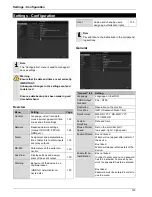
1. To
set up a new hard disc, activate the “Check box”
with a left click and then click on
Init.
Warning
All data on the drive is deleted!
2. Confirm the prompt by pressing
OK
. The HDD is
then set up for operation. The progress is displayed
on the status bar.
3. Exit the setting by pressing
Next
.
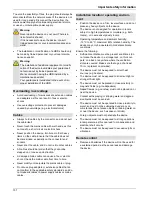
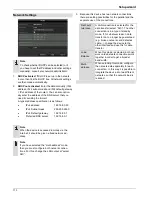
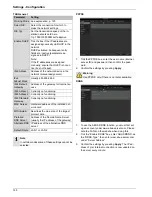
Setting up network cameras
1. To setup network cameras, click on
Search
.
2. You can find an overview of all the network cam-
eras found below.
3.
Activate the “Checkbox” with a left-click to select
the network camera and then click on Add.
4. Click on
Next
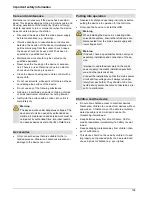
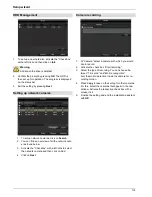
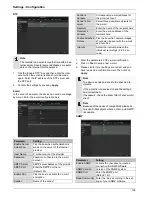
Camera recording
1.
At “Camera” select a camera with which you would
like to record.
2.
Activate the check box “Start recording”.
3. Select the type of recording. You can choose be-
tween “Time plan” and “Motion recognition”.
Arm the motion detection inside the camera for re-
cording motion.
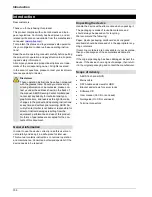
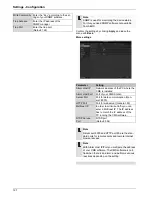
4. Press
Copy
to take on the setting for other cameras.
For this, select the cameras that appear in the new
window. Activate the respective check box with a
mouse click.
5. Finalize the setting and end the installation assistant
with
OK
.

