12
INSTRUCTION HANDBOOK
29
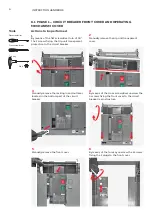
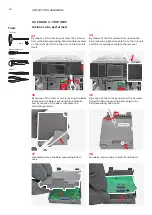
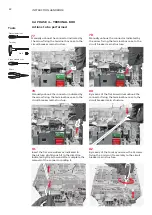
By means of the cutter start removing the
sliding contacts label located on the right side
wall and manually complete the operation.
31
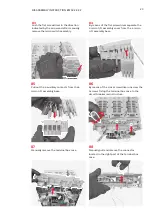
Lift the sliding contacts base and let the 2 bars
mounted inside exit.
30
Insert 2 flat screwdrivers at the sides of each
block, slightly push them as indicated by the
arrows and complete the removal of the 3 flat
cables assemblies and of the connector cables
assembly manually pulling them.
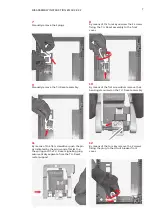
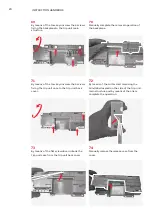
32
By means of the pliers remove the 4 pins and
the related nuts mounted at both sides of the
sliding contacts base.
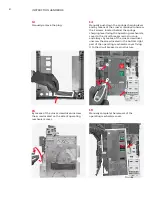
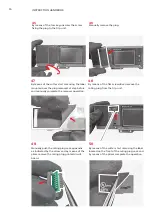
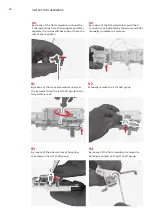
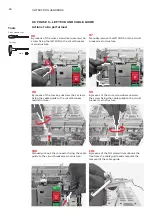
27
By means of the flat screwdriver unhook the
right side wall from the sliding contacts main
assembly as indicated in the picture.
28
Manually remove the right side wall.

