


4 Repair
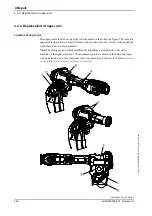
4.4.4. Replacement of complete lower arm
3HAC020993-001 Revision: G
262
©
Co
py
rig
h
t 200
4-
200
8 ABB. All righ
ts reser
v
ed.
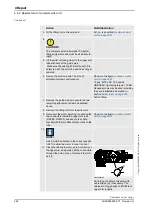
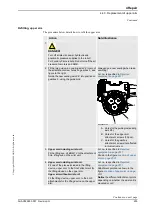
9. Disconnect the power supply, if used.
10. Secure the lower arm with 16 of the
18
attachment screws and washers
in gearbox,
axis 2.
18 pcs: M16 x 50, tightening torque:
300 Nm.
Reused screws may be used,
providing they are lubricated as
detailed in section
before fitting.
Shown in the figure
components, lower arm on page 256
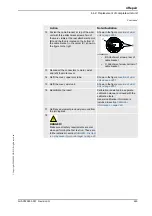
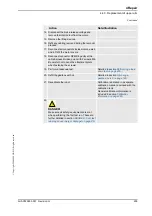
11. Remove the guidings and secure the two
remaining screws as detailed above!
12. Refit the lower arm shaft and all additional
components, as detailed in section
13. Remove the lifting tool from the lower arm.
14. Refit and restore the balancing device.
Detailed in section
15. Refit the upper arm.
Detailed in section
16. Perform a leak-down test.
Detailed in section
.
17. Refill the gearbox with oil.
Detailed in section
18. Refit and reconnect all cables inside the lower
arm.
Resecure any cable attachments.
Detailed in section
19. Recalibrate the robot!
Calibration is detailed in a separate
calibration manual, enclosed with the
calibration tools.
General calibration information is
included in section
.
20.
DANGER!
Make sure all safety requirements are met
when performing the first test run. These are
further detailed in section
run may cause injury or damage! on page 38
Action
Note/Illustration
Continued


