11
WebGUI Control
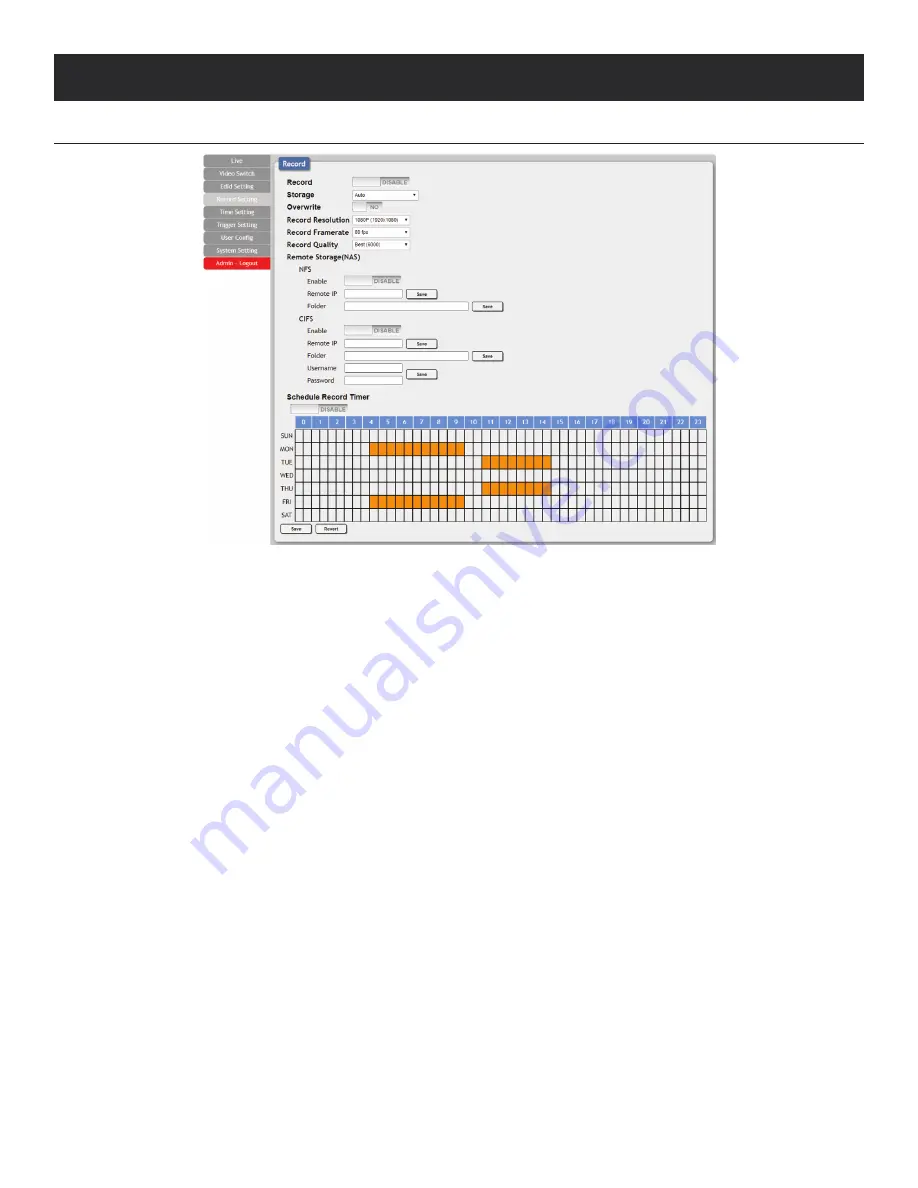
Record Setting Tab
This tab provides access to the settings and controls for configuring the channel 1 stream (the same stream viewed on the
“Live”
tab)
and making a recording of it to a local or network storage location. When recording is enabled, the channel 1 video stream is saved as
a *.mp4 file, encoded with the H.264 codec, to one of three possible target destinations: USB storage, network storage using NFS, or
network storage using CIFS. The file will be placed within an automatically named folder structure based on the current date and time
of the recording to facilitate easy sorting and file management. It is also possible to set up automatic daily recording times based on a
repeating weekly schedule structure.
1. Record:
Enable or disable recording the channel 1 video stream. When enabled, recording will begin immediately to the selected
storage location.
Note:
HDCP encrypted sources cannot be recorded.
2. Storage:
Use the drop-down to select the storage target to use when recording. Available choices are: Auto, USB (USB storage), NFS
(NFS based network storage), and CIFS (CIFS based network storage). Selecting “Auto” will use the first available valid storage location
using the following priority order:
NFS > CIFS > USB
3. Overwrite:
Enables or disables the file overwrite function. When enabled, the unit will automatically delete older recordings, when
space runs out on the selected storage location, to make room for new recordings.
4. Record Resolution:
Select the maximum resolution to use for streaming channel 1. Available resolutions are: 1080p(1920x1080),
720p(1280x720), VGA(640x480), or QVGA(320x240).
Note:
The recording resolution will not exceed the original source’s resolution even if a higher maximum is selected.
5. Record Framerate:
Select the framerate to use for streaming channel 1. Available framerates are: 25, 30, 50, or 60 frames per second.
6. Record Quality:
Select the target bitrate for streaming channel 1. Available bitrates are: Best (6000Kbps), High (3000Kbps), or Normal
(2000Kbps).
7. Remote Storage (NAS) NFS:
This section provides a way to configure access to a NAS (Network Attached Storage) device using the
NFS protocol.
• Enable:
Enable or disable access to the defined NFS based network storage server.
• Remote IP:
Enter the IP address of the target NFS based NAS device. After entering the information, press the
“Save”
button.
A
NEU
VIDEO


