5
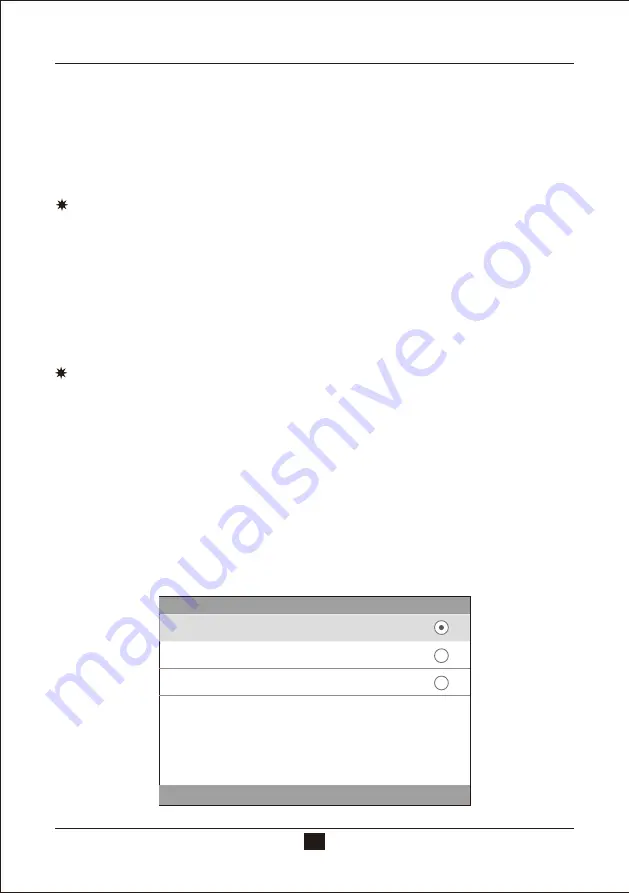
Figure 6 Mode Selection
Back
Mode
Select
OK
Basic
Mode
Statistical
Mode
Continuous
Mode
plate and ensure it's clean when calibrating.
The Standard plate is a precise optical component. Please avoid it from strong
light. Due to environment factors, the gloss value of standard plate will change
over time. Therefore, it's better to send it back to the factory or qualified local
National Institute of Metrology for the calibration. (Once a year)
Attention: The SN code (serial number) corresponds to the internal
number of the instrument. In the calibration interface, it will show the
“Calibration Plate Number”. It is more important when you have 2pcs or
more gloss meters in hand.
2.2.2 Change Calibration Values
Click “Change cal. values”, users can select “Change 20° cal. value”, “Change
60° cal. value” and “Change 85° cal. value”.
Attention: 1. Take caution in operating this function. It's better to
o p e r a t e b y m a n u f a c t u r e r o r q u a l i f i e d m e t r o l o g y i n s t i t u t e s . T h e
calibration value needs to be modified only when it is different from the
actual calibration plate value. Before modifying the standard value,
please backup the original standard value.
2. Single angle instrument only can modify one angle value.
2.3 Measurement
The instrument has three measurement modes: “Basic Mode”, “Statistical
Mode” and “Continuous Mode”. Click “Mode” in main menu, entering into the
interface as shown in figure 6.
Summary of Contents for YG Series
Page 1: ...60 20 60 85 V2 0 OPERATION MANUAL...
Page 32: ......


