9
SECTION 1: 2178 SPLICE CASE INSTRUCTIONS
5.0 Cable Preparation
Caution: When removing cable sheathing, do not cut, kink, or
damage underlying layers. If damage occurs, cut back
sheath components to adequately inspect and repair.
5.01 Remove 96" (2.43 m) of outer cable sheath (and shield or armor if present). Remove successive sheath
layers and wrappings to expose primary tube(s) protecting fibers. Stagger layers as recommended by cable
manufacturer or per standard practice.
5.02 Remove all cable grease. Clean all primary tube(s) and dielectric strands with approved cable cleaner.
Cover all sharp edges with vinyl tape.
Note:
Carefully follow health, safety and waste disposal instructions as given on Material Safety Data
Sheet or container label for cable cleaner solvent being used.
5.03 Trim any solid filler tubes and discard. Trim central strength members (if present) to 7" (178 mm) from sheath
openings.
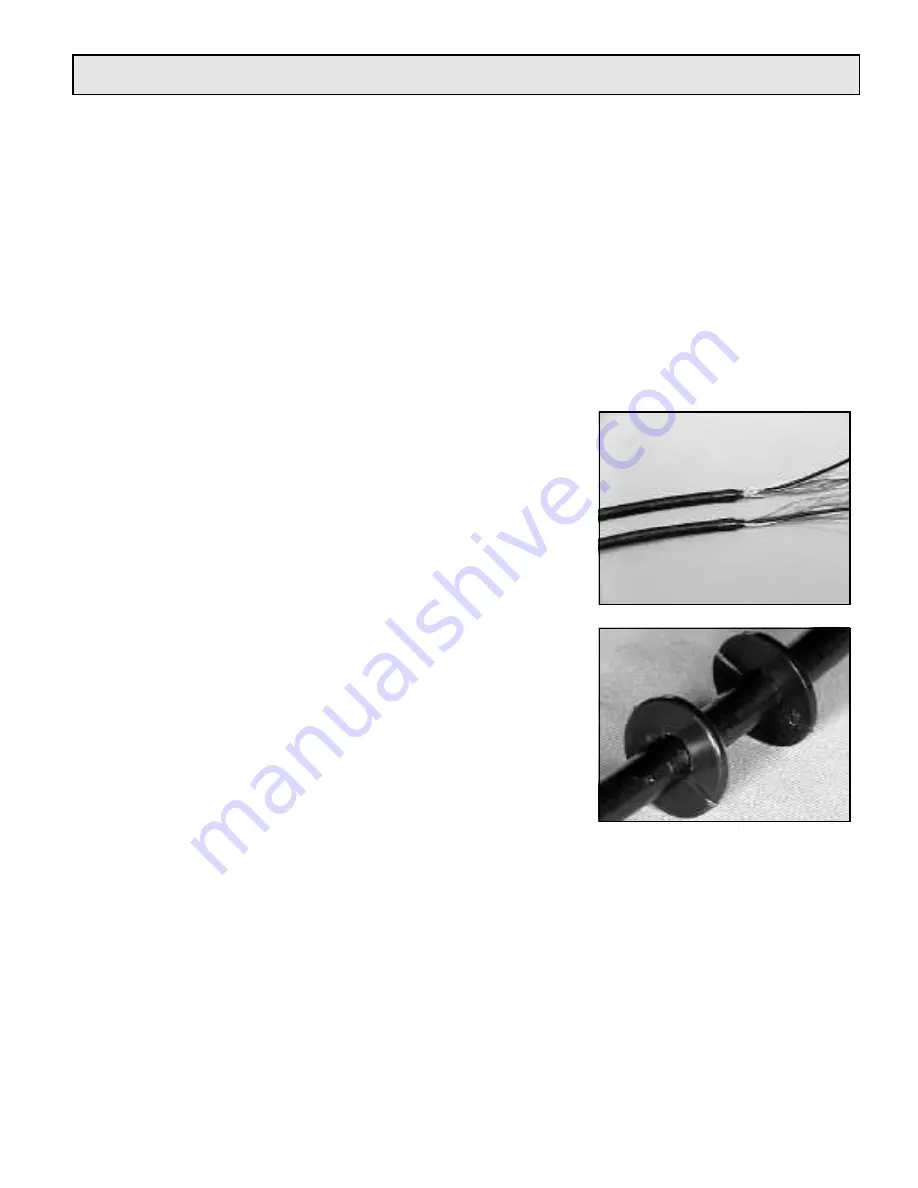
5.04 Scuff and center 6" (152 mm) of each cable
as shown.
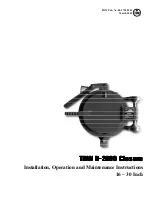
5.05 Size and place washers on cable.
5.06 Slide two sealing washers down each cable. Use sealing washers
with smallest ID which will slide on the cable.
Note:
If necessary, sealing washers can be split on washer mark
and placed on the cable. Place the cuts off set 180
degrees.
6.0 Mid-Span Splice (Balloon Splice)
6.01 Mark the cable in the center of the stored slack.
6.02 Locate the approximate center of the mid-span opening and remove 18" (450 mm) of outer sheath, shield
(if present), inner sheath and Kevlar wraps. Locate the reverse point of the buffer tube(s) oscillations.


