


UP Plus 2 3D Printer User Manual v 2013.10.24
Click “OK”
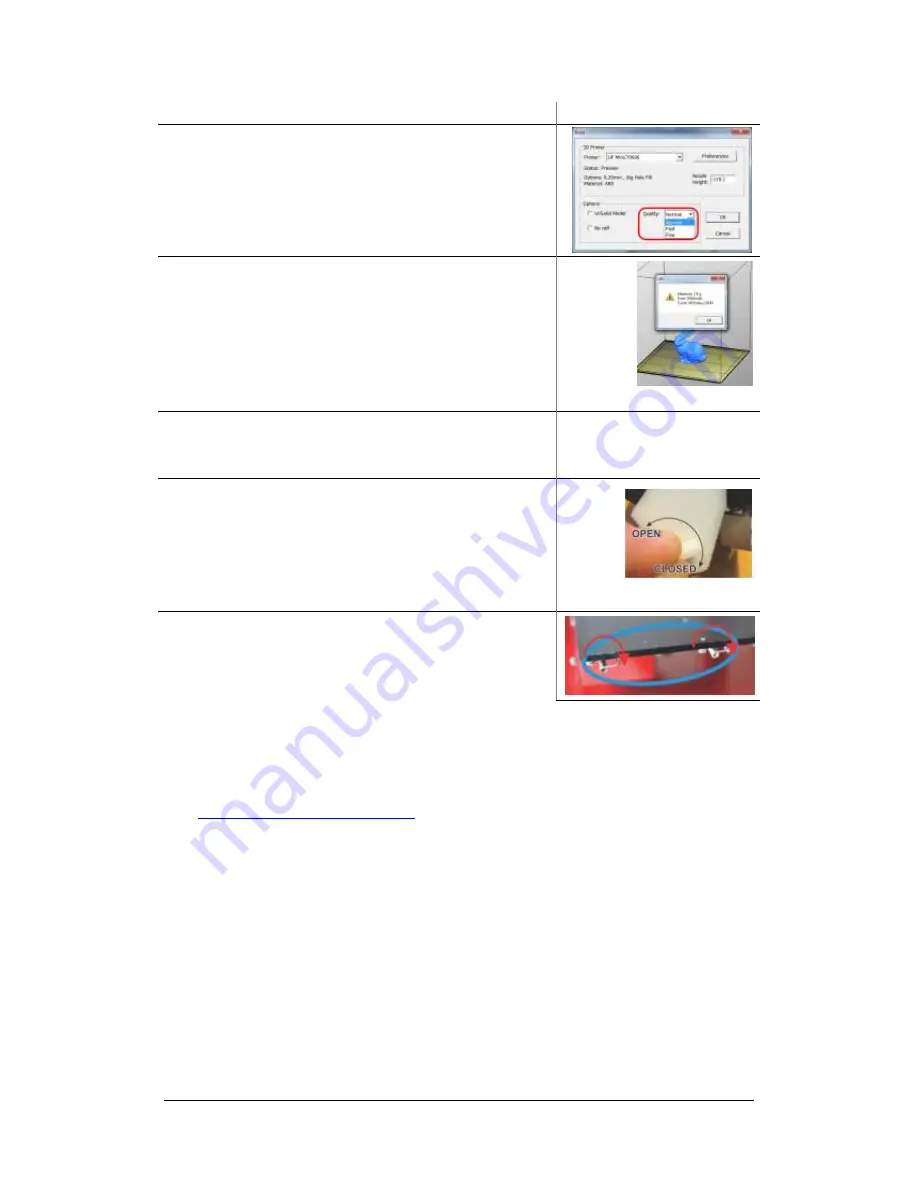
28.
Select the overall print quality
Normal
= Average quality
Fine
= Good quality and takes longer
Fast
= Draft quality and takes less time
Now click “OK” to start your first print!
29.
The software will now spool the print job to printer.
Progress is displayed on the bottom left of the software.
Once finished spooling, the printer will
beep
, you can
then disconnect the USB cable from your computer if
you wish.
30.
The printer will now start to preheat the platform and
the extruder. You can watch the temperature rise by
clicking “3D Print” and “Maintenance”
31.
Make sure the extruder vent door is closed (turn lever
to the right). This is located on the left side of the ex-
truder print head. Having the door closed with speed up
pre-heating time on both the extruder head and also
block cold air from blowing onto the heated platform.
32.
Once the printer has finished printing, unclip the Perf-
board by rotating the springs clockwise (caution hot),
then scrape off the part and break away the support
material.
4. Installing 3D Printer Software
Visit
www.3DPrintingSystems.com/support
to download the latest software for MAC and Windows
and install the software.
Windows:
Start the UPx.xx setup.exe file and install it to the specified directory (Default is “Pro-
gram files/UP” or for 64bit computers Program files x86\UP”).
Note: This installs the
UP soft-
ware
, the
UP drivers
,
UP sample files
and
firmware
into your Program files/UP folder.
4.1 Installing drivers (Windows)
Required for Windows only, MAC doesn’t require drivers.
3
Summary of Contents for UP Plus 2
Page 1: ...UP Plus 2 3D Printer User Manual v 2013 10 24 ...
Page 8: ...UP Plus 2 3D Printer User Manual v 2013 10 24 2 1 Appearance Figure 1 Front view of printer ...
Page 10: ...UP Plus 2 3D Printer User Manual v 2013 10 24 2 3 Accessories PARTS ...
Page 56: ...UP Plus 2 3D Printer User Manual v 2013 10 24 ...


