UP Mini 3D Printer User Manual
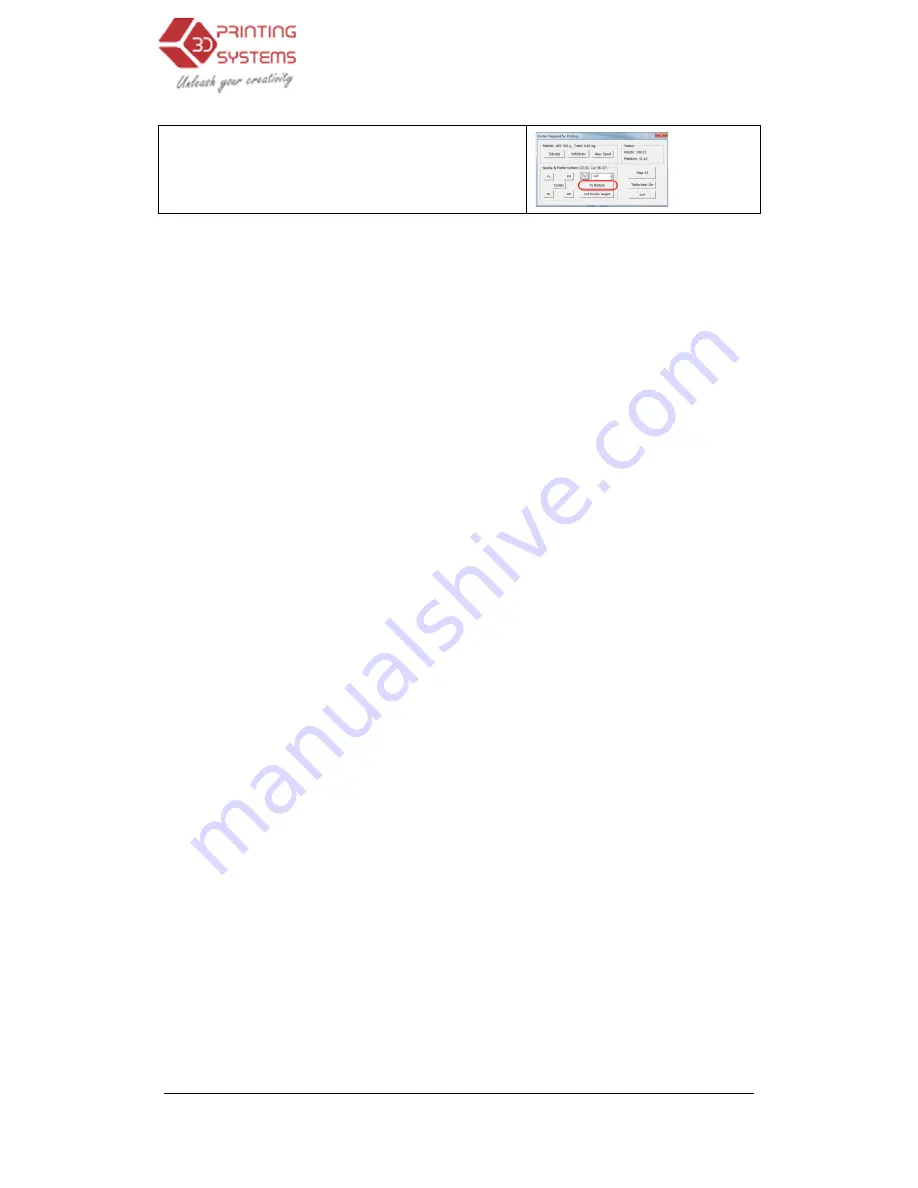
1.) Now click “Goto Bottom” in the Maintenance screen.
NOTE:
Once you have setup the nozzle height once, you
now saved in the printer.
TIP:
You may need to regularly recalibrate nozzle height after moving the printer, or if you find
the models are not adhering to the platform properly, or are warping.
TIP:
If you happen to crash the platform into the nozzle while setting the height adjustment, a
ways re-initialise the printer before undertaking any further operations and start again.
need to intialise the printer after every print. Normally only
NOTE:
It is only possible to move the nozzle to 8mm higher than the height recorded in the “Print”
screen. If, for example, the nozzle height in the “Print” screen is set to 110mm, you will only be
able to move the nozzle up to 118mm in the “Maintenance” screen
cated by the “Max” value shown in the platform and nozzle line of the “Maintain” screen. This is a
safety measurement to avoid crashing the table into the nozzle and causing extensive damage.
If you are having problems adjusting
will not go high enough, close the “Maintenance” screen, open the “Print” screen, and set the no
zle height to 122mm (for example). Then go back to the “Maintenance” screen and continue with
your nozzle height adjustments.
3D Printer User Manual
Now click “Goto Bottom” in the Maintenance screen.
Once you have setup the nozzle height once, you should do not need to do it again as it is
You may need to regularly recalibrate nozzle height after moving the printer, or if you find
the models are not adhering to the platform properly, or are warping.
If you happen to crash the platform into the nozzle while setting the height adjustment, a
e the printer before undertaking any further operations and start again.
need to intialise the printer after every print. Normally only when switching on the printer.
It is only possible to move the nozzle to 8mm higher than the height recorded in the “Print”
screen. If, for example, the nozzle height in the “Print” screen is set to 110mm, you will only be
able to move the nozzle up to 118mm in the “Maintenance” screen. This maximum value is ind
cated by the “Max” value shown in the platform and nozzle line of the “Maintain” screen. This is a
safety measurement to avoid crashing the table into the nozzle and causing extensive damage.
If you are having problems adjusting the nozzle height in the “Maintenance “ screen because it
will not go high enough, close the “Maintenance” screen, open the “Print” screen, and set the no
zle height to 122mm (for example). Then go back to the “Maintenance” screen and continue with
ozzle height adjustments.
23
do not need to do it again as it is
You may need to regularly recalibrate nozzle height after moving the printer, or if you find
If you happen to crash the platform into the nozzle while setting the height adjustment, al-
e the printer before undertaking any further operations and start again. You do not
when switching on the printer.
It is only possible to move the nozzle to 8mm higher than the height recorded in the “Print”
screen. If, for example, the nozzle height in the “Print” screen is set to 110mm, you will only be
. This maximum value is indi-
cated by the “Max” value shown in the platform and nozzle line of the “Maintain” screen. This is a
safety measurement to avoid crashing the table into the nozzle and causing extensive damage.
the nozzle height in the “Maintenance “ screen because it
will not go high enough, close the “Maintenance” screen, open the “Print” screen, and set the noz-
zle height to 122mm (for example). Then go back to the “Maintenance” screen and continue with


