


61
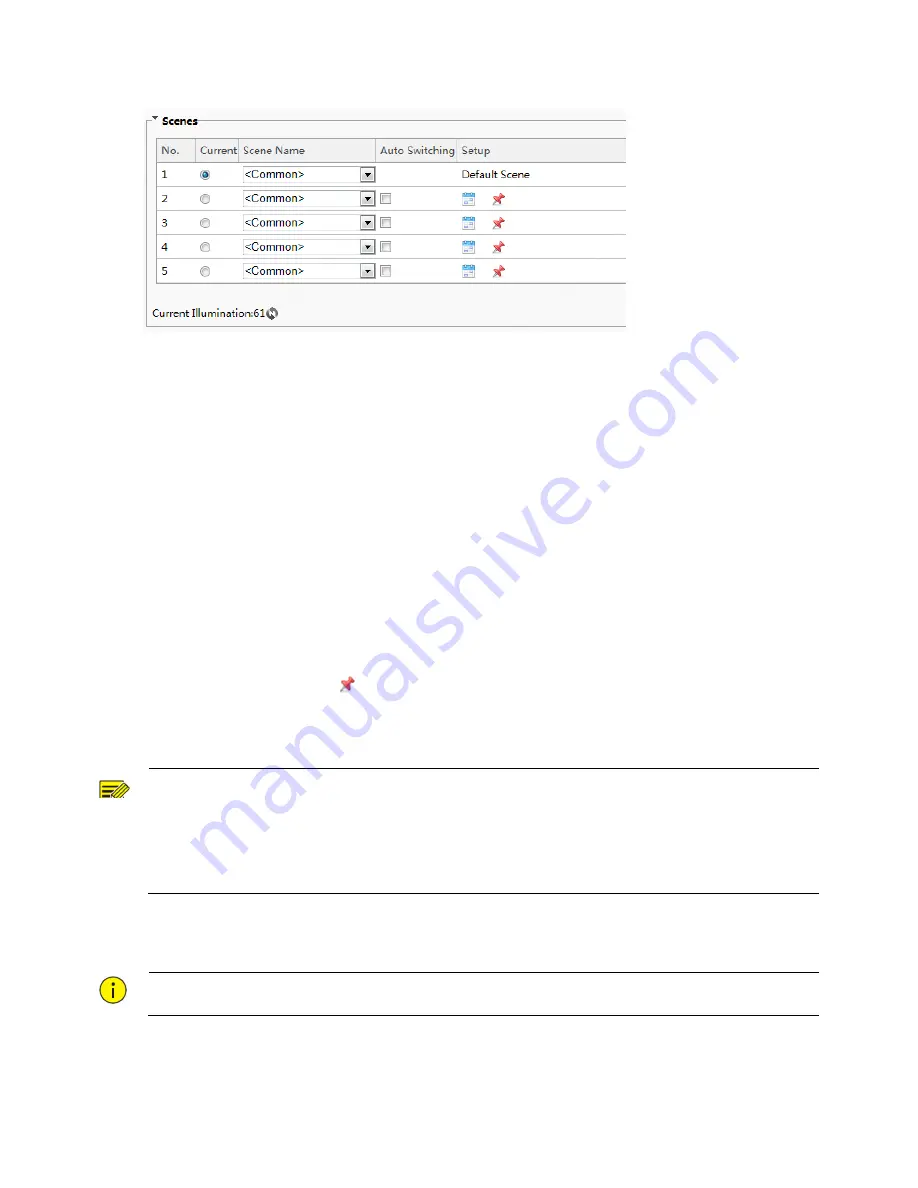
Figure7-32
Scene
Configuration
Interface
(2)
Scene
Name:
name
of
the
current
scene.
Several
scene
modes
have
been
preset
in
the
device.
After
a
scene
mode
is
selected,
image
parameters
are
automatically
switched
(you
can
adjust
image
parameters
as
required).
Common:
recommended
for
outdoor
scenes.
Standard:
standard
image
parameter,
which
is
the
default
image
style.
Bright:
The
image
brightness
is
improved
based
on
the
standard
mode.
Vivid:
The
image
saturation
is
improved
based
on
the
standard
mode.
Road
Highlight
Compensation(HLC):
The
road
highlight
can
be
suppressed
so
that
clear
images
can
be
obtained.
It
is
applicable
to
road
scenes.
Park
Highlight
Compensation(HLC):
The
park
highlight
can
be
suppressed
so
that
clear
images
can
be
obtained.
It
is
applicable
to
park
scenes.
WDR:
recommeded
for
scenes
with
high
‐
contrast
lighting,
such
as
window,
corridor,
front
door
or
other
scenes
that
are
bright
outside
but
dim
inside.
Custom:
set
a
scene
name
as
needed.
(3)
Select
a
scene
and
then
click
to
set
it
as
the
default
scene.
(4)
If
auto
‐
switching
is
enabled,
the
device
can
switch
to
the
scene
automatically
when
the
condition
for
switching
to
a
non
‐
default
scene
is
met.
Otherwise,
the
device
remains
in
the
default
scene.
When
auto
‐
switching
is
not
enabled,
The
device
remains
in
the
current
scene.
NOTE!
If
Auto
Switching
is
enabled
(scene
settings
will
be
unavailable),
the
device
will
switch
between
the
set
scenes.
If
not,
the
device
will
stay
at
the
current
scene.
The
device
will
stay
at
default
scenes
unless
the
non
‐
default
scenes
are
triggered.
If
multiple
non
‐
default
scenes
are
triggered,
then
the
device
will
switch
to
the
scene
with
the
minimum
number
(starting
from
1
to
5).
(2)
Image
Enhancement
NOTE!
All
parameters
on
the
Image
Enhancement
interface
use
default
values
and
cannot
be
configured.
(1)
Click
Setup
>
Image
>
Image
and
then
click
Image
Enhancement
.


