Chapter 9 AP Connection
WAP6906 User’s Guide
57
The following table describes the labels in this screen.
9.5 WPS Screen
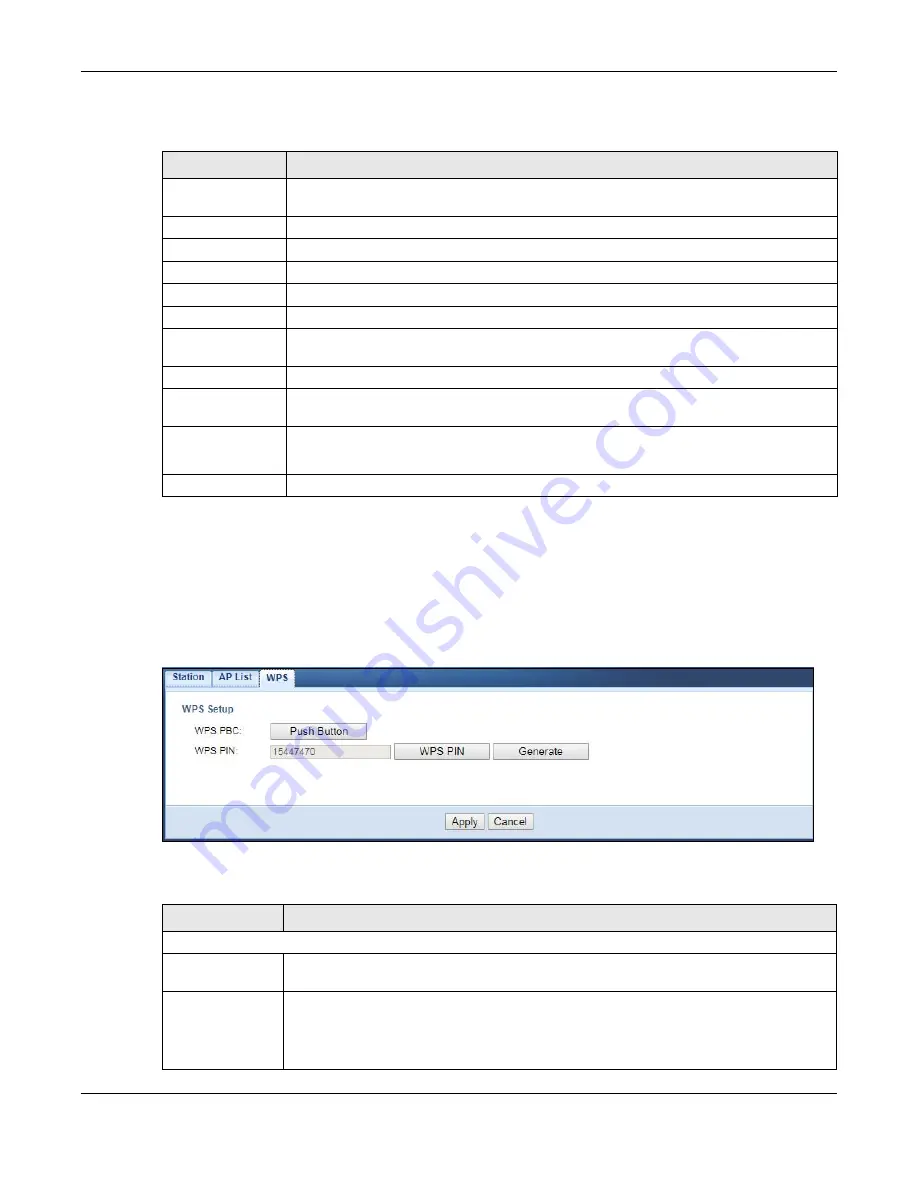
Use this screen to enable/disable WPS, view or generate a new PIN number. To open this screen, click
Networking > AP Connection > WPS
.
Figure 31
Networking > AP Connection > WPS
The following table describes the labels in this screen.
Table 20 Networking > AP Connection > AP List
LABEL
DESCRIPTION
Connection Status
This shows whether the WAP6906 is already connected, attempting to connect, or not
connected to a wireless network.
Current SSID
This shows the name of the AP to which your WAP6906 is currently connected.
SSID
This shows the network name of the AP the WAP6906 can detect.
MAC Address
This shows the MAC address of the AP.
Channel
This shows the channel the AP uses.
RSSI (dbm)
This shows the strength of the AP’s radio signal measured in dbm.
Security
This shows
Yes
if the WAP6906 needs a security password to connect to the AP. It shows
No
if
the WAP6906 does not need a password to connect.
AP
This shows the name of the AP you click and try to connect.
Passphrase
The
Passphrase
input box displays when the
Security
column is
Yes
for the selected SSID. Enter
the password for this wireless network in the
Passphrase
input box.
Connect
The
Connect
button appears at the end of the table after you click on a SSID.
Click this button to connect to the selected AP.
Rescan
Click
Rescan
to refresh the list of APs available.
Table 21 Networking > AP Connection > WPS
LABEL
DESCRIPTION
WPS Setup
WPS PBC
Click the
Push Button
to perform wireless security information synchronization using the Push
Button Configuration (PBC) Method.
WPS PIN
This field displays the PIN number for the WAP6906 you will use to perform wireless security
information synchronization using the PIN Configuration Method.
Click the
WPS PIN
button to establish the synchronization. Click
Generate
to create a new PIN
and display it in the
WPS PIN
field.


