Chapter 3 Web Configurator
PLA6456 User’s Guide
21
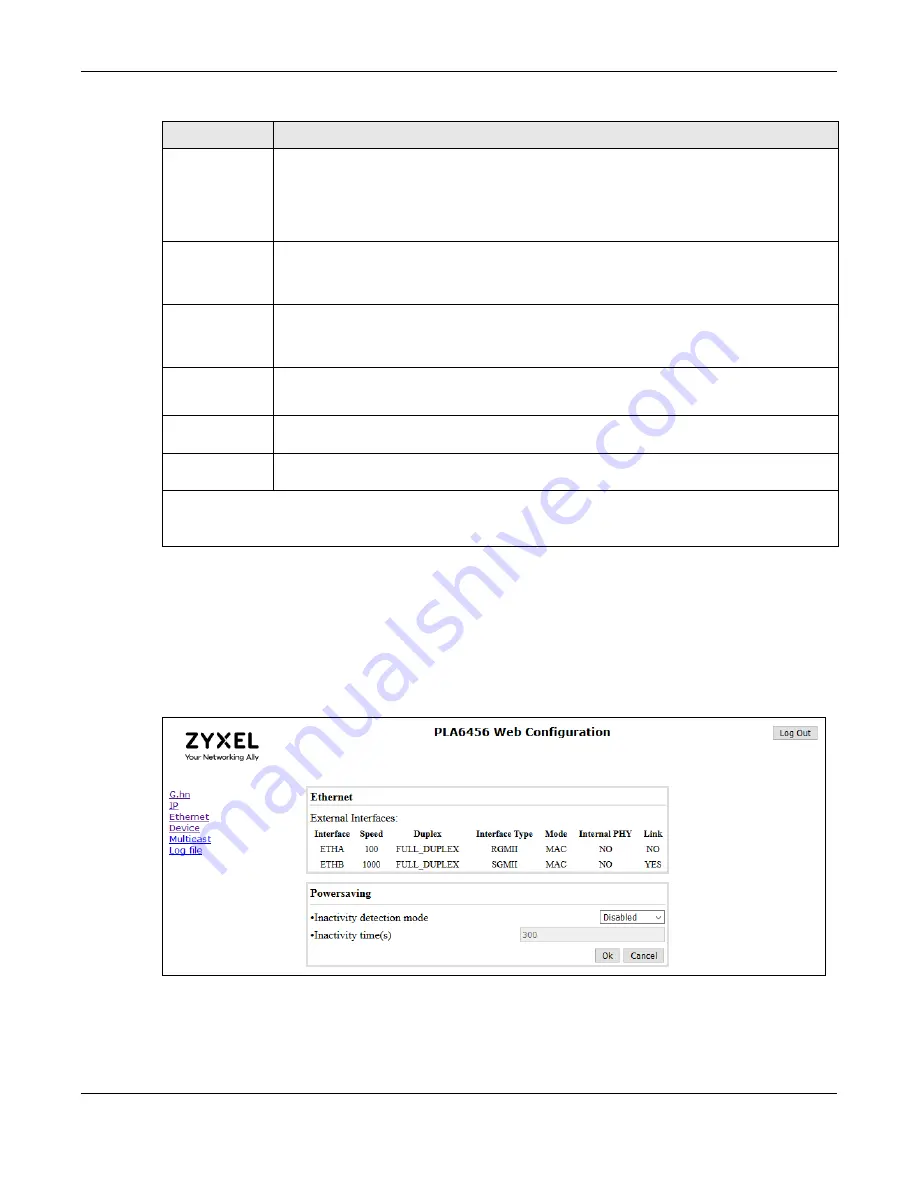
3.5 Ethernet Settings
Use the
Ethernet
screen to view information on the PLA’s Ethernet port. as well as set the PLA’s power
saving mode.
Figure 10
Ethernet Screen
DHCP enabled
Select
YES
if your PLA is connected to a DHCP-enabled router that can assign it an IPv6 address.
The
IPv6 address / prefix
,
Default Gateway
, and
DNS
fields will be filled automatically when
configuration is received from the DHCPv6 server.
Select
NO
if you wish to assign an IPv4 Address, Subnet Mask, Default Gateway and DNS to your
PLA.
IPv6 address /
prefix
Enter the IPv6 address you wish to assign to your PLA and the address prefix length to specify
how many most significant bits in an IPv6 address compose the network address.
This field is only available when you select
No
in the
DHCP enabled
field.
Default
Gateway
Enter the IP address of the next-hop gateway. The gateway is a router connected to your PLA.
The gateway helps forward packets to their destinations.
This field is only available when you select
No
in the
DHCP enabled
field.
DNS
Enter the IPv6 DNS server address you configure manually.
This field is only available when you select
No
in the
DHCP enabled
field.
IPv6 link-local
address
This field displays the IPv6 link-local address and the network prefix that the PLA generates itself
for the interface.
IPv6 SLAAC
address
This field displays the IPv6 SLAAC (Stateless Address Auto-configuration) IP address and prefix
obtained from an IPv6 router in the network.
Click
Ok
for the changes to take effect.
Note: All changes except the DNS server will only take effect after a system reboot.
Table 6 Configuration Screen (continued)
LABEL
DESCRIPTION
Содержание PLA6456
Страница 6: ...6 PART I User s Guide...
Страница 15: ...15 PART II Technical Reference...


