Hardware installation
18
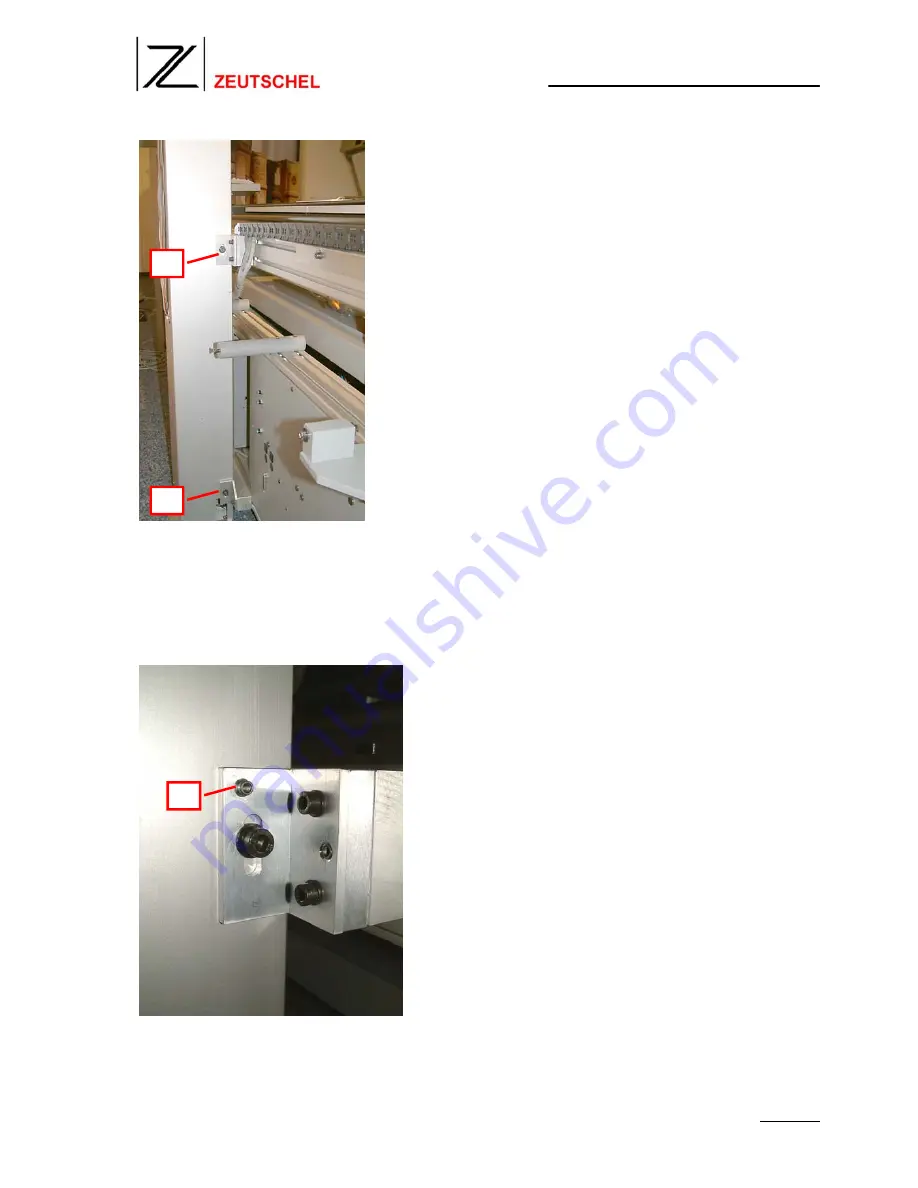
Fig. 25
Lift up the column and install the four fixing screws [34]. Do not tighten them yet.
Put in the four dowel pins [35] like shown in Fig. 26 ff. and drive them in with a hammer.
These pins are required to bring the column in the correct position against the scanner
base. For a later removal of the column, these pins have a M4 thread inside. So a M4
screw can be screwed in to pull the pins out.
Fig. 26
34
34
35
Содержание OK 300 Hybrid Color
Страница 4: ...Preparations 4 Fig 2 Fig 3 Fig 4 3 4 5 6 8 7 9 10 11 ...
Страница 7: ...Hardware installation 7 Fig 7 Fig 8 14 15 ...
Страница 8: ...Hardware installation 8 Fig 9 Fig 10 16 ...
Страница 10: ...Hardware installation 10 Fig 12 Fig 13 19 20 21 45mm ...
Страница 12: ...Hardware installation 12 After the installation the brackets should look like this Fig 16 Fig 17 ...
Страница 15: ...Hardware installation 15 Fig 20 Fig 21 29 29 30 29 29 ...
Страница 19: ...Hardware installation 19 Fig 27 Fig 28 35 35 ...
Страница 51: ...Software installation 51 Fig 84 4 Click on Finish to complete the installation Fig 85 ...
Страница 54: ...Software installation 54 6 Execute the file Setup exe Fig 91 7 Click on Next Fig 92 8 Click on Yes Fig 93 ...


