Zero 88 Series
Usk House, Lakeside, Llantarnam Park,
Cwmbran, NP44 3HD. UK
Tel: +44 (0)1633 838088 Fax: +44 (0)1633 867880
Email: [email protected] Web: www.zero88.com
Lighting Controls
–
FLX lighting console
Zero 88 FLX Quick Start Guide v1.2
– Stock Code: 9850-000492-00 – Page 9 of 20
Controlling other parameters
The intensity of all fixtures, no matter what they are, is
controlled in the same way
– as described on the previous
page. Controlling all other parameters is described below.
Selecting a fixture(s)
Fixtures can be selected using the buttons under the
faders (MFFs must be in “channel” mode for this to work)
or by using the commands described on the previous page
(just press Enter after typing the last channel, in place of
typing @
…).
When the channel is selected, the LED in the button under
the fader will turn on, and an orange box will be drawn
around the channel number in the Output Window. You
can select multiple channels on the faders at the same
time by pressing and holding the first button, and then
tapping the last button).
Home
If you are unsure which fixture is which, the easiest way to
see which fixtures
you are controlling is to “home” them.
This will set their position (Pan and Tilt) to 50%, the
intensity to 100%, and the beam to open white (no colour,
gobos or effects). The home values can be customised by
going into Setup and choosing
Edit Fixtures
.
After selecting a fixture(s), press the Home key. This will
send the fixture(s) to its
‘home’ values.
Figure 6
– The colour window and parameters
Choosing an attribute
Each fixture has its own set of parameters (eg Intensity,
Colour, Gobo, Pan, Tilt etc.), which are grouped together
into four attributes (Position, Colour, Beam and Shape).
See the “Terminology & Key Features” section for more
information, including examples (page 4 & 5).
Once a fixture, or group of fixtures, have been selected,
choose an attribute by pressing one of the attribute buttons
to the right of the internal display. This will open that
attribute’s window on the internal display (fig. 6), and put
the
attribute’s parameters onto the four encoder wheels
ready to be controlled.
Controlling a parameter
Parameters can be controlled directly by the four encoder
wheels. The parameters currently being controlled by the
encoders are displayed in the four boxes along the bottom
of the touch screen, just above the encoders.
Remember that each fixture will have a different range of
parameters available, depending on its feature set. Consult
the fixture
’s operating manual for details. If the fixture has
more than four parameters in the attribute, pressing the
attribute key again selects the next group of parameters.
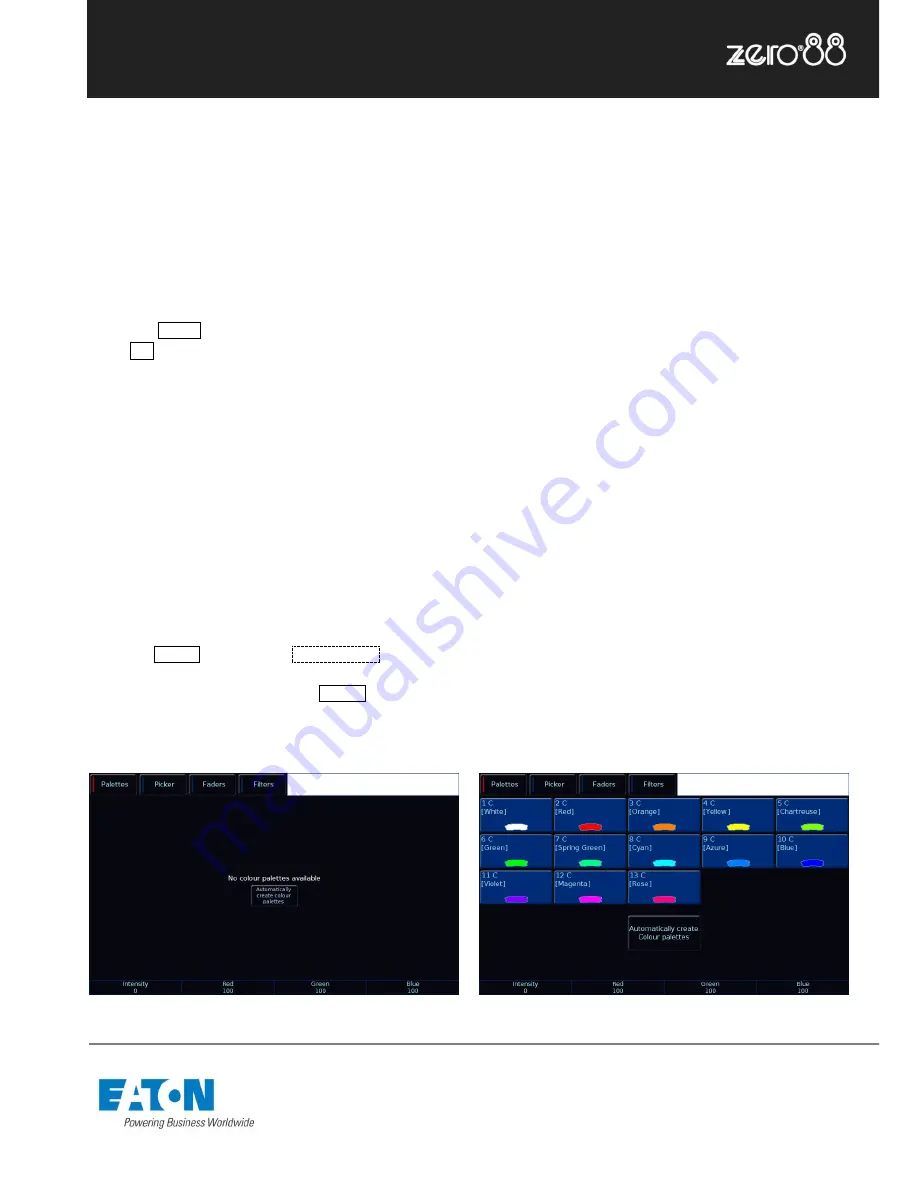
Automatic Palettes
FLX can automatically create palettes, which can be a
quicker method of controlling parameters than via the
encoders (fig. 7). If palettes are available for your fixtures,
an
“Automatically create palettes” button will be displayed.
Figure 7
– After automatically creating Colour palettes


