

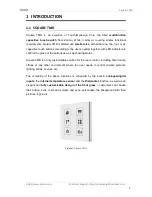


Square TMD
http://www.zennio.com
Technical Support:
http://zennioenglish.zendesk.com
5
1.2
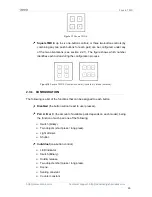
INSTALLATION
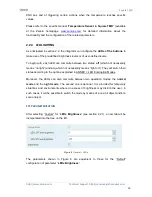
Figure 2
Installation.
To install the device, it is first necessary to mount the metallic plate into a square/round
standard appliance box through the suitable screws. Next, the Square TMD is
connected to the KNX bus through the corresponding terminal on the rear side of the
device, and then the input terminal is as well connected to the rear of the device.
Once the input terminal and the KNX terminal are connected, the device can be easily
mounted on the metallic plate by the action of the built-in magnets. After that, it is
necessary to slide it downwards to fix it through the security anchorage system.
Finally, it is advisable to check that the device is properly installed, and that only its
profile becomes visible from above, from below and from both sides (the metallic plate
should be completely hidden).
This device does not need any external supply, as it is powered through the KNX bus.
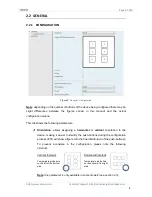
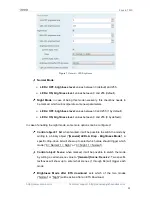
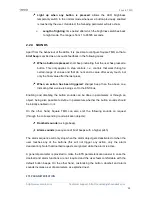
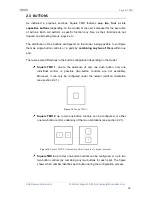
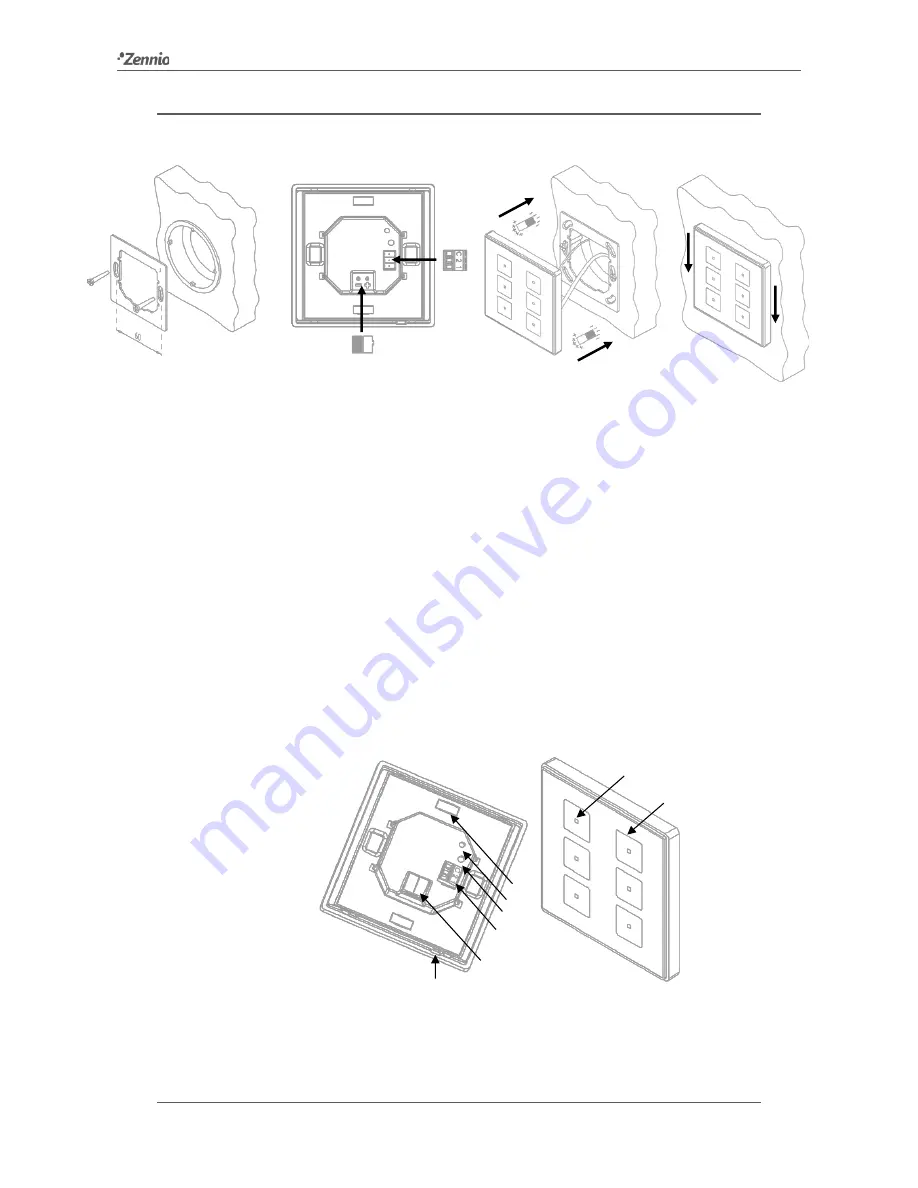
Figure 3
Element diagram.
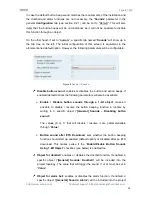
The programming button (4) can be pressed with the help of a thin screw to set the
device into the
Programming Mode
. After a short press, the programming LED (5) will
1
. Temperature sensor.
2
. KNX bus connector.
3
. Analogue-digital inputs.
4
. Prog./Test button.
5
. Prog./Test LED.
6
. Magnets.
7
. Status LED.
8
. Touch buttons.
1
2
3
4
5
1
6
4
3
2
8
7


