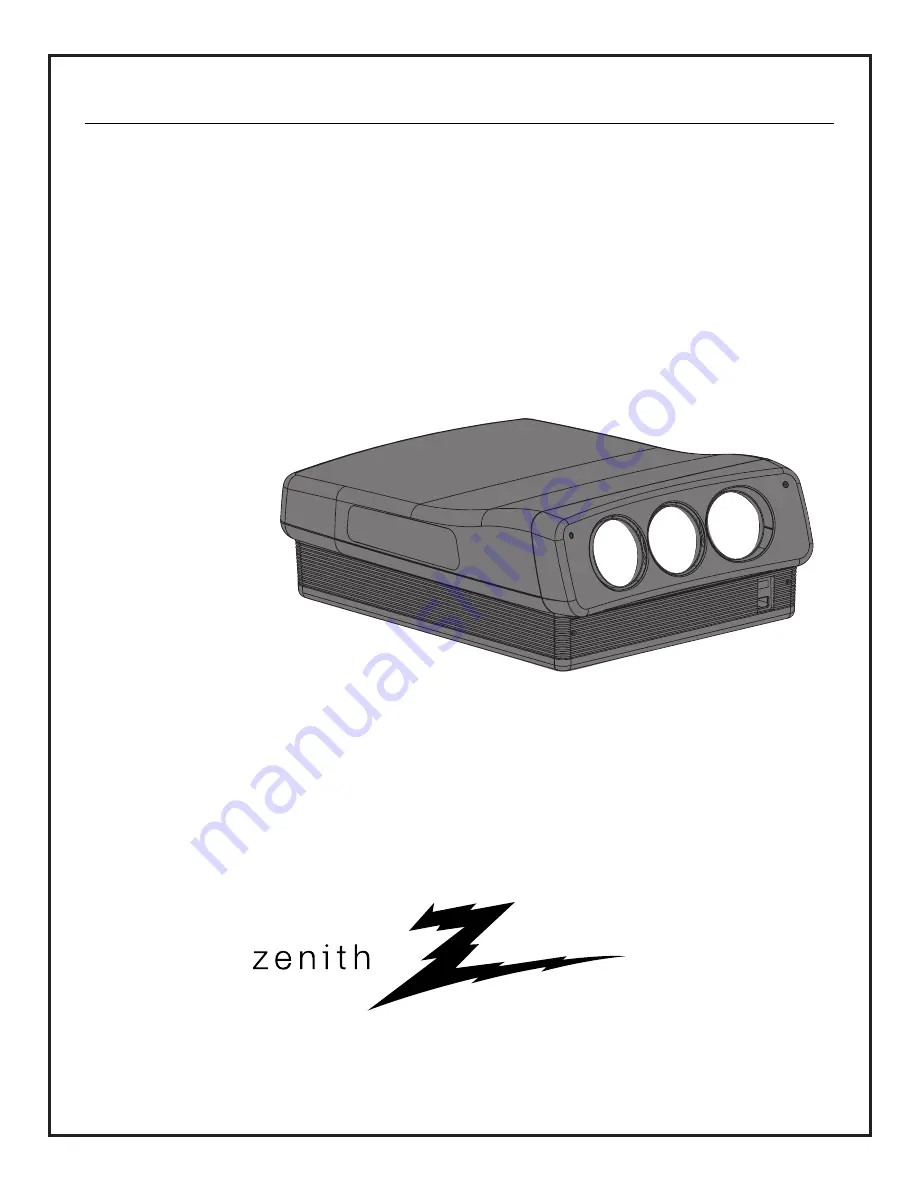
HD Projection Display
Operating Guide and Warranty
for User
Model
PRO895X
®
Страница 1: ...HD Projection Display Operating Guide and Warranty for User Model PRO895X...
Страница 2: ...against harmful interference when the equipment is operated in a residential installation This equipment generates uses and can radiate radio frequency energy and if not installed and used in accordan...
Страница 3: ...ny mounting of the product should follow the manufacturer s instructions and should use a mounting accessory recommended by the manufacturer 8 Transporting Product A product and cart combination shoul...
Страница 4: ...ther hazards Refer all servicing to qualified service personnel 20 Damage Requiring Service Unplug this product from the wall power outlet and refer servicing to qualified service personnel under the...
Страница 5: ...25 Video Mode 25 Aspect Ratio Picture Proportion 25 Format Pref Preference 26 Label Format 27 Blank Setup 27 Static Setup Red Blue Green Convergence 27 VIDEO MENU Adjustments 28 Video Menu Options 28...
Страница 6: ...Hz operation A service adjustment is necessary to permit the unit to oper ate on 230 volt 50 60 Hz See Changing From 120 VAC To 230 VAC in the Placement and Configuration section in the Installation G...
Страница 7: ...IN signal to another component Note Set Loop Out In switch to Out if you connect a video source to the Loop Out jack 10 Loop Out In Switch Should be in the In position unless a video source is connect...
Страница 8: ...dapters cables or connectors shown are not provided with the PRO895X See your computer dealer for your special requirements To hook up a VCR DVD play er or other video source use standard video connec...
Страница 9: ...eft Right arrows for the Setup and Video Menus Up Down arrows select options Left Right arrows adjust or change settings Press QUIT to exit menu 7 When finished using the PRO895X press TV press POWER...
Страница 10: ...SOURCE Computer Setup Instructions Connections Computer to PRO895X Menus Source Menu Select RGB as input source Setup Menu Select Aspect Ratio 4 x 3 Select Static Setup and adjust if necessary Video M...
Страница 11: ...Source Menu with Video selected as Input Source VCR or other Video Source Setup Instructions Connections VCR to Video In on PRO895X VCR Audio Out to Audio In of User Supplied Stereo System or Audio Am...
Страница 12: ...Setup Instructions Connections S Video Out to S Video In on PRO895X VCR Audio Out to Audio In of User Supplied Stereo System or Audio Amplifier Menus Source Menu Select S Video as input source Setup...
Страница 13: ...ogramming VCR CABLE or AUX DO NOT PROGRAM TV MODE 5 Using the NUMBER keypad enter the three number code you found on page 17 18 6 Press ENTER to save the code The indicator light will flash 3 times th...
Страница 14: ...one of the available AUX modes Aux Aux 1 Aux 2 or Aux 3 3 Press and hold PRG on your remote until the indicator light stays lit then release 4 Press 4 9 9 then ENTER on the remote The indicator light...
Страница 15: ...en release PRG 3 Press AUX and the 1 on the NUMBER keypad at the same time for AUX 1 4 Using the NUMBER keypad enter the three number code for the device you ve selected 5 Press ENTER to save the code...
Страница 16: ...zero then press ENTER right away 5 Aim the remote at the correct device and push the POWER key The indicator light will turn off while the POWER key is pressed Allow a second to pass then push the PO...
Страница 17: ...0 Saisho 722 Salora 297 Samsung 220 230 Sansui 289 292 709 726 Sanyo 212 247 294 Scott 243 290 729 Sears 211 212 213 265 274 Sharp 261 730 Signature 2000 216 219 249 Sony 232 723 724 Sylvania 275 297...
Страница 18: ...DO 939 Aiwa 938 Akai 937 Denon 935 Dynatech 953 Emerson 952 Fisher 438 933 951 GE 932 Goldstar 460 Hitachi 950 JVC 949 954 Kenwood 441 931 948 Luxman 930 Magnavox 421 422 433 434 Marantz 929 947 MCS 9...
Страница 19: ...Digit 4 AUX Digit 4 5 TV Digit 5 VCR Digit 5 Cable Digit 5 AUX Digit 5 6 TV Digit 6 VCR Digit 6 Cable Digit 6 AUX Digit 6 7 TV Digit 7 VCR Digit 7 Cable Digit 7 AUX Digit 7 8 TV Digit 8 VCR Digit 8 C...
Страница 20: ...annels directly and enters numeric values for some options MENU Shows on screen menus MENU UP DOWN DIRECTIONAL ARROWS The Up Down directional arrows select menu options remote control part number MBR3...
Страница 21: ...ature Press MENU to show the main menu on the screen Other Main Menus available Other available feature Shows current status of selected option In this case S Video source Selected Main Menu Note Some...
Страница 22: ...SOURCE Press TV Point remote at PRO895X screen Press MENU repeat edly to highlight the Source menu icon press ENTER Use the Up Down arrows to select the desired source rectangle Video S Video or RGB...
Страница 23: ...sh French or German for on screen menus Video Mode Selects signal broadcast standard when a Video or S Video source is selected Aspect Ratio Picture Proportion Changes shape into which image is projec...
Страница 24: ...Daily Commercial Usage Setup Program the PRO895X to turn itself On at the beginning of the work day 9 00 am When the staff goes to lunch at 12 00 pm set it to turn Off until they return Program the P...
Страница 25: ...lect a different aspect ratio for that source One or more of the video sources may have a different aspect ratio than other video sources In this case change the Aspect Ratio to the appropriate config...
Страница 26: ...ized as one of the 10 PRO895X Preset factory aligned settings If you wish to change any of those set tings like Contrast or Tint the factory Preset aligned settings format becomes a Custom format with...
Страница 27: ...ccasionally the red blue and green images go out of convergence In the Static Setup Menu you will see a menu similar to the one shown at the right Ideally the conver gence is correct when the bars in...
Страница 28: ...ty Color Temp Custom Red Level Green Level Blue Level 3200K 6500K 9300K Changes the color temperature Red Level or picture white balance between cooler natural whites and warmer red colors There are t...
Страница 29: ...usually no additional changes are needed For the RGB Source only the Clamp Pulse is set at Auto Select by the factory Auto Select determines the pulse of the RGB input video source and automatically c...
Страница 30: ...t facial tissue Do NOT use any type of aerosol cleaner Do NOT use dry material such as paper tissue or a dry cloth to clean the lenses Moisten the soft cloth or tissue with warm water and gen tly wipe...
Страница 31: ...lack and white signal Weak signal from broadcasting and white station Cables broken or loose VCR cannot be Remote in TV mode Remote not pointed at VCR VCR cannot be controlled by remote controlled Rem...
Страница 32: ...IS IN LIEU OF ANY OTHER WARRANTY EXPRESSED OR IMPLIED INCLUDING WITHOUT LIMITATION ANY WARRANTY OF MER CHANTABILITY OR FITNESS FOR A PARTICULAR PURPOSE AND ZENITH SHALL NOT BE LIABLE FOR ANY CONSEQUE...