10
08/2007
Setting up the microscope
Changing between direct observation, camera detection and laser scanning mode
The
Ocular
,
Camera
and
LSM
buttons switch the beam path and indicate which beam path is currently
in use for the microscope:
"
Click on the
Ocular
button to change the microscope beam path
for direct observation via the eyepieces of the binocular tube, lasers
are blocked.
"
Click on the
Camera
button to change the beam path of the
microscope for the port where the camera is attached for camera-
based image acquisition.
"
Click on the
LSM
button to set the beam path for the LSM 510
system.
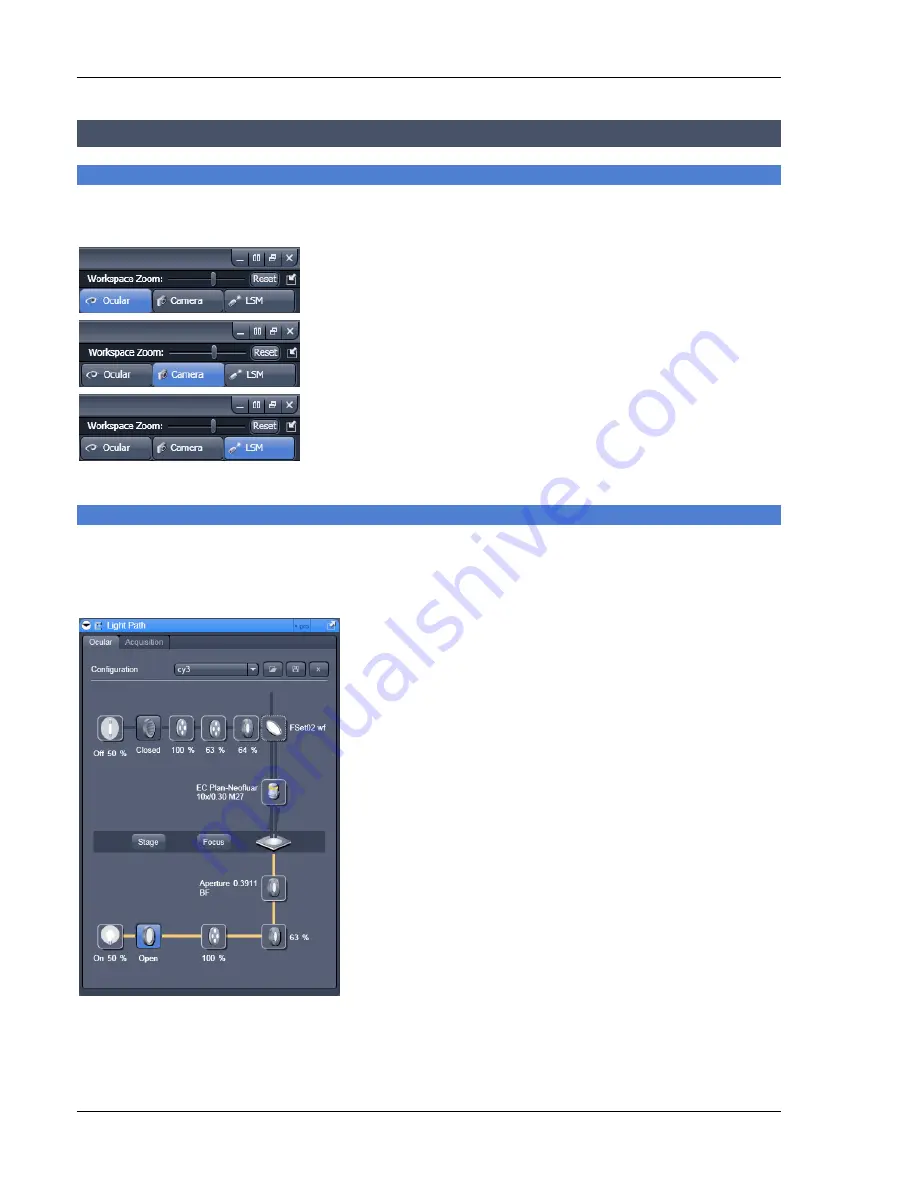
Setting up the microscope and storing settings
Click on the
Ocular
button for direct observation. Then choose the
Light Path
tool from the
Left Tool
Area
. Since the
Ocular
button has been chosen before, the
Oculars
tab is pre-selected and presented as
the front tab in this tool (Fig. 11).
Selecting an objective
"
Open the graphical pop-up menu by clicking on the
Objective
symbol and select the objective lens for your
experiment (Fig. 11).
"
The chosen objective lens will automatically move into
the beam path.
Focusing the microscope for transmitted light
"
Open the graphical pop-up menu by clicking on the
Transmitted Light
icon (Fig. 12).
"
Click on the
On
button. Set the intensity of the Halogen
lamp using the slider.
"
Clicking outside the pop-up control closes it.
"
Place specimen on microscope stage. The cover slip must
be facing the objective lens. Remember the immersion
medium if the objective chosen requires it!
"
Use the focusing drive of the microscope to focus the
object plane.
"
Select specimen detail by moving the stage in X and Y
using the XY stage fine motion control.
Fig. 11
Microscope Control window,
e.g.: Axio Imager.Z1


