background image


This Remove key is used in the Advance Setup to: 


Remove a device from a group; 


Remove a device from an association group; 


Remove a device from a scene. 


Group Control 


The Z-URC

TM

 550EU enables you to control single or multiple Z-

Wave devices with the press of a button. For example, you can group 
all your bedroom lights together so that all of them will turn on with 
the press of a button. 
 
You can control up to 16 groups (Group On/Off) with your Z-URC

TM


550EU.  Each Group supports up to 32 Z-Wave devices or End-point 
(EP) and supports up to 232 Z-Wave devices in a network. 
 

Remark:  There are total 16 groups of on/off keys which are shared by 
Scene and Group, for example, if you used 6 groups as Group, there 
are 10 groups on/off keys left for Scene, and vise versa. 


XpressZetup

TM

 (Group Setup) 


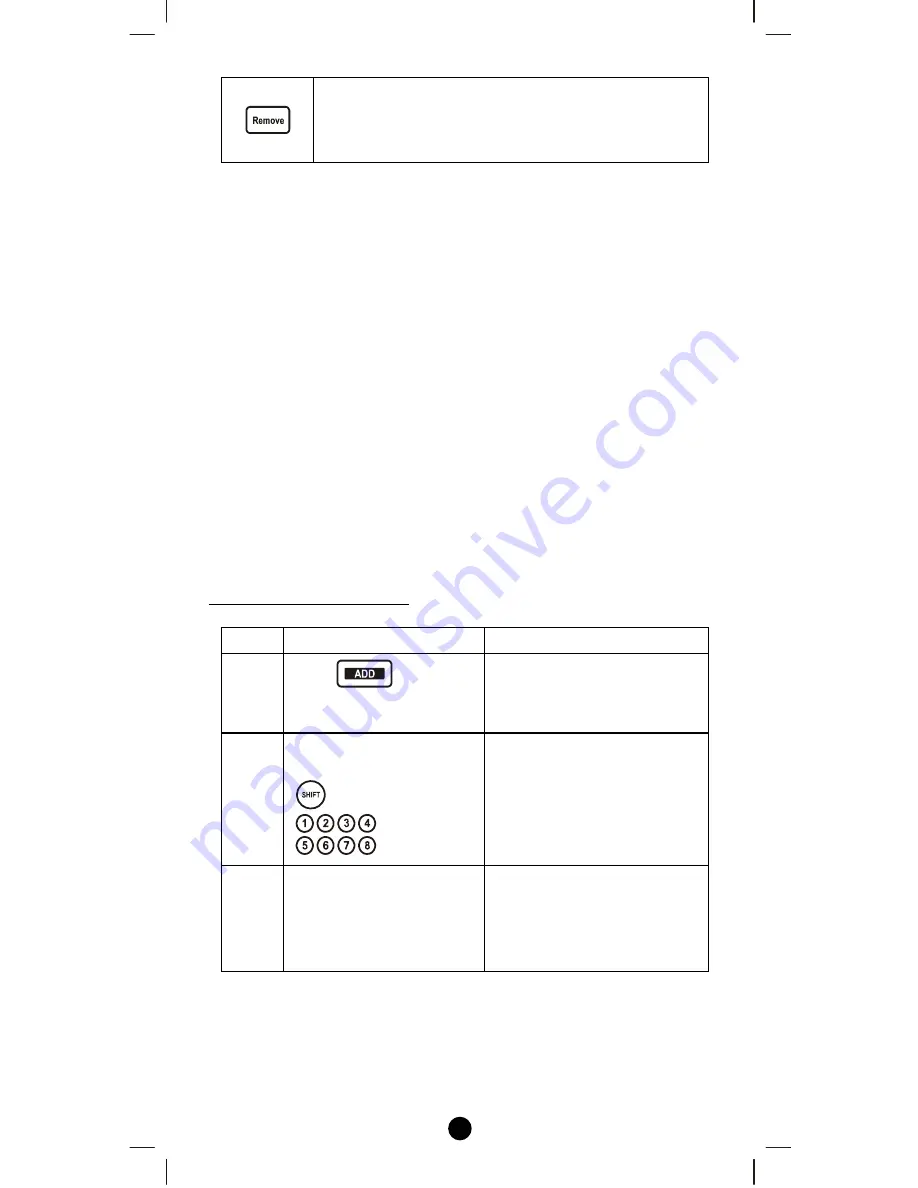
Including Device to a Group 
 

Step 

Setup Key 

LED Indication Status 

Press  

in 

XpressZetup

TM

 area 


OK

 LED on 


LED_A

 flashes 

rapidly 

Select a group number 
from 1 to 16 (1-8 or  

 1-8) 


LED_A

 off 


LED_B

 flashes 

rapidly 

Press the program button 
on the target device 


OK

 LED flashes 

once then turns off 


LED_B

 off 


Group setup completed 


Note1: If you cannot add your Z-Wave device, this device might have 
been included in another Z-Wave network. In this case, please delete 
this device following the steps in the [Deleting Device from the 
Network] section then add this device again. 
 

Содержание Z-URC 550EU

Страница 1: ...1 Z URCTM 550EU Z Wave Enabled Universal Remote Control...

Страница 2: ...Copying All Network and Device Information to a Secondary Controller 23 Copying Network Information to a Secondary Controller 24 Transferring All Network and Device Information to a New Primary Contro...

Страница 3: ...ERATION FOR AV EQUIPMENT 38 Secondary Function 38 IR Boost Mode 38 Restore Factory Settings 39 MAINTENANCE 39 FREQUENTLY ASKED QUESTIONS 39 Z Wave Frequently Asked Questions 39 AV Control Frequently A...

Страница 4: ...n off or up down individually as a Group or via a pre configured Scene A perfect kit of Z URCTM 550EU and ZXT 300EU Z Wave to AV IR Extender It works with any Z Wave compliant controller or gateway by...

Страница 5: ...odules from a network It is recommended that you mark the primary controller for each network for ease in modifying your network Secondary Controller A controller containing network information about...

Страница 6: ...are compatible with your Z URCTM 550EU as long as they carry the Z Wave logo Please carefully read through the following then store the manual for future reference Before using the Z URCTM 550EU plea...

Страница 7: ...7 Configurations Please open the configuration compartment then you can see the Z URCTM 550EU setup keys Figure 2 Figure 2 Setup Keys of the Z URCTM 550EU Status LED_A Status LED_B...

Страница 8: ...d group but will not exclude it from the network This SHIFT key is used for accessing group numbers 9 to 16 while programming your devices These are your group numbers 1 through 8 and also become grou...

Страница 9: ...k There are total 16 groups of on off keys which are shared by Scene and Group for example if you used 6 groups as Group there are 10 groups on off keys left for Scene and vise versa XpressZetupTM Gro...

Страница 10: ...on or flashes meaning the setup process is failed Please redo the process Note2 XpressZetupTM cannot support Multi Channel Device please refer to Removing Device End point from a group for normal setu...

Страница 11: ...corresponding group control keys in front Figure 3 For on off switches press key to turn on the devices and key to turn them off use to extend 16 groups On Off To operate dimmer switches and curtain m...

Страница 12: ...g a movie or going to bed or alternatively set the lights brighter when reading or working After the scene has been programmed it will work with the corresponding ON OFF key on the top side of the rem...

Страница 13: ...e1 Your target device must be included in the network before this setup procedure please refer to Adding Device to the Network section Removing Device End point from a Scene Step Setup Key LED Indicat...

Страница 14: ...e successfully Note1 This process will only remove the scene devices EPs from its assigned scene but will not exclude it from the network Note 2 The above steps are needed if Z URCTM 550EU to be a sec...

Страница 15: ...et device OK LED flashes once then turns off LED_B off Device inclusion completed Note1 This step can be skipped if the device is already included in the network Deleting Device from the Network Step...

Страница 16: ...our target device must be included in the network before this setup procedure please refer to Adding Device to the Network section Removing Device End point from a group Step Setup Key LED Indication...

Страница 17: ...and the Group information mapping from gateway primary controller is unsuccessful Assign Association for Two Devices The Z URCTM 550EU can be used to assign one device to automatically interact direc...

Страница 18: ...Key LED Indication Status 1 Press in Advance Setup The OK light turns on 2 Press OK LED flashes once and stays on LED_A flashes slowly 3 Select a group number from 1 to 16 1 8 or 1 8 OK LED flashes on...

Страница 19: ...p number from 1 to 16 1 8 or 1 8 OK LED flashes once and stays on LED_A off LED_B flashes slowly 4 Press the program EP button on the primary device e g door sensor LED_B turns off OK LED flashes once...

Страница 20: ...respond to the All Off command Deleting Devices from All Control Step Setup Key LED Indication Status 1 Press in Advance Setup The OK light turns on 2 Press and hold the key for 2 seconds which you wa...

Страница 21: ...o all off function iii Press and hold keys simultaneously for 2 seconds to add to both all on and all off function LED_B flashes slowly 3 Press the program button on the target device LED_B turns off...

Страница 22: ...ss OK LED stays on 2 Enter the Parameter number from 0 to 255 in front OK LED flashes once and stays on for each key press 3 Press in front OK LED stays on then flashes once 4 Enter the Parameter valu...

Страница 23: ...ss hold for 3 seconds OK LED on 2 Place the two controller close to each other 3 Type 8541 on the setup number keypad OK LED flashes once for each number input OK LED keeps blinking after entering the...

Страница 24: ...LED on 2 Place the two controller close to each other 3 Type 8542 on the setup number keypad OK LED flashes once for each number input OK LED keeps blinking after entering the 4 digit 4 Please make su...

Страница 25: ...seconds OK LED on 2 Place the two controller close to each other 3 Type 8361 on the setup number keypad OK LED flashes once for each number input OK LED keeps blinking after entering the 4 digit 4 Ple...

Страница 26: ...LED on 2 Place the two controller close to each other 3 Type 8362 on the setup number keypad OK LED flashes once for each number input OK LED keeps blinking after entering the 4 digit 4 Please make s...

Страница 27: ...ypad OK LED flashes once for each number input 4 Please make sure the primary controller is setup to send information Refer to the primary controller user manual for more information OK LED blinking t...

Страница 28: ...ciations in this remote Step Setup Key LED Indication Status 1 Press hold for 3 seconds OK LED on 2 Place the two controller close to each other 3 Type 8364 on the setup number keypad OK LED flashes o...

Страница 29: ...ission distance of 100 feet which complies with the Z Wave standards Performance can vary depending on the amount of objects in between Z Wave devices such as walls and furniture Every Z Wave device s...

Страница 30: ...ur Z URCTM 550EU is also a universal remote which enables you to control all your audio video systems around your house Figure 5 Audio Video Control Keys of the Z URCTM 550EU Note The audio video cont...

Страница 31: ...ns Press shift again to release shift lock Selects TV mode Selects satellite cable receiver or similar devices such as DVB T IPTV etc On off key for selected AV equipment Selects DVD player or other o...

Страница 32: ...Aspect Ratio Control when in shift mode Stop also Teletext On when in shift mode Record also Picture in Picture toggle when in shift mode Rewind also Teletext Mix when in shift mode Play also Teletex...

Страница 33: ...ce Mode Key e g TV 3 Press and hold CH and VOL on the Z URCTM 550EU simultaneously for 3 seconds until the green indicator lights up 4 Use the number keys 0 9 to enter your 4 digit Device Code The ind...

Страница 34: ...rom the following table The green indicator flashes twice then goes out Device to be searched from code library Magic Search Code TV 0001 VCR 0002 SAT DVB T 0003 CTV 0004 DVD TER 0005 e g press TV dev...

Страница 35: ...urn your device on again immediately Before the green indicator goes out press Mute on the Z URCTM 550EU to skip backward Repeat step 7 above and lock in the code If the red indicator flashes six time...

Страница 36: ...es and the learning mode will exit automatically On step 6 if no other remote signal is received for more than 8 seconds the red indicator light flashes six times and stays lit continuously you need t...

Страница 37: ...sired Device Mode Key e g SAT 4 Release CH the green indicator flashes twice if the setting is deactivated Punch Through Volume Punch through volume allows you to operate volume up and down without ha...

Страница 38: ...eys are able to access 2 functions through the use of the shift key 2 To use a buttons secondary function press the shift key then the next button pressed will perform its secondary function after whi...

Страница 39: ...om another country A Due to different countries regulations Z Wave products from different regions are set to different frequencies Before purchasing new devices make sure you have checked that the de...

Страница 40: ...here are several kinds of multi channel products in the market such as Z Wave ExtenderTM Z Wave wall switch dimmer and power strip It can control the end point individually z Z Wave ExtenderTM z Z Wav...

Страница 41: ...Z Wave setup information from your primary remote onto a new secondary remote However audio visual settings will be lost and can not be replicated such as TV and DVD settings Q Where can I keep up to...

Страница 42: ...evice Code A To seek the correct Device Code for your A V device test the codes one by one until most keys work properly Q My A V equipment responds only to some of the commands A You have set a code...

Страница 43: ...CH_ALL YES NO COMMAND_CLASS_SWITCH_MULTILEVEL YES NO COMMAND_CLASS_SCENE_CONTROLLER_CONF NO YES COMMAND_CLASS_SCENE_ACTIVATION YES NO COMMAND_CLASS_ASSOCIATION_V2 YES YES COMMAND_CLASS_CONFIGURATION_V...

Страница 44: ...upon the appliance these unattended or unintentional operations could possible result in a hazardous condition For these reasons we recommend the following 1 Assign Z Wave controlled appliances to gro...

Отзывы: