background image

1

The Z-Box Smart Home Controller

Version 2/ Z-Wave Cert No: ZC10-XXXXXXXX

Quick Start

This device is a control center (gateway) for Z-Wave home automation networks. It is used to control different
single devices as well as complete defined scenes and actions combining device functions within the network.
It needs only a few steps to get your Z-box up and running.
1.

Power it up by plugging in the external power supply

2.

Connect the z-box to your local router using a standard Ethernet cable

3.

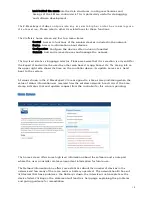
Use a web browser on your desktop PC or mobile internet device and go to login page .Input the IP

address into the address bar, press ENTER to enter the login page.

IP address

192.168.10.1

4.

Login using the initial local default login (login: admin; password: 123456)

5.

Got to setup (upper right corner)

My Settings

, remember your remote access ID and define your remote

password. This password is used for accessing the controller from outside the home. It is shared among all
local users in the home. If you want to protect your login from other users inside the home, change the local
default password.
6.

Define your rooms using

Rooms

7.

Setup the other users and give them access to the rooms.

8.

Installing your smart home devices one by one. Use the dialog

Devices

for this

Hardware

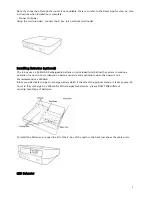
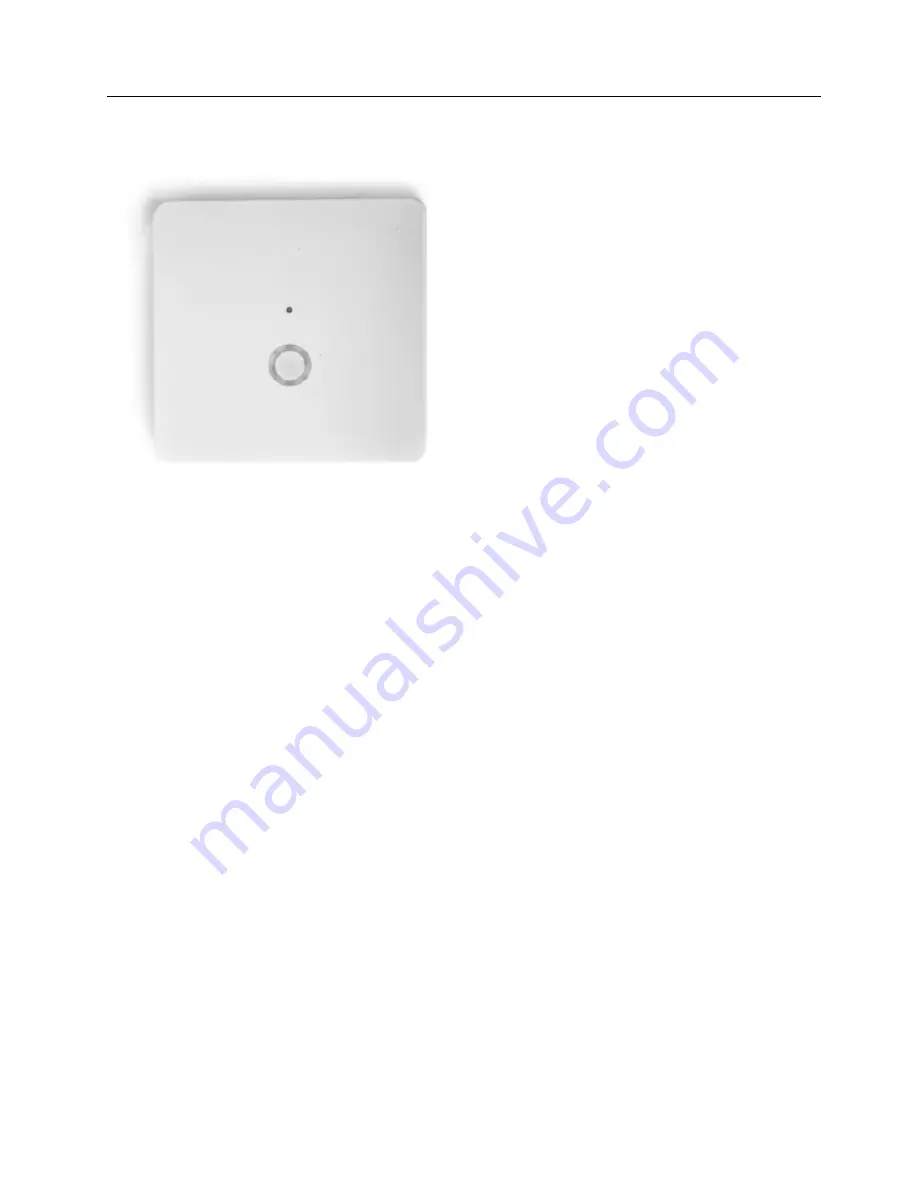
The Z-Box is a small but powerful hardware offering various interfaces:

Power Input: The device is powered by AC adapter DC9V 1.3A.

Ethernet: The device can be connected to any standard 10/100 MBit/s Ethernet router

3 * USB (2 inside the chamber and 1 external): The 3 USB ports allow to connect additional communication

or storage options such as an EnOcean dongle, Bluetooth dongle, hard disk or any other USB device suitable
for Z-box.

Installation

Connect to Router

Using the LAN cable connect the Z-box to your router.

Содержание Z-Box

Страница 1: ...y Settings remember your remote access ID and define your remote password This password is used for accessing the controller from outside the home It is shared among all local users in the home If you...

Страница 2: ...es not included which allow the system to continue operation for up to 6 hours depend on battery capacity and application when the power is out We recommend use 2400mA Z Box provide trickle charge to...

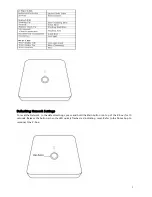
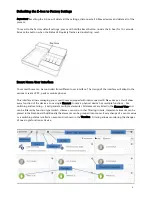
Страница 3: ...gs To reset the Network to the default settings press and hold the Main button on top of the Z box for 10 seconds Release the button when the LED quickly flashes red indicating reset Refer to the Dome...

Страница 4: ...PC pads or mobile phones This interface allows managing your smart home equipped with interconnected Z Wave devices It will show every function of the device as one single Element In case a physical...

Страница 5: ...vices are quite complex generating a lot of functions You may want to delete certain elements from the element view This can be done on the elements configuration with the checkbox Permanently delete...

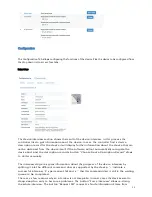
Страница 6: ...ers with admin privileges this dialog also controls the essential access credentials for the remote access using find z wave me User Management This menu item is only available for users with admin pr...

Страница 7: ...icate for the remote access in the future Whenever you access your Z Box within your local network as the first time you will not need a password The Configuration service uses the cloud infrastructur...

Страница 8: ...nt can be suppressed for performance reason if desired In Z Wave all non battery powered device such as the Z Box will act as routers for other devices to form a so called meshed network In case there...

Страница 9: ...le App store or the iOS app store for native apps with the name Z Way The Z Wave Expert UI The Z Wave Expert User Interface is designed for installers technically savvy people and other users that kno...

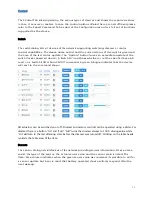
Страница 10: ...other web based or app based UIs The timing info on the upper right side shows the time on the controller device Its update serves as a heart beat to the system All values shown in the Z Wave Expert...

Страница 11: ...he specific device will react on a Switch All ON or Switch All Off command A green triangle indicates that the device will react to the command shown All actuators can be switched on or off Dimmer and...

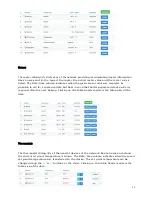
Страница 12: ...mind that battery operated device will only respond after the next wakeup Clicking on the table heads reorders the table view of the data Thermostats The thermostat dialog lists all thermostat devices...

Страница 13: ...The date time indicates the time of the last successful communications between the controller and this device either confirmed sending or reception The green checkmark indicates that the device is ali...

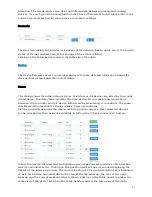
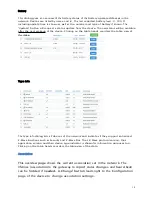
Страница 14: ...view of the data Type Info The type info dialog lists all devices of the network and indicates if they support enhanced Z Wave functions such as Security and Z Wave Plus Their Z Wave protocol version...

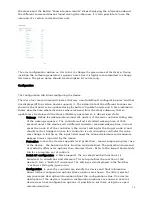
Страница 15: ...ftware will not automatically recognize the device and load the description record a button Choose Device Description Record allows to do this manually The interview stage line gives information about...

Страница 16: ...ss the devices sets a different minimal or maximal wakeup time In most cases the node id of the controller is the correct setting for the target node id and should not be changed In case this controll...

Страница 17: ...ed with it are shown in the Association tab In case the information is provided either by the device or by the device record stored in the software the meaning of the events is written Otherwise only...

Страница 18: ...ces only channel 0 is shown Clicking on the number opens a dialog showing all internal variables for the channel The next column shows all the command classes exposed by the device Again clicking on t...

Страница 19: ...e and repair the wireless network of the controller Control The network control summarizes all commands needed to manage the network and the controller The page is structured in four boxes The device...

Страница 20: ...n turns the controller into a mode where all security functions are suppressed for the included device Security functions of other devices are not impacted The second box of the page allows creating a...

Страница 21: ...ves such a device from the network configuration The drop down list will only show IDs of failed nodes If this list is empty this is a good sign It is also possible to Replace a Failed node with a new...

Страница 22: ...imary controller of the network to a controller that will be included using the normal inclusion process The controller status dialog shows the mode and its termination The Request NIF from all device...

Страница 23: ...23...

Страница 24: ...e to scan its neighborhood and report back the result to update its own line of the routing table Reorganization The reorganization page controls an algorithm that reorganizes the network relationship...

Страница 25: ...st box offers some deep insight into the dynamics of the controller software It visualizes the job queue of the system Every communication attempt of the controller is queues into a job queue and then...

Страница 26: ...ease information of the Z Way software This information may be needed during support and debugging The controller is a special node in the network but still a node Therefore buttons allow accessing th...

Страница 27: ...roller only able to include new devices Secondary Controller If no SIS is present all other controllers than the primary controller are called secondary Inclusion the process of bringing new Z Wave de...

Страница 28: ...e may not cause harmful interference and 2 This device must accept any interference received including interference that may cause undesired operation Warning Changes or modifications not expressly ap...

Отзывы: