

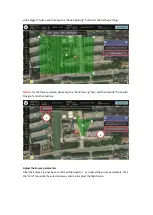


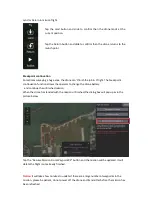

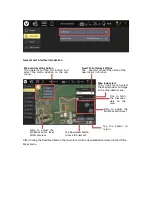

Basic preset template overview
Trace preset template overview
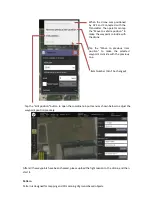
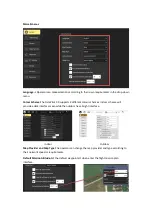
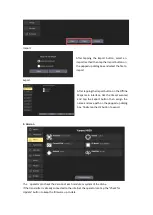
Click the “Done Tracing” button to finish the shape settings of the Trace template.
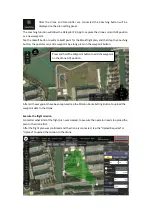
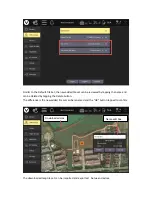
After the green template covered the corridor scan area you want on the map, please tap the
“Done with Polygon” button the further settings.
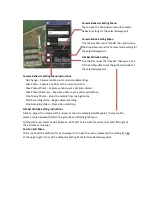
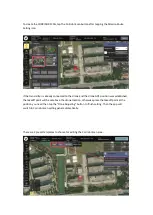
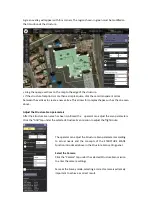
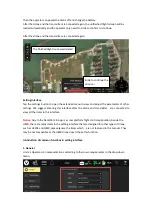
In this image, seven vertices have been inserted, allowing the Drone to follow the curvature of the
roadway
Notice
:
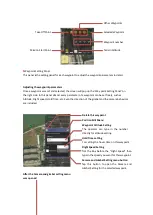
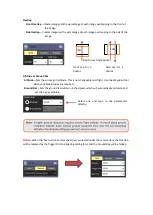
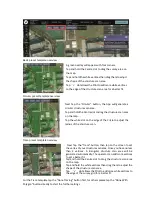
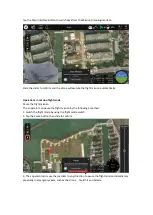
Be similar with the Survey mode the CORRIDOR SCAN Setting Panel shown on the right
Next tap the “Basic” button, the App will generate a corridor
scan area with 2 vertices.
Tap and hold the vertices dot to drag the corridor scan area on
the map.
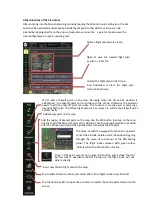
Tap
‘
+
’
dot allows additional vertices to be created/inserted
in the pathway, allowing for numerous angles to follow the road.
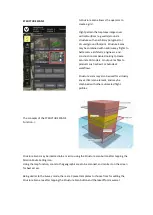
Next tap the “Trace” button, then tap on the screen to set the
vertex of your corridor scan area. Once you have no less than 2
vertices. A corridor scan area will be generated automatically.
The operator can add more vertices by tapping on the screen
directly to allowing for numerous angles to follow the road.
Tap and hold the vertices dot to drag the corridor scan area on
the map.
Tap
‘
+
’
dot allows additional vertices to be created/inserted
in the pathway, allowing for numerous angles to follow the road.
Содержание H850
Страница 1: ...H850 Operation Manual...
Страница 28: ...Step 5 Connecting Step 6 Tap the Finish button to finish the binding process...
Страница 29: ......
Страница 81: ...Disclaimer...


